Showing posts with label #fern3dembossingfolder. Show all posts

Tuesday, 1 October 2024

Peaceful Season Bundle

 Hello & welcome,

The Peaceful Season bundle (#164021) consists of the Peaceful Season stamp set (#164145) and the Peaceful Season dies (#164020). The stamp set consists of a great range of Christmas sentiments and the dies co-ordinate with many of the sentiments.


I dry embossed the Basic White card front (#159228) with the Fern 3D Embossing Folder (#158804). This was matted with Pretty Peacock card (#150886).

I attached 2 of the designs from the Regal Distressed Patterns 12”x12” Specialty Designer Series Paper (#164037) to the card front.

“Peace & Joy” from the Peaceful Season stamp set was stamped with Pretty Peacock ink (#150083). The sentiment and the Gold Foil Sheet (#132622) were cut with the Peaceful Season dies. 

I threaded the Gold Trim from the Gold & Silver Trim Combo pack (#161633) through the sentiment & gold die-cut & attached it to the back of the card front. The sentiment was attached to the Gold with Mini Stampin’ Dimensionals (#144108) and the gold was attached with Stampin’ Dimensionals (#104430).

The leaves were cut with a Delicate Forest Die (#162679) using Pretty Peacock card and Gold Foil Sheet. Both these cards were backed with Adhesive Sheet (#152334) making them easy to attach to the card.

The trio of embellishments are from the retired Festive Pearls.


“Love what you do and share what you love.”

INSPIRE. CREATE. SHARE. 


Saturday, 22 October 2022

Christmas Lights

Hello stamping friends,

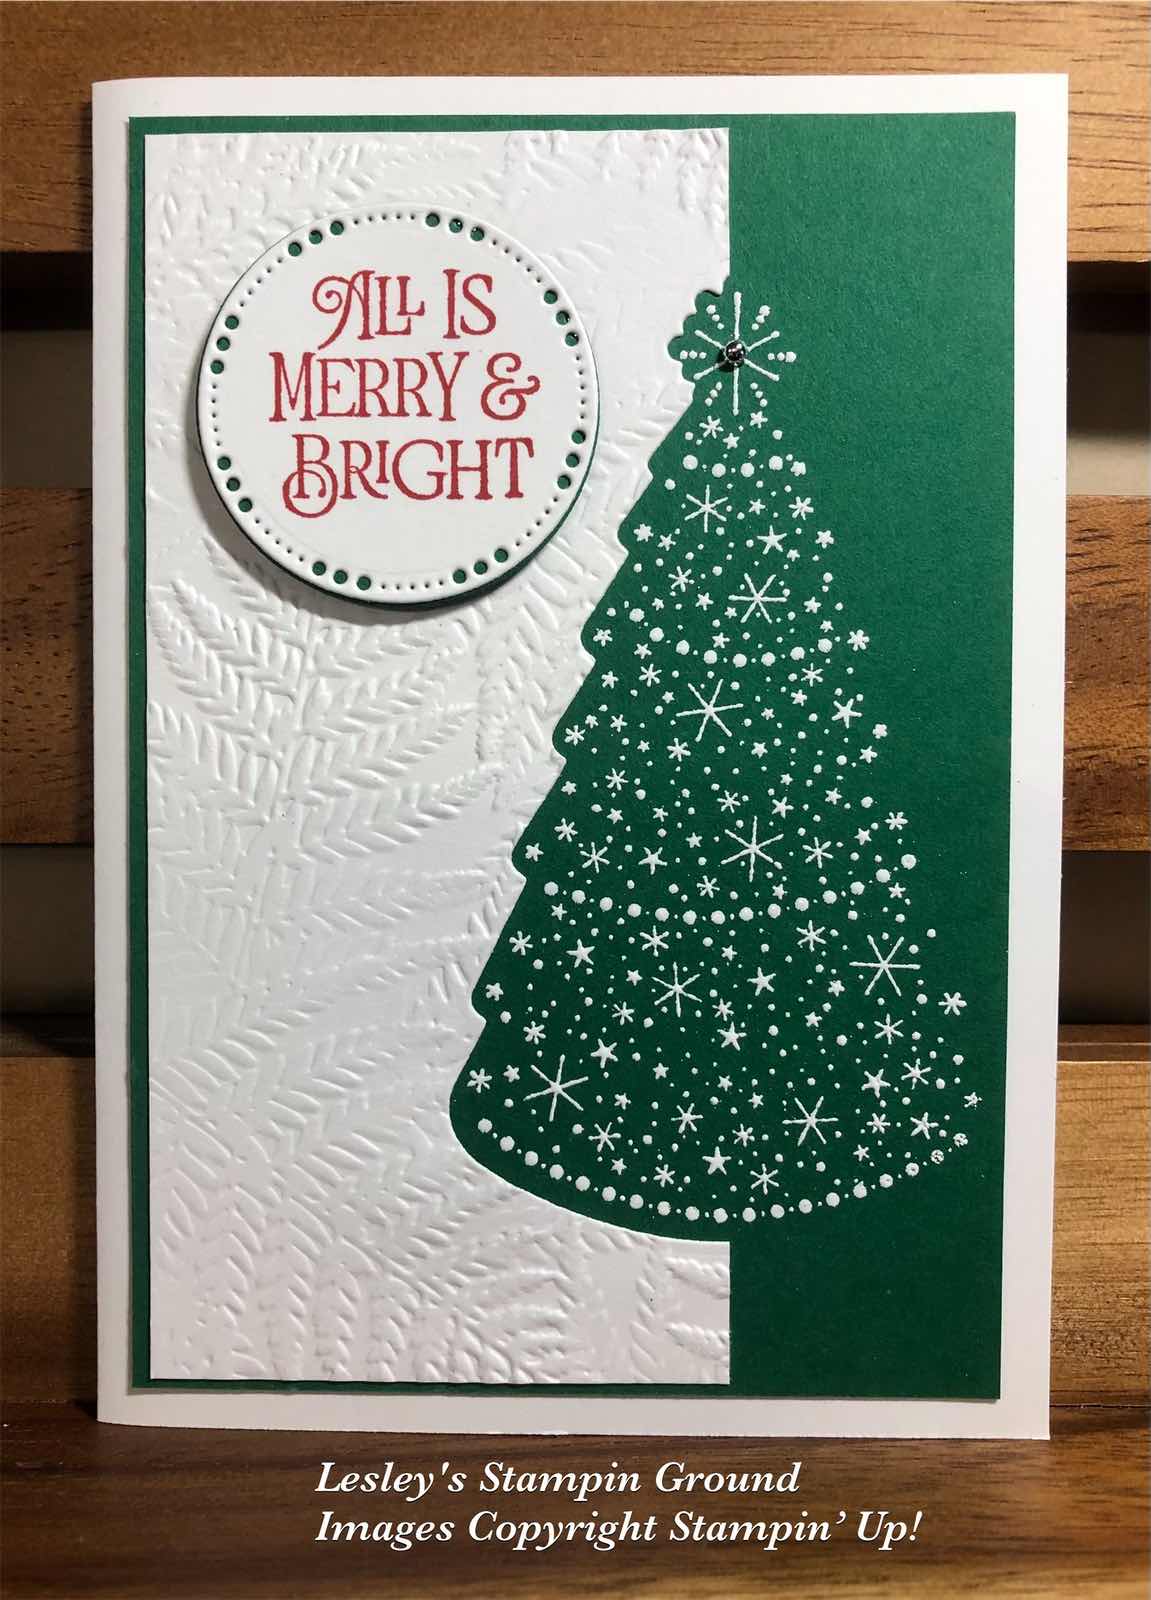
An easy but effective card using the Christmas Lights Bundle (#159961).


I stamped the Christmas tree from the Christmas Lights stamp set (#159538). This was stamped with VersaMark (#102283) and heat embossed with White Stampin’ Emboss Powder (#155554). This was set with the Heat Tool (#129056). 

I then placed the piece of Basic White card (#159228) on the left side of the tree and placed the die in place as shown below.


I carefully removed the white card with the die in place and cut it with the Stampin’ Cut & Emboss Machine (#149653). This removes part of the Christmas tree. I then dry embossed the white card with the Fern 3D Embossing Folder (#158804) and attached it to the card. The card front was attached to the Basic White base card.

The sentiment from Brightest Glow Stamp set (#159542) was stamped with Real Red ink (#147084). This was cut with a die from Labels Aglow (#159551). I cut another circle from the Stylish Shapes dies (#159183) and attached this to the die cut sentiment. This was attached to the card with Stampin’ Dimensionals (#104430). A silver Festive Pearl (#159963) was added to the top of the tree.

This technique could be done with many stamped images with co-ordinating dies.

“Love what you do and share what you love.”


Wednesday, 20 July 2022

Hello Ladybug

Hi everyone,

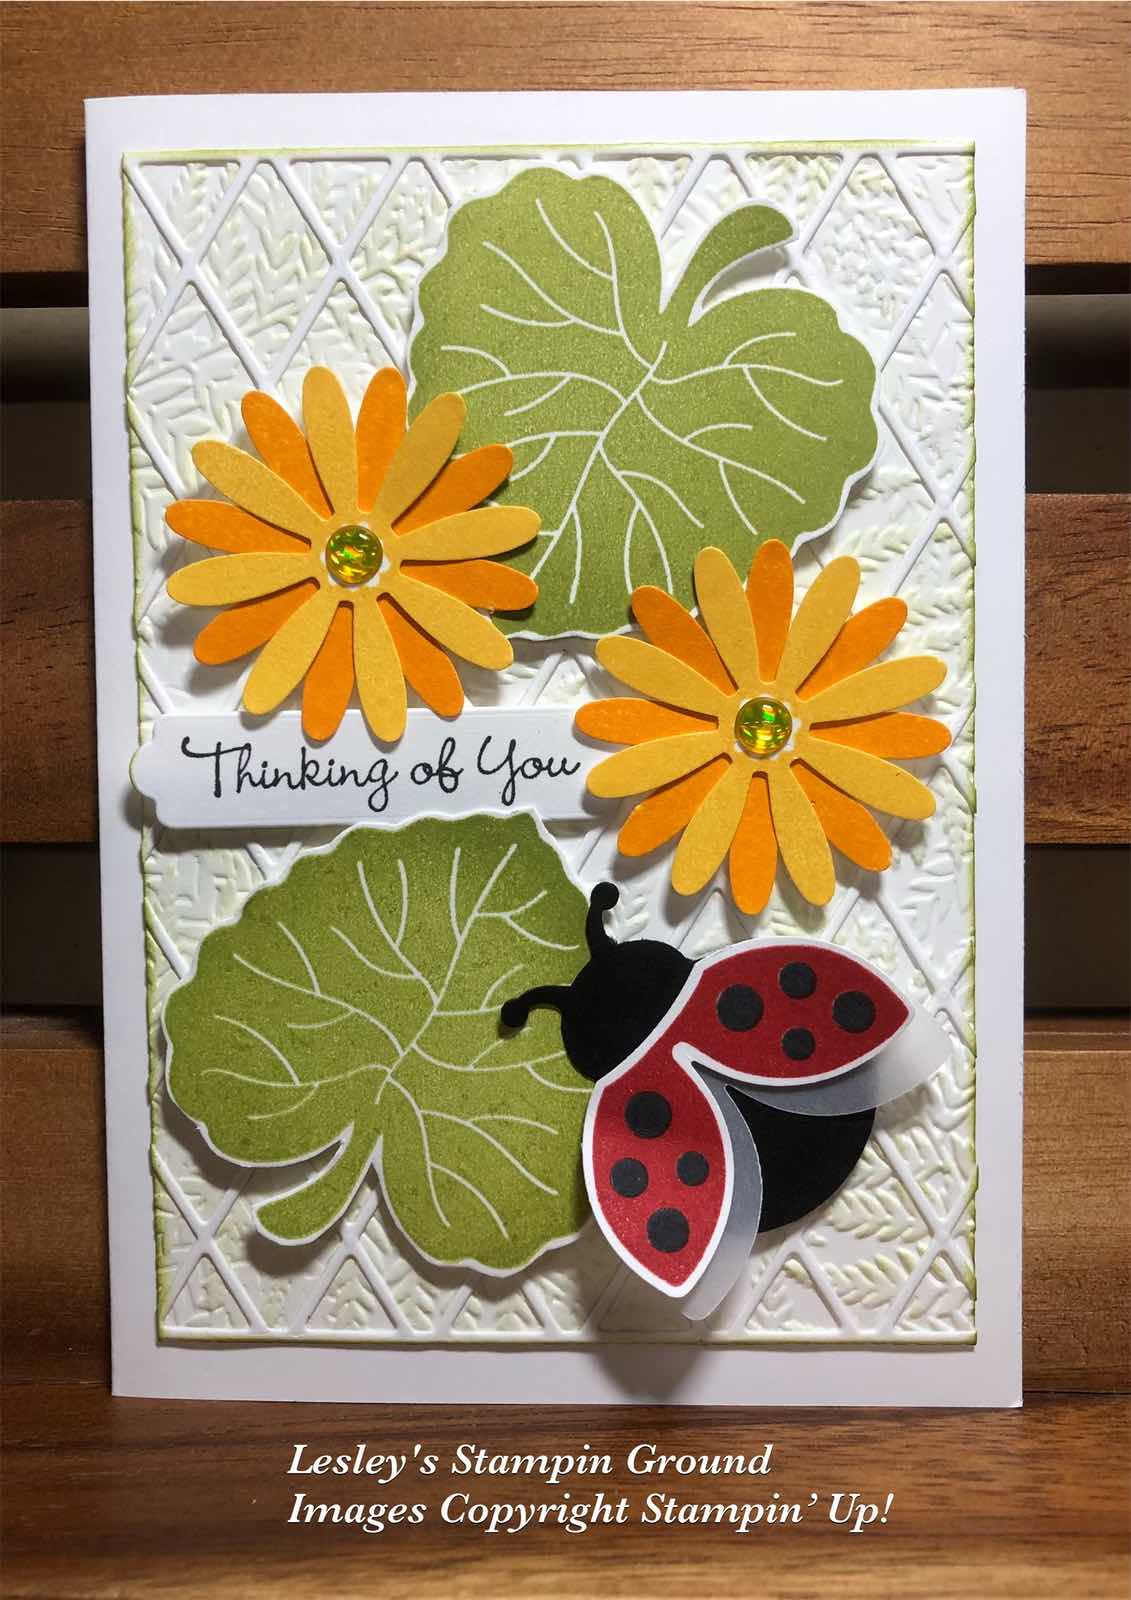
I have used the Hello Ladybug stamp set (#157693) and the Ladybug Builder Punch (#157698) for this cute lady bug.


The body of the ladybug was punched from Basic Black card (#121688). The wings were stamped with Real Red ink (#147084) and Tuxedo Black Memento Ink (#132708). This and the Vellum (#106584) wings were punched with the Ladybug Builder punch. The wings were attached with Mini Glue Dots (#103683).

The leaves from the Hello Ladybug stamp set were stamped with Pear Pizzaz ink (#147104) and then fussy cut. The flowers were stamped with Mango Melody ink (#147093) and Daffodil Delight ink (#147094), then punched with the Medium Daisy punch (#149517).

“Thinking Of You” is from the Go To Greetings stamp set (#158763) and cut with a Seasonal Labels die (#156299).

The Basic White card front was dry embossed with the Fern 3D Embossing Folder (#158804). Using a Blending Brush (#153611) and Pear Pizzaz ink I lightly coloured the embossed leaves.

 I cut another piece of Basic White card backed with Adhesive Sheet (#152334) with a die from the Organic Beauty dies (#158983) and attached this to the dry embossed card. All the stamped images were attached to the card with Stampin’ Dimensionals (#104430). Glossy Dots (#158827) were added to the flower centres.

“Love what you do and share what you love.”


Sunday, 19 June 2022

Nature’s Prints Bundle

Hello crafty friends,

I love the subtle colours used on this card using the Nature’s Prints Bundle (#158801).


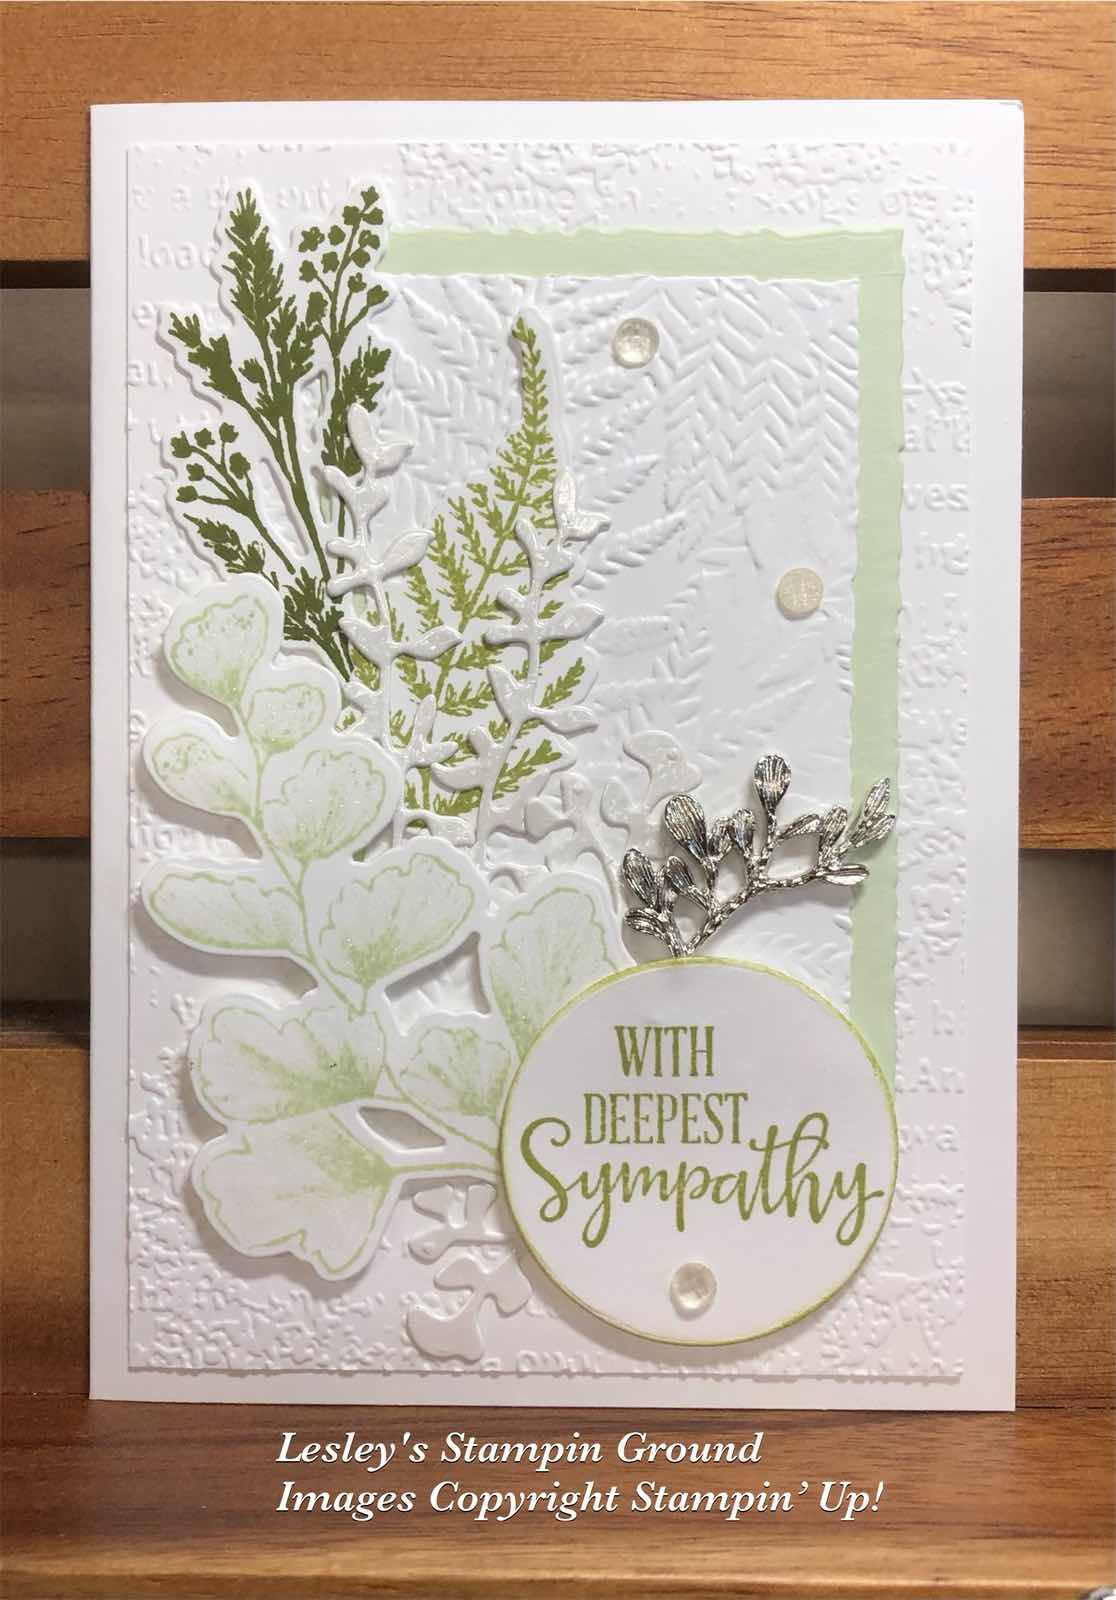
The leaves from the Nature’s Prints stamp set (#158793) were stamped with Soft Sea Foam ink (#147102), Pear Pizzaz ink (#147104) and Old Olive ink (#147090). I used the dies from the Natural Prints Dies (#158800) to cut the stamped leaves as well as the die cut leaves using the Mother Of Pearl Specialty Paper (#157666). The Mother Of Pearl was backed with Adhesive Sheet (#152334) before cutting.

The card stock used is Basic White (#159228) and Soft Sea Foam card (#147012). I cut the smaller rectangle of Basic White card & the Soft Sea Foam card with the Deckled Rectangles dies (#159173). I used the Timeworn Type 3D Embossing Folder (#156505) to dry emboss the card front and the Fern 3D Embossing Folder (#158804) for the smaller piece of embossed card.

The sentiment from the Peaceful Moments stamp set (#151595) was stamped with Pear Pizzaz ink then cut with a Beautiful Shapes Die (#158046).  The beautiful Sprig Trinket (#159188) was attached to the card with Mini Glue Dots (#103683). I used Stampin Dimensionals (#104430) to attach the sentiment & larger stamped leaf. The embellishments are Elegant Faceted Gems (#152464).

“Love what you do and share what you love.”


Friday, 6 May 2022

Stylish Shapes Dies

Hello stamping friends,

The Stamparatus (#148187) is such a versatile tool for stamping and I have used it to stamp these images for perfect positioning.


The green foliage from the Nature’s Prints stamp set (#158793) were stamped with Pear Pizzaz ink (#147104). The flowers from the Happiness Abounds stamp set (#159238) were stamped with Pale Papaya ink (#155670). Another advantage of using the Stamparatus is you can re-stamp your image to make it darker, especially with lighter inks, as I have done with the Pale Papaya ink.

I used a Square die from the Stylish Shapes Dies (#159183) to cut the centre of the stamped Basic White card (#159228). The outside piece was taped to the Pale Papaya card (#155669) which was dry embossed with the Fern 3D Embossing Folder (#158804). The inside square was attached with Stampin’ Dimensionals (#104430). The Pale Papaya card was matted with Pear Pizzaz card (#131290), then attached to the Basic White base card.

The Pale Papaya circle was also cut with a Stylish Shapes Die then embossed with the Fern embossing folder.Daubered Pale Papaya ink (#155670) over the embossed fern.

“Best Wishes” is from the Happiness Abounds stamp set and stamped with Pale Papaya ink. The label die to cut this is also from the Stylish Shapes dies. The sentiment was attached wth Mini Stampin’ Dimensionals (#144108). The 2021-2023 In Color Opal Rounds (#159185) were added to the card.

“Love what you do and share what you love.”