Sunday 30 June 2019

Magnolia Blooms Stamp Set

Hello friends,

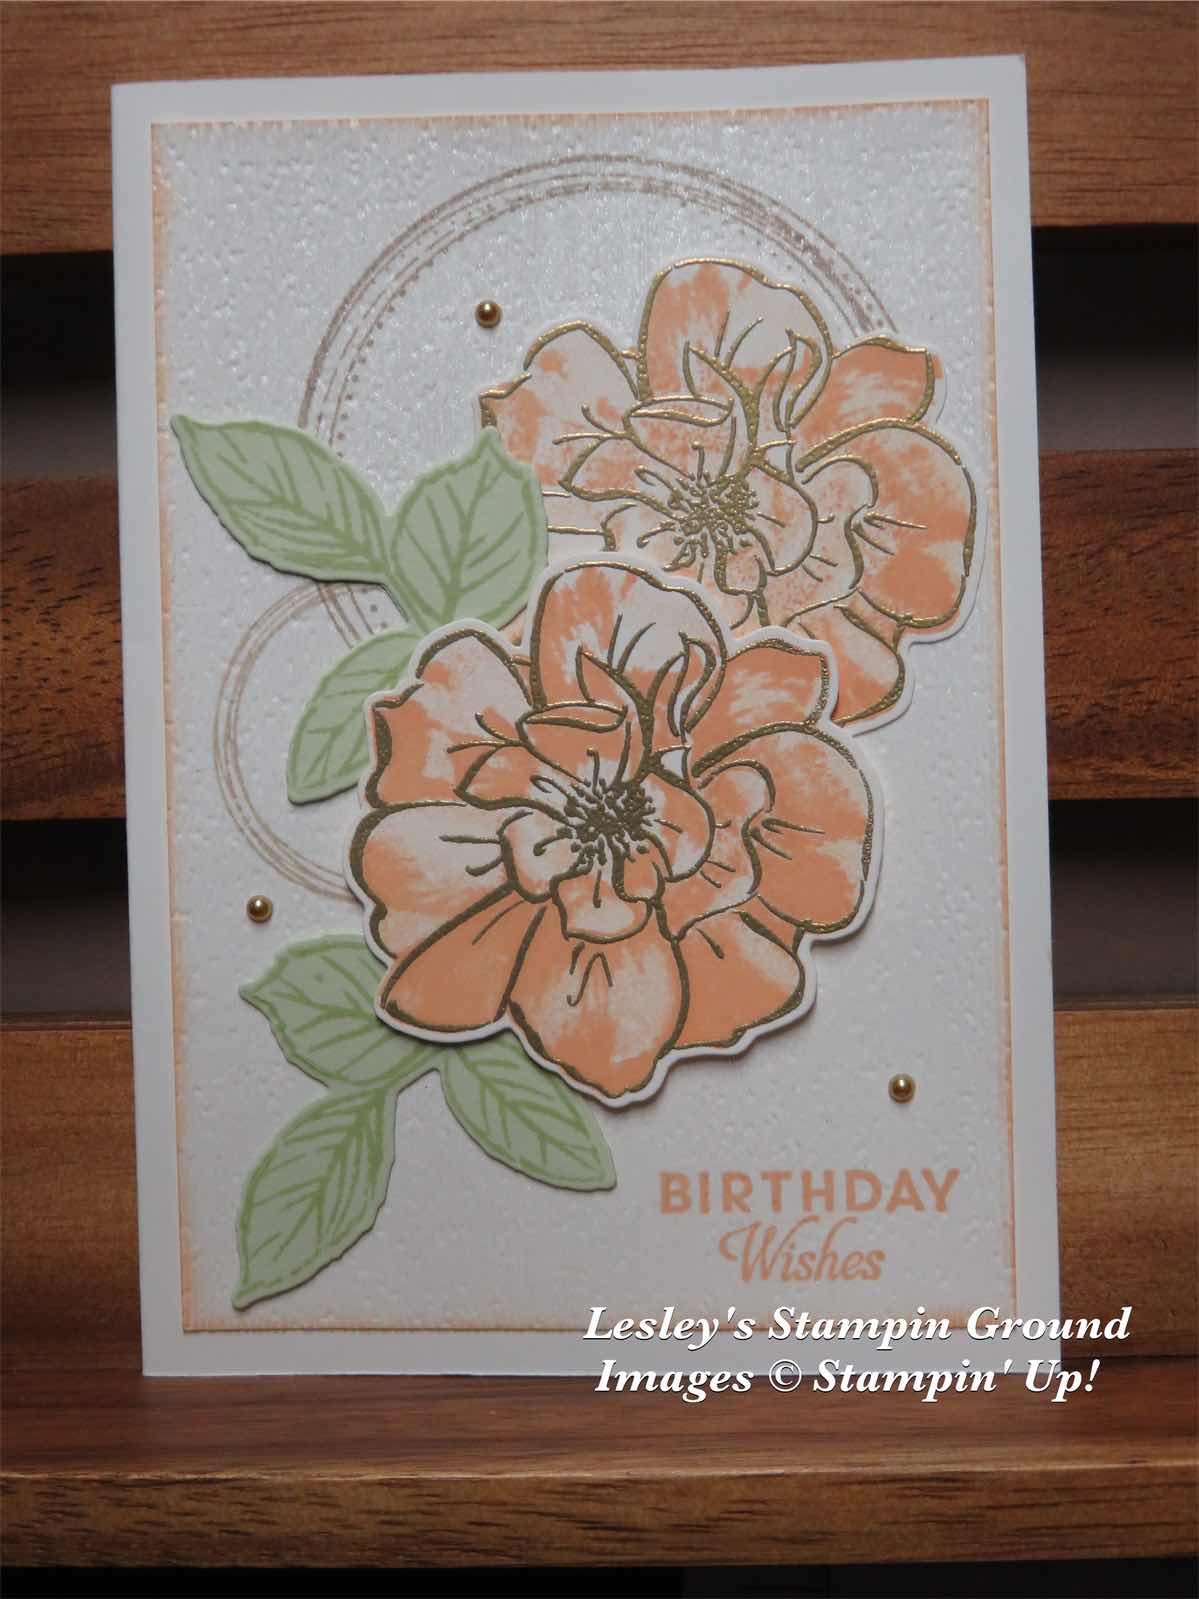
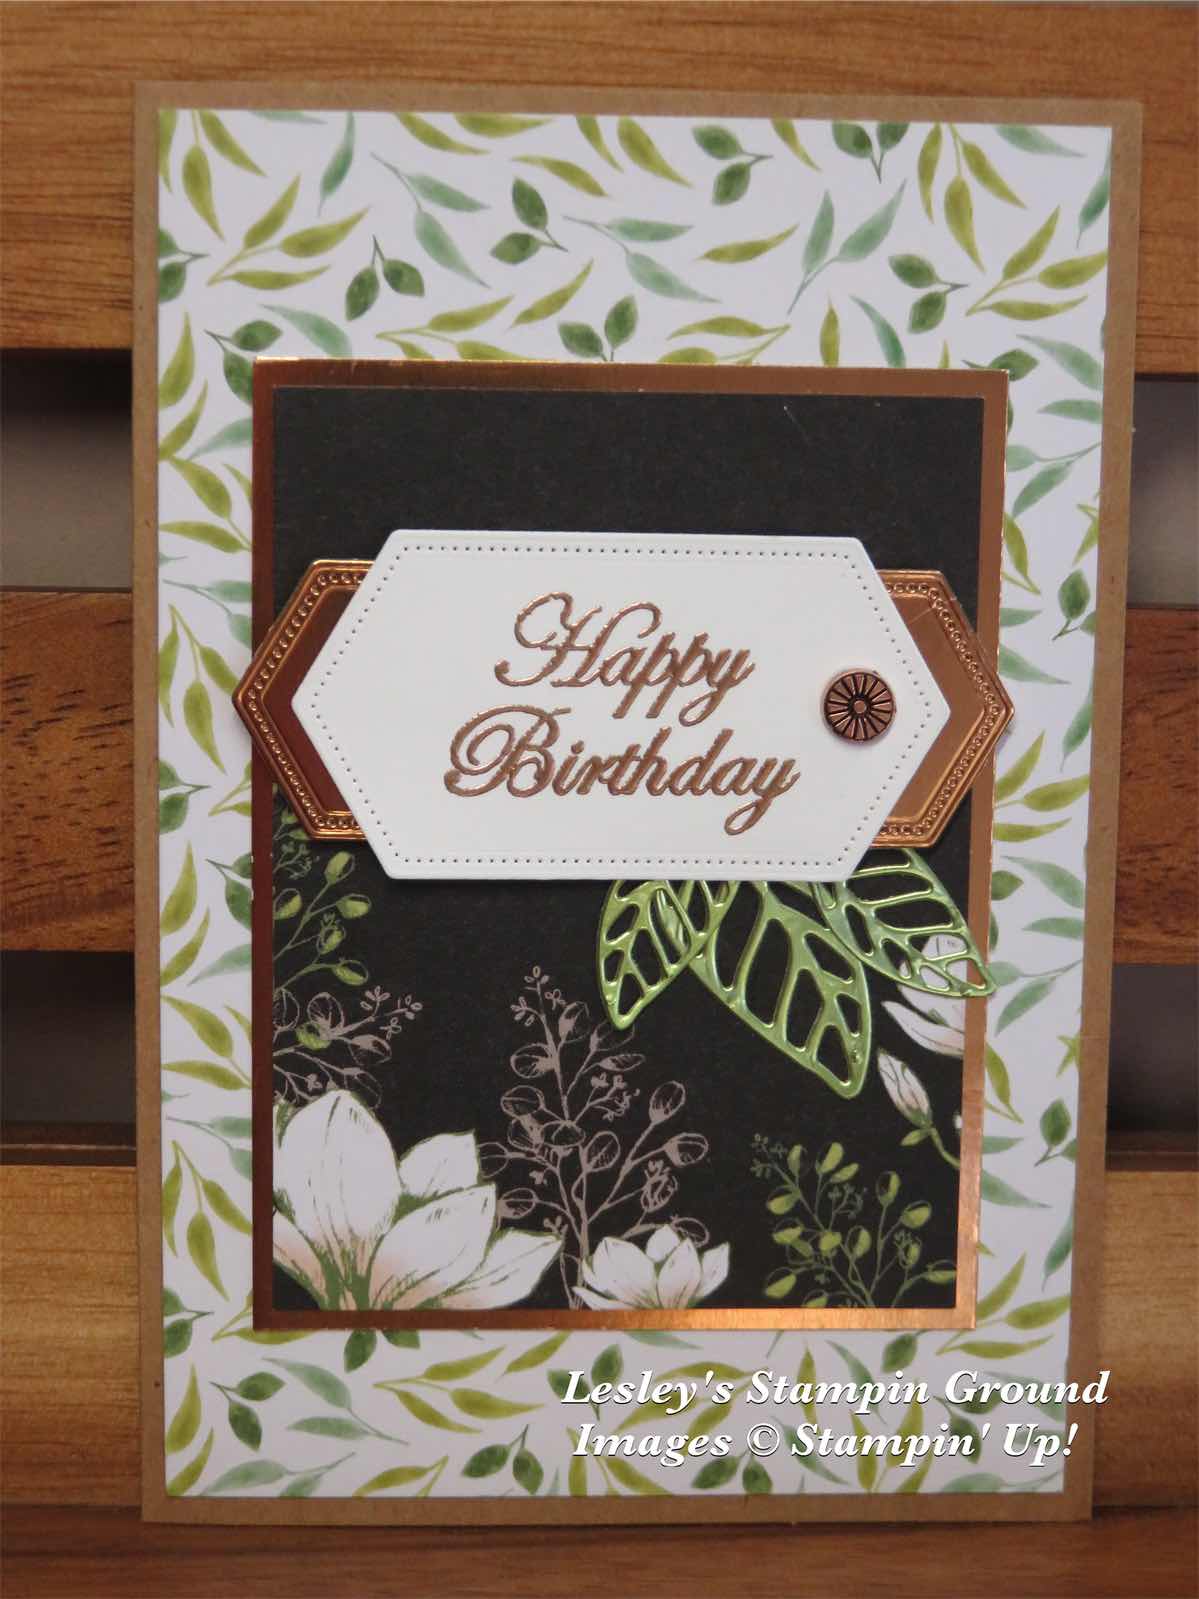
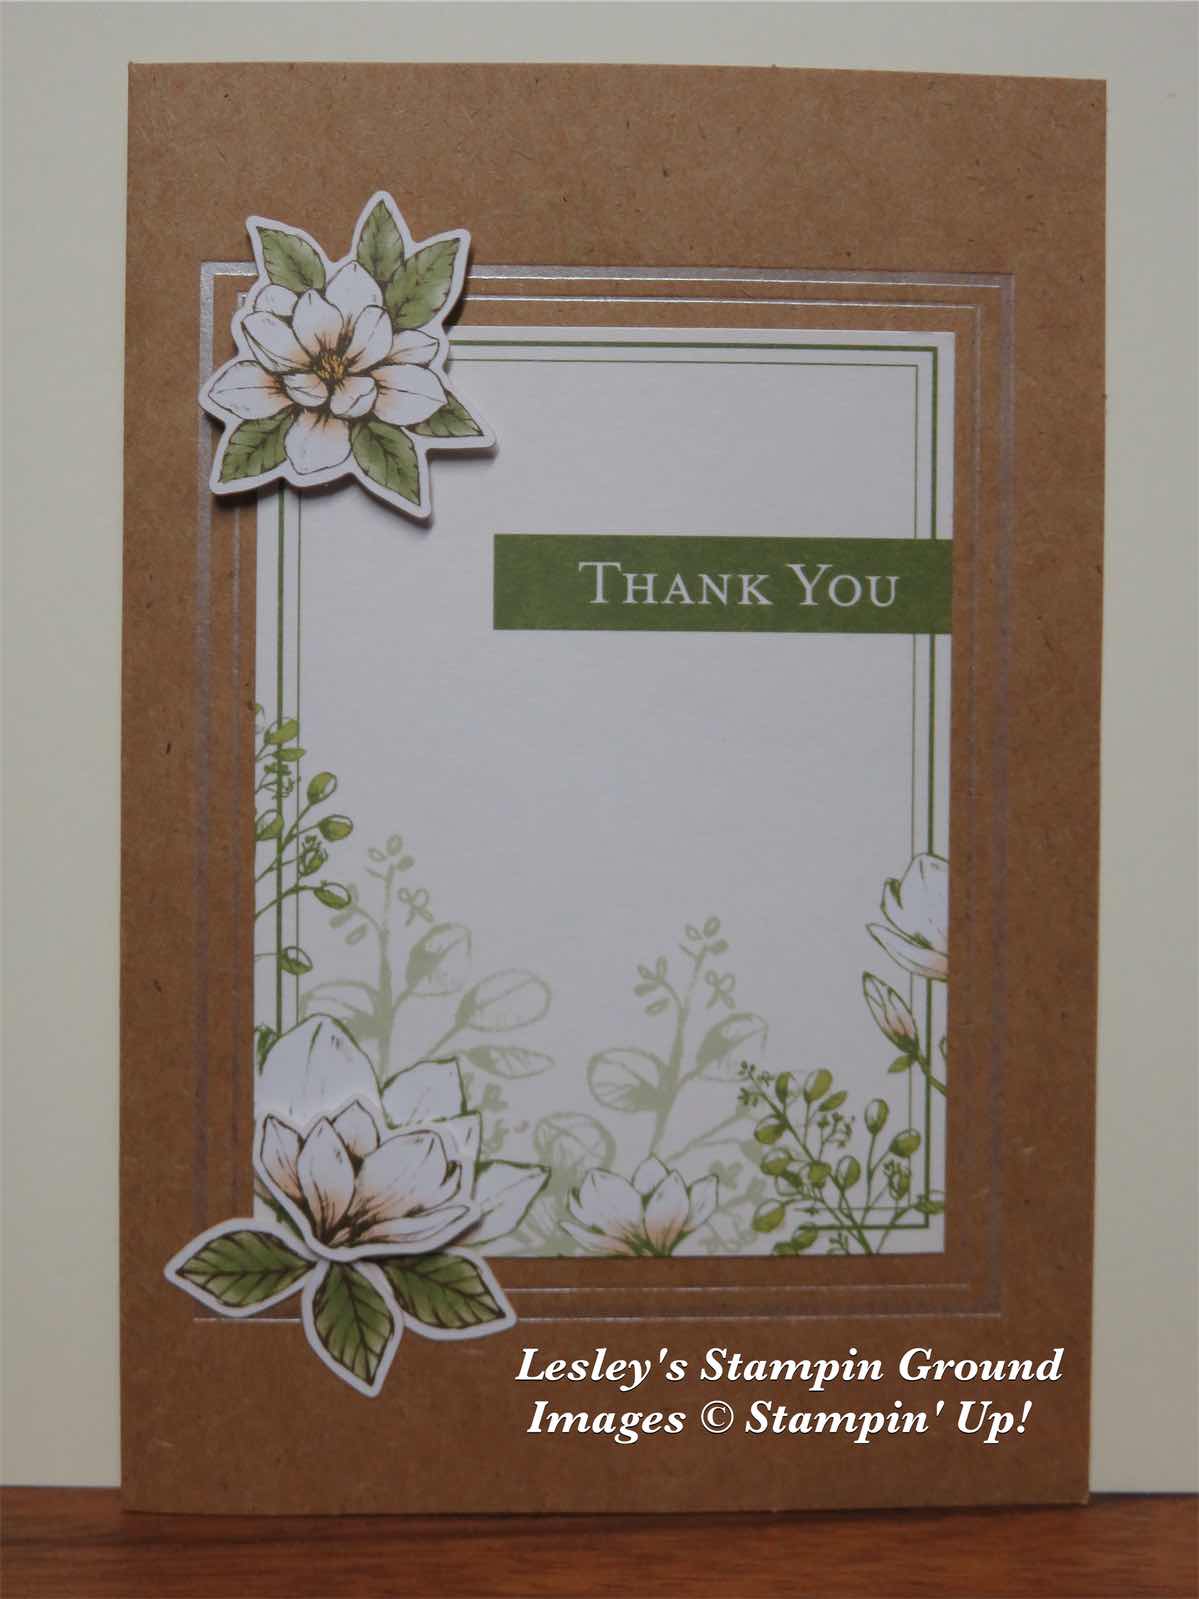
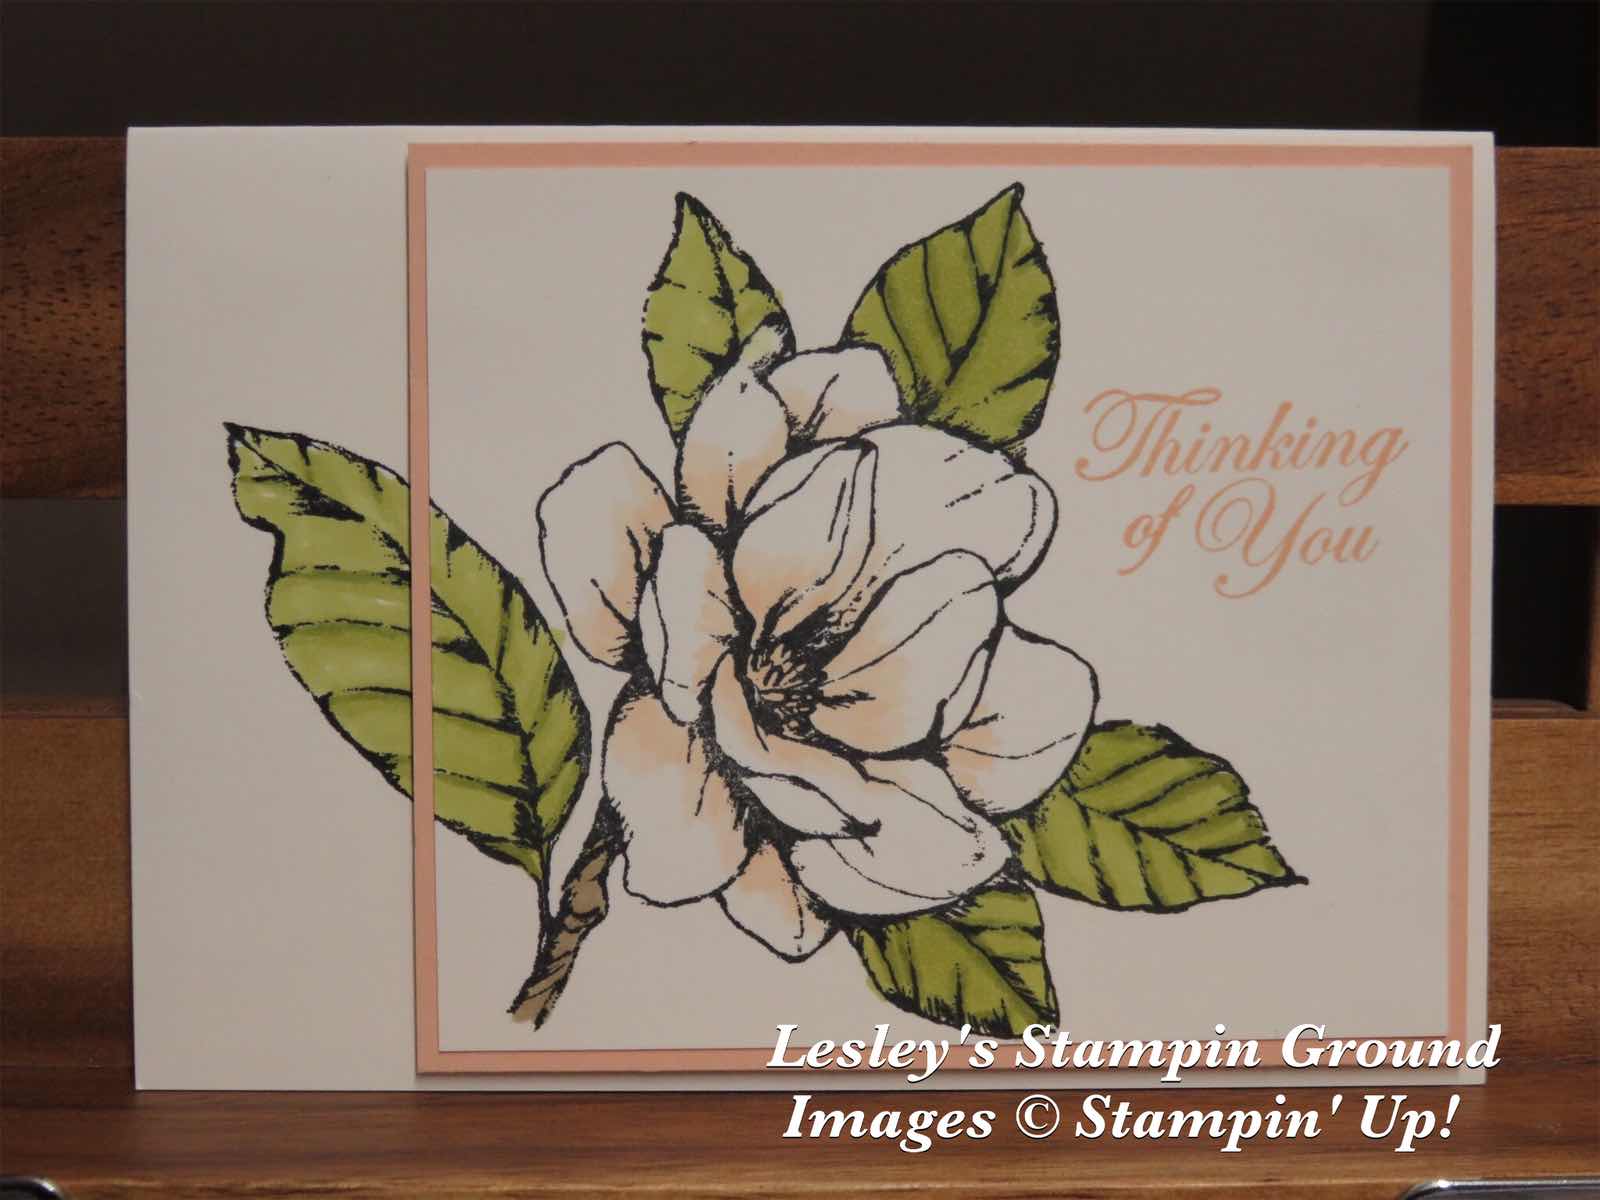
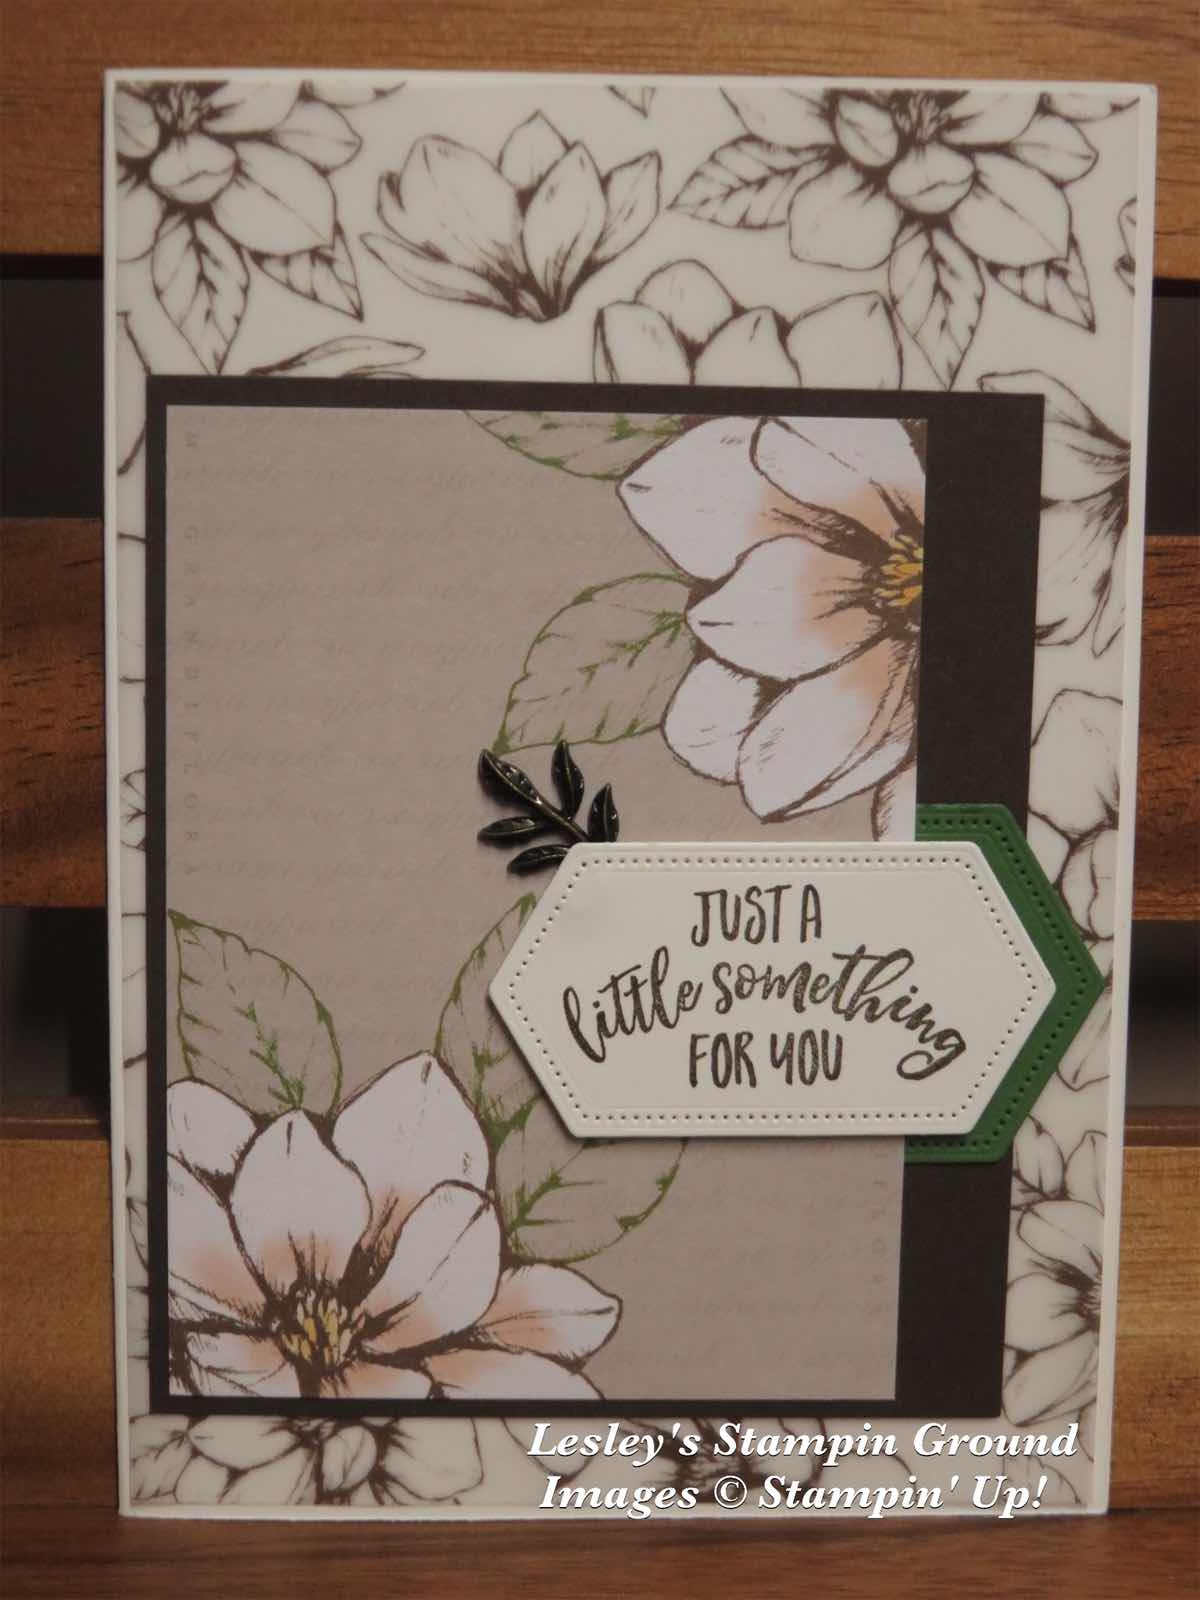
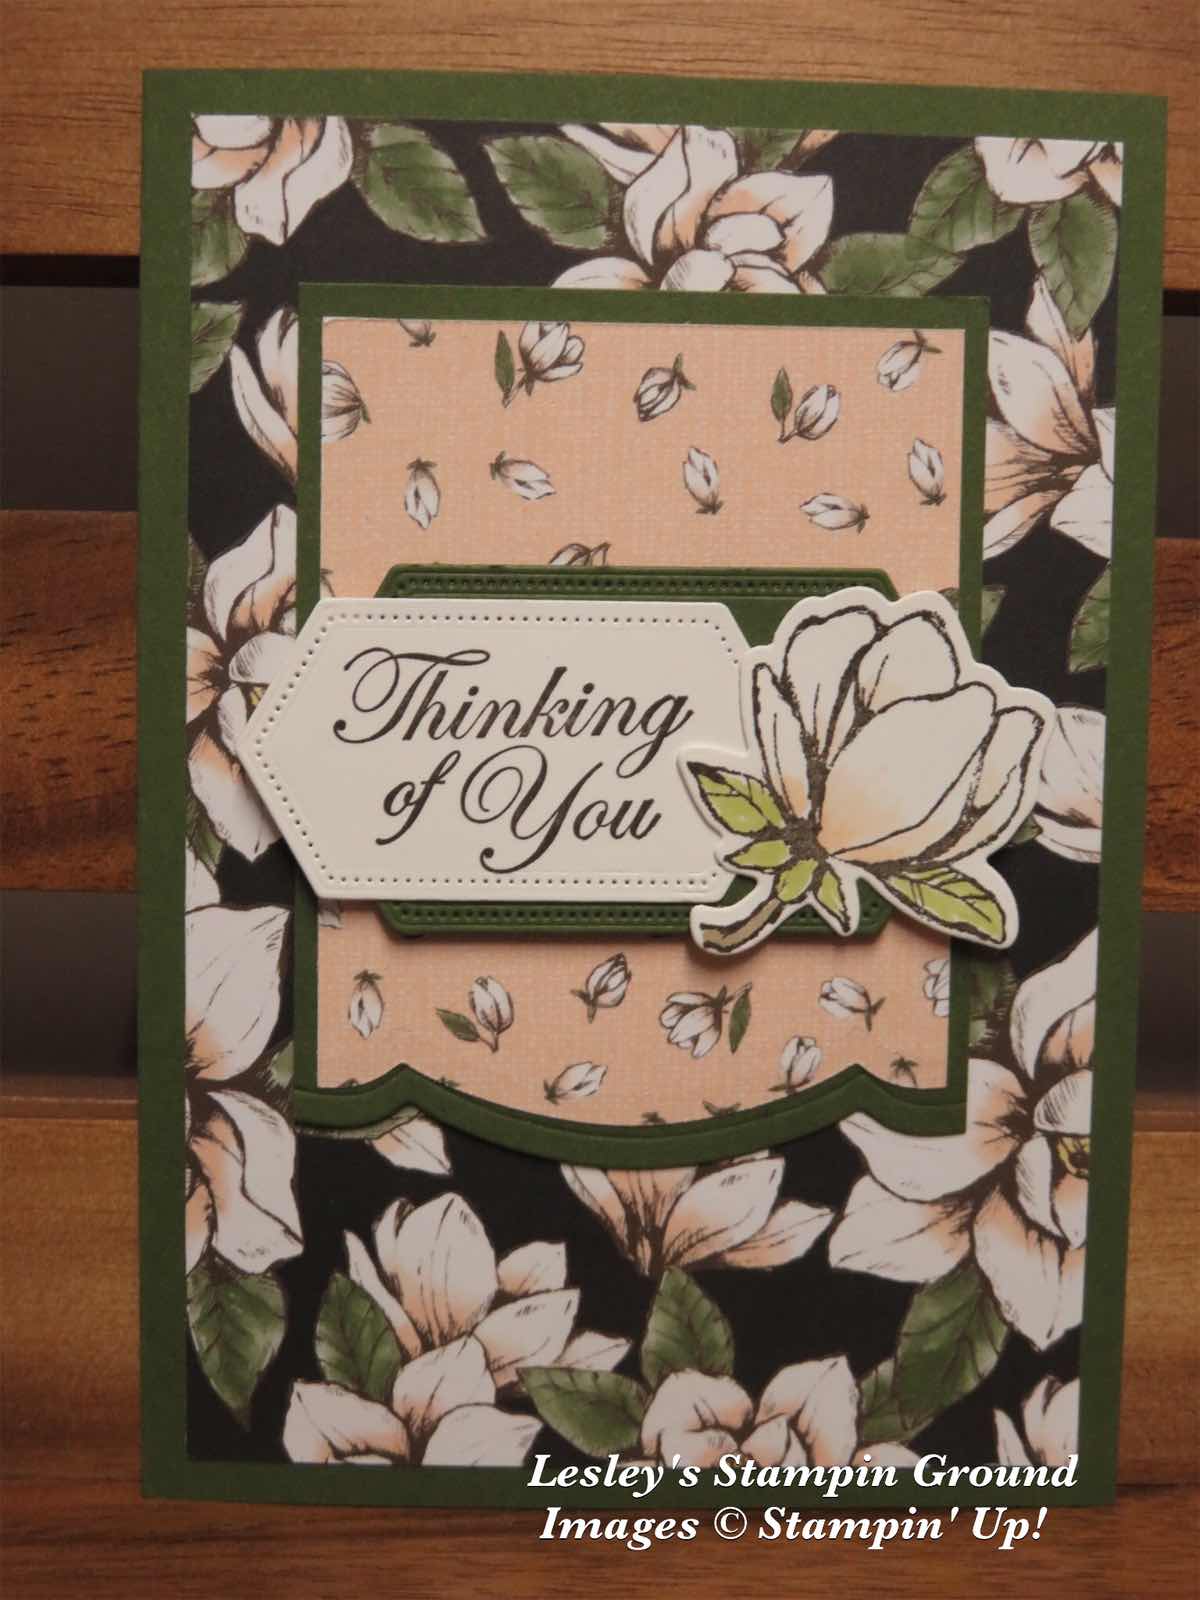
There is a new brochure which is great for the beginner stamper and the Magnolia Blooms Stamp set (#p152729) is included in this brochure, and the magnolia on this card is from this set.


I stamped the Magnolia with VersaMark (#102283) and embossed with Gold Stampin’ Emboss Powder (#109129), then fussy cut. The Designer Series Paper is Garden Lane (#149488) and this was attached to the Whisper White base card (#106549). “Thank You” from the Magnolia Bloom stamp set was also heat embossed in Gold and attached to the fancy band which was cut with a die from the Detailed Bands Dies (#149549) from Gold Foil Sheet (#132622). The magnolia was attached with Stampin’ Dimensionals (#104430). You may be able to see some gold “splotches” on the Designer Series Paper. These were heat embossed in Gold with an image from the Artisan Textures stamp set (#c151278). 

Have a great day.


Friday 28 June 2019

Perennial Essence Vellum Cardstock

Hi,

The pack of Perennial Essence 12”x12” Vellum Cardstock (#149101) consists of 3 colours of translucent coloured Vellum in Old Olive, Petal Pink and So Saffron. Each of these colours have been used on this card.


I stamped the flower from the Floral Essence stamp set (#149450) using Blackberry Bliss ink (#147092) onto the Petal Pink Vellum. The ink takes a while to dry on this vellum, so it was a good chance to add the Clear Stampin’ Emboss Powder (#109130) and heat set with the Heat Tool (#129056). If you don’t want to emboss this just leave it to dry or dry it with the heat tool. The flower was then fussy cut. I stamped the centre of the flower with So Saffron ink (#147109) onto So Saffron card (#108611) and also fussy cut it and attached it to the flower with a Mini Glue Dot (#103683). The green  leaves were punched with the Leaf Punch (#144667) from the Old Olive Vellum. The yellow leaves were cut with dies from the Detailed Peacock Dies (#149582) using the So Saffron vellum. I stamped the background on the Very Vanilla card (#106550) using images from the Artisan Textures stamp set (#c151278) and Delightful Day stamp set (#p149466) with So Saffron ink, Blackberry Bliss ink (#147092) - stamped off, Highland Heather ink (#147103) and Petal Pink ink (#147108). The Designer Series Paper is from the Perennial Essence DSP (#149100). The greeting from Painted Glass stamp set (#c148220) was stamped with Blackberry Bliss ink. The base card is Blackberry Bliss (#133682).

Well, the weekend is here already. Have a great one.


Thursday 27 June 2019

Perennial Essence Designer Series Paper

Welcome again,

The Perennial Essence Designer Series Paper (#149100) is a beautiful collection of “hand painted impressionistic imagery in rich colours” and are some of my very favourite papers, maybe because there is a lot of purple (which is my favourite colour).


I have paired this with the Purple Posy paper from the 2019-2021 In Color 6”x6” Designer Series Paper (#149617). I have separated the  2 papers with a small piece of Gorgeous Grape card (#147011) which I gave a stitched look using a die from the Stitched Nested Labels Dies (#149638). The sentiment is from the Floral Essence stamp set (#p149450) and stamped with Purple Posy ink (150084). I also stamped the flower twice from the same set with Purple Posy ink, onto Purple Posy card (#150887). The co-ordinating punch is the Perennial Flower punch (#149522). The 2 flowers were attached with a Stampin’ Dimensional (#104430). The leaves were stamped with Mossy Meadow ink (#147111) onto Mossy Meadow card (#133683) and fussy cut. I used Mini Glue Dots (#103683) to attach the leaves and the flower to the card. The sentiment on the Whisper White card (#106549) was cut with the Stitched Shapes Dies (#145372) and the Gorgeous Grape card under this was cut with the Layering Squares Dies (#141708). The base card is Whisper White

Have a great day.

Wednesday 26 June 2019

Royal Peacock

Hello everyone,

This peacock from the Royal Peacock stamp set (#p149464) is just beautiful. It is a 2-step stamp which allows you to have the 2 different colours as I have done on this card.


I stamped the first image of the peacock using Coastal Cabana ink (#147097) on Very Vanilla card (#106550). Then I stamped the second image of the feathers using VersaMark (#102283) and heat embossed with Gold Stampin’ Emboss Powder (#109129) which was set with the Heat Tool (#129056). I cut this with a die from the Stitched Rectangles (#148551). This rectangle die was too wide for what I wanted so after cutting the full die cut, I then moved the die to cut off more of the right side only. This was attached to the Coastal Cabana card (#131302). I embossed the Very Vanilla base card with the Beads & Baubles Embossing Folder (#149713). The sentiment is from the Royal Peacock stamp set and stamped with Coastal Cabana ink. This was cut with a Stitched Nested Die (#149638) as was the Gold Foil Sheet (#132622) under the sentiment. This was attached to the card with Stampin’ Dimensionals (#104430).
The Detailed Peacock Dies (#149582) co-ordinate with this stamp set, and the stamp set and dies are also available in the Royal Peacock bundle (#151100).

I hope your day has been great.

Tuesday 25 June 2019

Sailing Home

Hello,

The Sailing Home Bundle (#c151066) is a great set for masculine cards.


For the base card and frame I used Whisper White card (#106549). The cardfront is Seaside Spray (#150889) and for “birthday” I used Blueberry Bushel card (#146991). I stamped the “wavy lines” from the Artisan Textures Stamp set (#c151278) onto the Seaside Spray card using VersaMark (#102283). This gives a watermark effect on the card. The larger boat and “wishes” were stamped with Blueberry Bushel ink (#147138) and the smaller boat with Seaside Spray ink (#150085). The boats were cut with the Smooth Sailing Dies (#149576) and the larger one was attached with Stampin’ Dimensionals (#104430). I cut the frame and embossed it with the Heirloom Frames Dies and 3D Embossing Folders (#152325). With these dies & folders, cut the frame first, then emboss,  as it is easier to line up the embossing folder with the cut frame. The frame was then attached to the card with Stampin’ Dimensionals. “Birthday” is cut with a die from the Well Written Dies (#148534) and “Wishes” is in the Well Said stamp set (#c148796) which co-ordinates with the Well Written Dies. I used the Fine-Tip Glue Pen (#138309) to glue the “birthday” to the card.

Have a great day.


Saturday 22 June 2019

To A Wild Rose Bundle

Hello Ladies & Guys,

To A Wild Rose stamp set (#p149452) and is a 2 step stamp, which means you can layer 2 or more images, which I have done on these roses.


First, I stamped the circles from the Swirley Frames stamp set (#p146519) onto the Whisper White card (#106549). These were stamped with Sahara Sand ink (#147117). “Birthday Wishes” from Butterfly Wishes stamp set (#c149346) was stamped with Petal Pink ink (#147108). I then sprayed this with Frost White Shimmer Paint (#147046) then embossed with the Subtles 3D Embossing Folder (#151775). The edges were sponged with Petal Pink ink. I stamped the outline image of the flowers with VersaMark (#102283) and embossed with the Gold Stampin’ Emboss Powder (#109129) and heat set with the Heat Tool (#129056). Then using the second image I stamped the flower with Petal Pink ink. The photopolymer stamps enable you to line up the images very easily. The next image I inked with Petal Pink ink again then stamped off first before stamping on the flower. This gave a very subtle colour to the background of the flower. After stamping all images I cut the flower with a die from the co-ordinating Wild Rose Dies (#149547). The leaves were stamped with Soft Sea Foam ink (#147102) onto Soft Sea Foam card (#147012), then cut with a die from the same set. One flower was attached to the card with Stampin’ Dimensionals (104430), then Gold Metallic Pearls (#146282) were added to the card.

I hope you are having a great weekend.

Friday 21 June 2019

Magnolia Lane Memories & More Card Pack

Welcome again,

The beauty about the Memories & More card packs is that you can make a very simple card or add some extras for a stepped up card. I have used the Magnolia Lane Memories & More Card Pack (#149554) as well as the Magnolia Lane Large Specialty Memories & More Cards & Envelopes (#149487) and a few extras.


Included with the envelopes are printed envelope liners which finish the envelopes beautifully.
The 2 printed cards are from the Magnolia Lane Memories & More Card Pack. I matted the smaller card with a piece of the Copper Foil Sheet (#142020). Happy Birthday is from the Magnolia Blooms stamp set (#152729). This set is in the new Beginners Brochure. This is a great tool to introduce the beginner stamper to Stampin’ Up!. I stamped the greeting with VersaMark (#102283) and embossed with Copper Stampin’ Emboss Powder (#141636) and set it with the Heat Tool (#129056). This was cut with a Stitched Nested Labels Die (#149638). I also cut a smaller one from the Copper Foil and attached it to the Whisper White (#106549) label. Stampin’ Dimensionals (#104430) were used to attach this to the card. A Copper Designer Elements embellishment  (#149586) was added to the label. I cut the leaves using the Magnolia Memory Dies (#149578) from Old Olive from the Noble Peacock Foil Sheets (#149495) and glued them to the card with the Fine-Tip Glue Pen (#138309).


Another week is over. Where do the weeks go?


Thursday 20 June 2019

Birch & Daisy Lane

Hi everyone,

The Daisy Lane stamp set (#c149325) is such a popular set and it makes such beautiful cards. I have used it again today.


The base card is Lovely Lipstick (#146993) and the cardfront is Whisper White (#106549). I stamped the Birch Background stamp (#c149256) on the bottom 2/3’s of the white card. I used Crumb Cake ink (#147116) for this. The greeting is from the Painted Glass stamp set (#c148220) and stamped with Lovely Lipstick ink (#147140), the corners of the cardfront were punched with the Detailed Trio Punch (#146320). The daisies were stamped with Lovely Lipstick ink and punched with the Medium Daisy Punch (#149517). Each flower consists of 2 daisies glued together with the Multipurpose Liquid Glue (#110755). The Designer Elements (#149586) were added to each of the flower centres. These are adhesive backed metallic accents in 3 colours - antique copper, antique gold and antique silver. I used the silver ones. The leaves were stamped with Call Me Clover ink (#147139), then fussy cut. The middle daisy was attached with Stampin’ Dimensionals (#104430).


Enjoy your day.

Wednesday 19 June 2019

Daisy Lane

Welcome,

I wanted to make a bright and cheery card today and I thought this worked well.


The cardstock is Whisper White (#106549), Mango Melody (#147013) and Granny Apple Green (#147014). The leaves were stamped with Granny Apple Green ink (#147095). I used the masking method to stamp the 2nd leaf. The daisies were stamped with Mango Melody ink (#147093). These images are from the Daisy Lane stamp set (#149325). The daisies were punched with the Daisy Punch (#143713) and the Medium Daisy Punch (#149517). I stamped and punched 2 of each size and glued them together with the Multipurpose Liquid Glue (#110755) and attached the whole daisy with Stampin’ Dimensionals (#104430). I also stamped the small daisy onto the Mango Melody card using VersaMark (#102283) for a very subtle background image. “Thanks” is cut with a die from Well Written dies (#148534) and glued to the card with the Fine-Tip Glue Pen (#138309). A Clear Faceted Gem (#144142) was attached to the daisy centre.

Have a great day.

Tuesday 18 June 2019

Heirloom Frames Dies & 3D Embossing Folders

Hi ladies & guys,

I do love these new frames and embossing folders from the Heirloom Frames Dies & 3D Embossing Folders. They are part of the Woven Heilooms Bundle (#c151093) which consists of the stamp set as well as the dies and embossing folders. There is a rectangle frame and an oval frame.


It is best to cut the frame first with the die. This makes it easy to line up the embossing folder. I used Gold Foil Sheets (#132622) to make the frame. I stamped the flower from the Floral Essence stamp set (#p149450) onto a piece of Very Vanilla card (#106550) using Mango Melody ink (#147093). I stamped a second flower and fussy cut it. The middle of the flower was stamped with Soft Suede ink (#147115). The frame and the fussy cut flower were attached with Stampin’ Dimensionals (#104430). The Designer Series Paper is Garden Lane (#149488), and this was attached to the Very Vanilla base card. The bow is made from the Mint Macaron 1/4” Textile Ribbon (#149480) and attached with a Mini Glue Dot (#103683). The sentiment is from the Floral Essence stamp set and stamped with Tuxedo Black Memento ink (#132708)

Have a fantastic day.


Monday 17 June 2019

Detailed Peacock Dies

Hello & Welcome,

Have you seen the stunning Noble Peacock suite? If not take a closer look as it is beautiful. I have made a simple card with some of the products today.


I used Very Vanilla cardstock (#106550). The smaller piece was embossed with the Tufted 3D Embossing Folder (#151785). The peacock was cut with a die from the Detailed Peacock Dies (#149582) from the Noble Peacock Foil Sheets (#149495). There are 3 colours in this set - Blueberry Bushel, Old Olive and Pretty Peacock. They also co-ordinate with the Noble Peacock Specialty Designer Series Paper (149493) which have foil accents, and I have used the Pretty Peacock on the left side of the card. I attached the peacock to the card using the Fine-Tip Glue Pen (#138309). “For You” is from the Itty Bitty Greetings stamp set (#c151331) and stamped with Bermuda Bay ink (#147096). I punched this with the Classic Label Punch (#141491). I added the Noble Peacock Rhinestones (#149494) to finish the card.

Have a great day, whatever you are doing!

Sunday 16 June 2019

Memories & More card pack

Hello again,

When you have very little time and need a card, look no further than the Memories and More card packs. Here I have used the Magnolia Lane Memories & More Card Pack (#149554) and the Magnolia Lane Large Specialty Memories & More Cards & Envelopes (#149487).


The base card is from the Cards & Envelopes pack. These cards are Kraft with white foil accents. The smaller card from the Magnolia Lane Memories & More card pack was attached to the base card. The flowers in the 2 corners are stickers from the same pack and attached with Stampin’ Dimensionals (#104430). Can’t get any easier than that!!

Enjoy your day.


Friday 14 June 2019

Mosaic Mood Specialty Designer Series Paper

Hello everyone,

I thought these photos taken in New Zealand after Onstage were perfect to use with the Mosaic Mood Specialty Designer Series Paper (#149478). The photos are taken in a garden full of mosaics.


Very Vanilla 12”x12” card (#124302) was used for the base. All the Designer Series Paper is from the Mosaic Mood DSP. The butterfly, bird and flower were all fussy cut. The photos were matted with Terracotta Tile card (#150890) - one of the new In Colours, and Basic Black card (#121688). The label for the journaling was cut with the Stitched Nested Labels Dies (#149638). 


Have a fantastic weekend.


Tuesday 11 June 2019

Daisy Lane & A Little Lace

Hi & welcome everyone,

One of the 2019-2021 In colours is the Seaside Spray, which I have used on this card. Isn’t it pretty.


The cardstock is Whisper White (#106549), and the Designer Series Paper is from the 6”x6” 2019-2021 In Colour Designer Series Paper (#149617), which includes the 5 In Colours in 4 designs. The stamped image from A Little Lace stamp set (#c149364), was stamped with VersaMark (#102283), then embossed with Gold Stampin’ Emboss Powder (#109129) and heat set with the Heat Tool (#129056). “Smile”, also from A Little Lace stamp set was stamped with Seaside Spray ink (#150085). The 2 daisies from the Daisy Lane stamp set (#c149325) were stamped with Seaside Spray ink. I stamped 2 of each image, and punched them with the Daisy Punch (#143713) and the Medium Daisy Punch (#149517). These were layered and glued with the Multipurpose Liquid Glue (#110755). I added a pretty Flower Faceted Gem (#149479) to the flower centre.

Enjoy your day.


Monday 10 June 2019

Bird Ballard Laser-Cut Cards

Hello,

Another gorgeous suite in the 2019-2020 Annual catalogue is the Bird Ballard suite. It is so easy to make stunning cards when you have such beautiful products.


This beautiful card is from the Bird Ballard Laser-Cut Cards & Tin (#149595). There are 12 laser-cut cards and envelopes in a beautiful tin. I attached a piece of the So Saffron vellum from the Perennial Essence 12”x12” Vellum cardstock (#149101) inside the card. You can use any cardstock to co-ordinate with your coloured images. I fussy cut the birds from the Bird Ballard Designer Series Paper (#149592) and attached this to the card with Stampin’ Dimensionals (#104430). “Thank you” from the Free As A Bird stamp set (#c149468) was stamped with Tuxedo Black Memento ink (#132708). The labels were cut with the Stitched Nested Labels Dies (#149638), from Very Vanilla card (#106550) and So Saffron card (#108611). I added the Very Vanilla 3/8” Scalloped Lace Trim (#149593) under the labels to complete the card.

Have a great day.


Sunday 9 June 2019

Good Morning Magnolia on Vellum

Hello friends,

I am loving the Good Morning Magnolia stamp set (#c149298), so today I have stamped the large magnolia on Vellum Cardstock (#106584).


I stamped the magnolia with VersaMark (#102283) onto the vellum and used White Stampin’ Emboss Powder (#109132) and heat set it with the Heat Tool (#129056). The co-ordinating die from the Magnolia Memory Dies (#149578) was used to cut the flower. I then coloured the back of the vellum with Stampin’ Blends. This gave me the subtle colour I wanted. I used Light Old Olive (#144574) for the leaves and Light Flirty Flamingo (#147031) for the flower. I also used Dark Flirty Flamingo (#147032) for the centre of the flower. The sentiment from Painted Glass (#c148220) was stamped with Flirty Flamingo ink (#147052). The Whisper White card front (#106549) was then embossed with the Tufted 3D Embossing Folder (#151785) and attached to the Whisper White base card. I glued the flower to the card with the Fine-Tip Glue Pen (#138309) and added some Pearl Basic Jewels (#144219) to finish the card.

I hope you are finding time to do something crafty today.


www.lesleyjendra.stampinup.net


lesleyjendra@bigpond.com.au

Friday 7 June 2019

Bird Ballard Designer Series Paper

Hello,

The Bird Ballard Designer Series Paper (#149592) is one of many gorgeous Designer Papers in the new Annual catalogue.


The base card and embossed card are Whisper White (#106549). I used the Country Floral 3D folder (#151823) to emboss the card. The birds from the Designer Series Paper and the Calypso Coral card (#124392) were both cut with the Layering Circles Dies (#141705). The bird cage paper is from the same DSP pack. I stamped “Thank You” with Calypso Coral ink (#147101) and the die to cut this is from the Smooth Sailing Dies (#149576). This was attached with Stampin’ Dimensionals (#104430). 

The weekend is here already. Where did the week go!!

Thursday 6 June 2019

Good Morning Magnolia

Hi and welcome,

There is so much to love about the Magnolia Lane Suite, with so many beautiful images in the stamp set, the designer series paper and the memories & more card pack. On this card I have used the large magnolia from the Good Morning Magnolia stamp set (#c149298). 


I stamped the image onto the Whisper White base card (#106549), then stamped again on another piece of white card. Using the Stamparatus (#148187) for stamping ensures you can perfectly align the image. These were stamped with Tuxedo Black Memento ink (#132708). This ink is best when using Stampin’ Blends, which I have used for the colouring. The Stampin’ Blends used are Light & Dark Petal Pink (#147272) and Light & Dark Old Olive (#144597). The sentiment from Good Morning Magnolia was stamped with Petal Pink ink (#147108). I attached the smaller white card to Petal Pink card (#147009), then attached this to the base card with Stampin’ Dimensionals (#104430).

Enjoy your day.

Wednesday 5 June 2019

Magnolia Lane Memories & More Card Pack

Welcome,

There is such a variety of cards in the Magnolia Lane Memories & More card Pack (#149554) and they are suitable for a quick card or scrapbooking. Here is a quick and easy card.


The printed vellum from the card pack has been attached to the Whisper White card (#106549). The smaller card with the magnolias has been attached to  Early Espresso card (#121686). The sentiment is from the Delightful Day stamp set (#p149466) and stamped with Early Espresso ink (#147114). I used the Stitched Nested Labels Dies (#149638) to cut the sentiment and the Mossy Meadow card (#133683). The sentiment was attached to the card with Stampin’ Dimensionals (#104430) and the leaf from the Bird Ballard Trinkets (#149594) was attached with a Mini Glue Dot (#103683).

Have a great day.


Tuesday 4 June 2019

Magnolia Lane Designer Series Paper

Hi everyone,

The Magnolia Lane Designer Series Paper (#149484) has a beautiful range of magnolia flowers. Some images can be cut out using the Magnolia Memories Dies (#149578).


The cardstock is Mossy Meadow (#133683) and Whisper White (#106549). “Thinking Of You” and the magnolia were stamped with Early Espresso ink (#147114). These images are in the Good Morning Magnolia stamp set (#c149298) and I cut the magnolia with a die from the Magnolia Memory Dies. I coloured the stamped magnolia with Light Petal Pink Stampin’ Blends (#146866), Light Old Olive Stampin’ Blends (#144574) and Bronze Stampin’ Blends (#144607). The sentiment and the Mossy Meadow card under the sentiment were cut with the Stitched Nested Labels Dies (#149638). The scallops of the Mossy Meadow card and DSP were cut with a die also from the Magnolia Memory Dies.

Have a great day.


Monday 3 June 2019

Floral Essence stamp set

Hi and welcome again,

The new 2019-2020 annual catalogue is now here. All the stamp sets from now will be available either in photopolymer, which I will indicate with a “p” or cling, which I will indicate with a “c”. The cling stamps are red rubber but now with a highly adhesive image label. The photopolymer stamps are transparent and make it easy to accurately align the images, and is especially helpful with Two-step stamping.

Here’s another gorgeous stamp set from the new catalogue. This is the Floral Essence stamp set (#p149450). 


I embossed the Very Vanilla base card (#106550) with the Tufted 3D Embossing Folder (#151785). The Rococo Rose from the 2019-2021 In Color 6”x6” Designer Series Paper (#149617) was attached to the card. I stamped the smaller flower from the Floral Essence stamp set onto a piece of Very Vanilla card which was cut with a Layering Squares Die (#141708). This flower was stamped with Rococo Rose ink (#150080). I stamped another flower (different image) and fussy cut it and attached it to the square. The larger flower and leaves were stamped with VersaMark (#102283) and embossed with Gold Stampin’ Emboss Powder (#109129) and set with the Heat Tool (#129056). I stamped the middle of the flower with Petal Pink ink (#147108) and added some colour to the petals with Light Petal Pink Stampin’ Blends (#146866).These were also fussy cut and the flower was attached with Stampin’ Dimensionals (#104430). I used Mini Glue Dots (#103683) to attach the leaves. “Birthday Wishes” is from the Butterfly Wishes stamp set (#c149346) and stamped with Rococo Rose ink. This was cut with a Stitched Labels Die (#146828). I added the Pearl Basic Jewels (#144219) to the card and sentiment. The card under the scalloped square is Rococo Rose card (#150888).


I hope you have had a chance to see the new catalogue. If you haven’t (and live in Australia) and would like one please contact me.


Saturday 1 June 2019

Sailing Home Bundle

Hello,

The Sailing Home Bundle (#cling151066) is a beautiful set for masculine cards and is in the new 2019-2020 catalogue.


I attached the Laser cut card from the Come Sail Away Memories & More Card Pack (#149552) to the Whisper White base card (#106549). The lighthouse, boats and “thanks” were stamped with images from the Sailing Home stamp set (#cling149457) and cut with dies from the Smooth Sailing Dies (#149576). The wheel was cut from Copper Foil Sheet (#142020) with a die also from the Smooth Sailing Dies. “Thanks” and the darker boat were stamped with Blueberry Bushel ink (#147138) and the lighter boat with Balmy Blue ink (#147105). The lighthouse was stamped with VersaMark (#102283) and Heat embossed with Silver Stampin’ Emboss Powder (#109131).  I stamped some images of the compass on the Balmy Blue card (#147007) using VersaMark, and the oval was cut with a Layering Oval Die (#141706). Stampin’ Dimensionals (#104430) were used to attach the lighthouse, greeting and darker boat.

Enjoy your day.


www.lesleyjendra.stampinup.net


lesleyjendra@bigpond.com.au