Another retiring set is the Sailing Home stamp set (#149457) and the co-ordinating Smooth Sailing Dies (#149576).
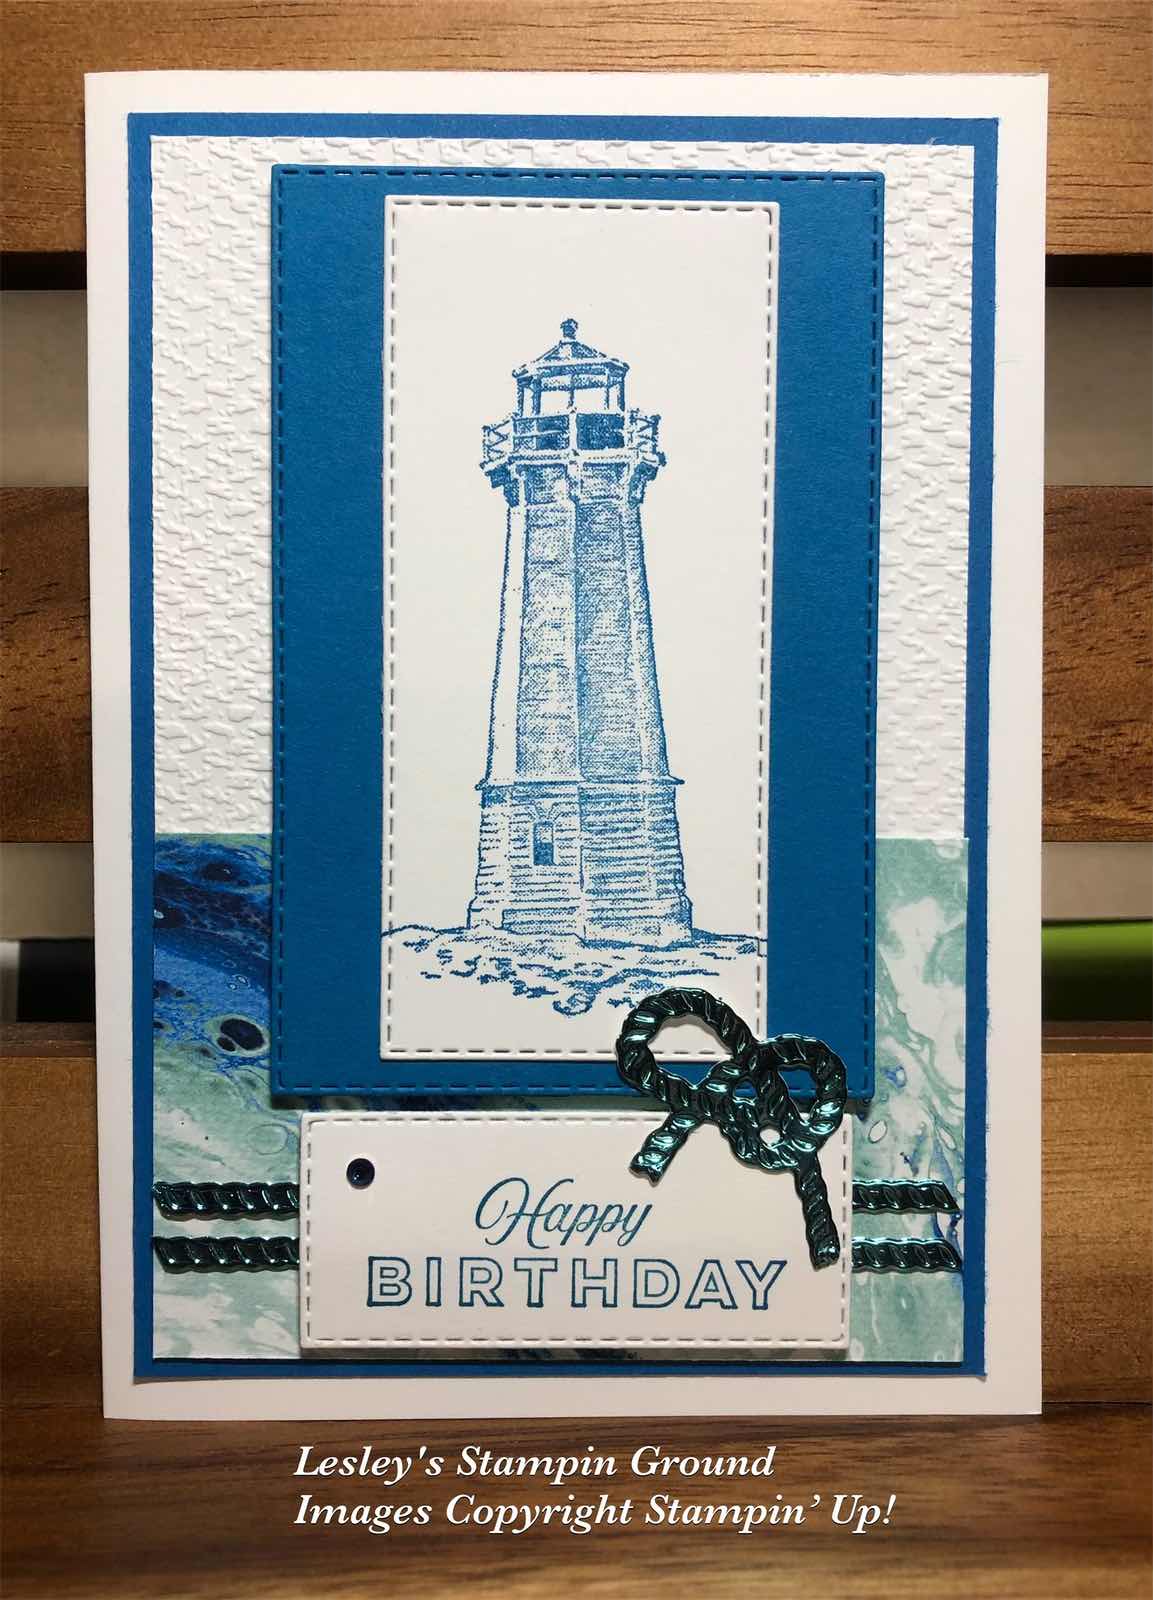
The lighthouse and sentiment were stamped with Pacific Point ink (#116202). The sentiment is from the Celebrating You stamp set (#158028). I used the Stitched Rectangles dies (#151820) to cut the sentiment, lighthouse and the Pacific Point card (#116202).
The Basic White card (#159228) was dry embossed with the Tasteful Textile 3D Embossing Folder (#152718) then matted with Pacific Point card. This was attached to the Basic White base card. The Waves Of The Ocean Designer Series Paper (#159982) was attached to the card front.
I adhered Adhesive Sheet (#152334) to the back of the Coastal Cabana Foil from the Blue Foils (#159983) and cut the “ropes” with the Smooth sailing dies (#149576). The straight pieces of rope were attached to the card. The Pacific Point card & sentiment were attached with Stampin’ Dimensionals (#104430). A Rhinestone Waves Basic Jewel (#159396) was attached to the sentiment and the “knotted rope” was also attached to the card.
The retiring products used here are the Sailing Home stamp set, Smooth Sailing Dies, Waves Of The Ocean Designer Series Paper, Blue Foils and the Tasteful Textile 3D Embossing Folder.
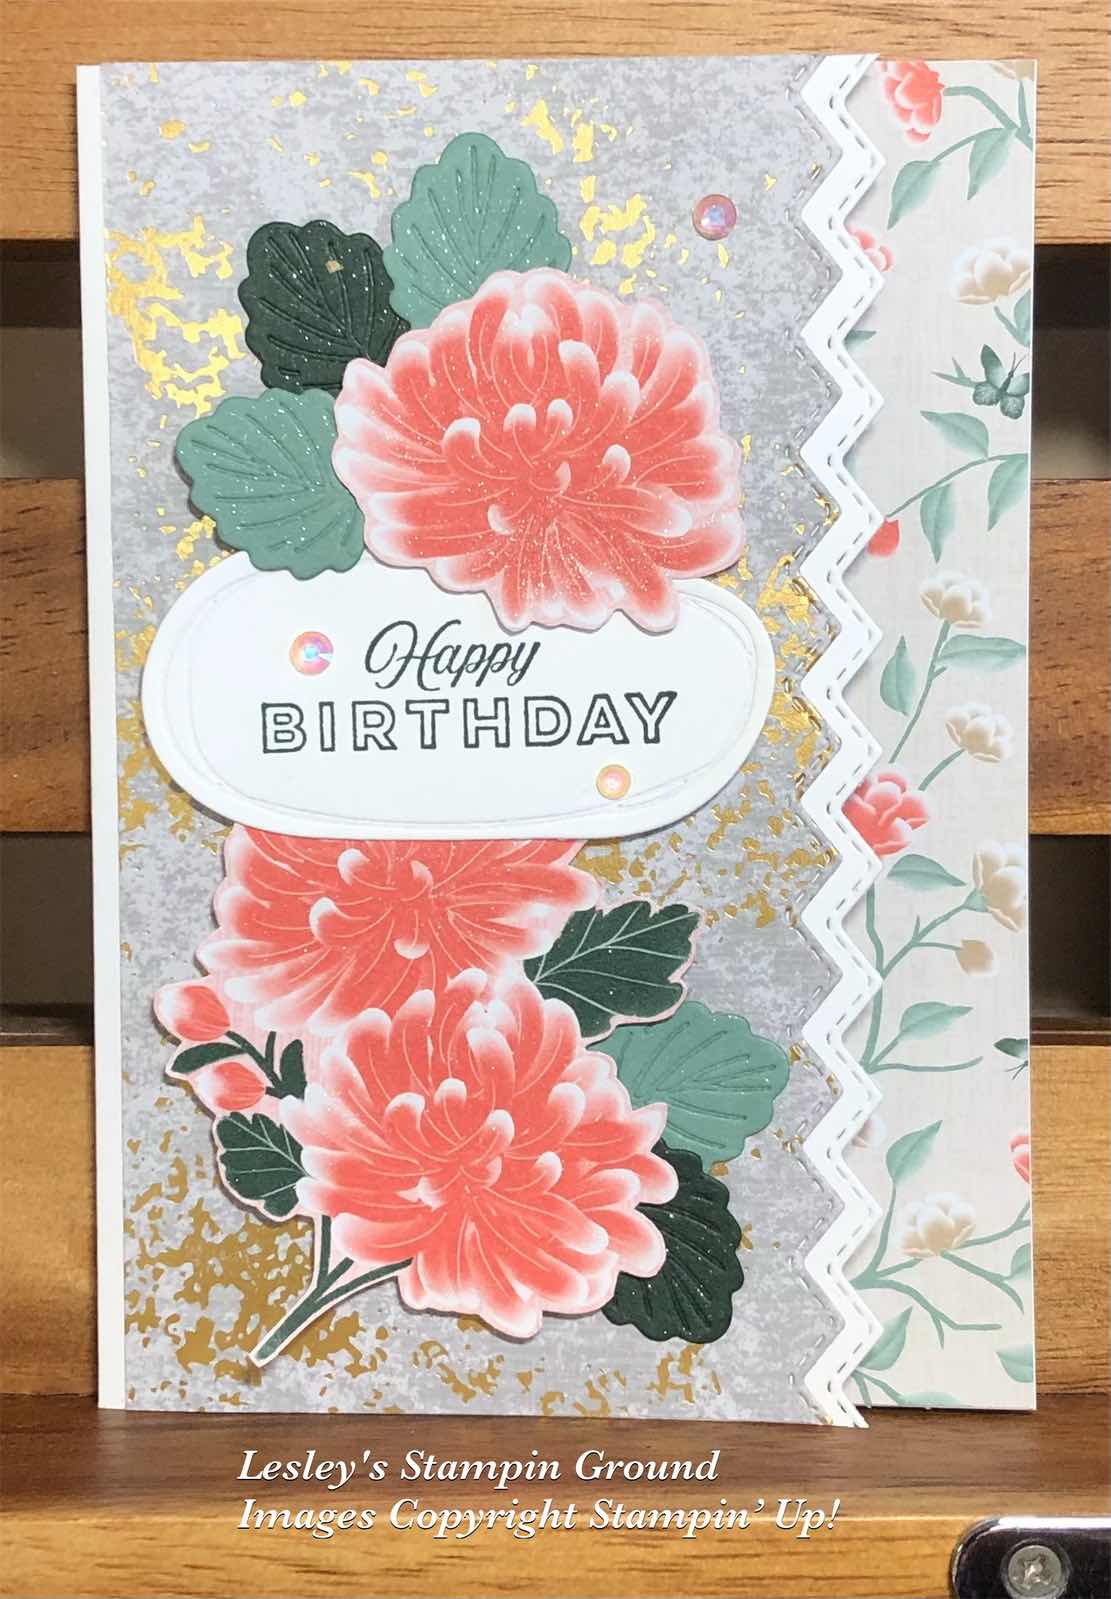
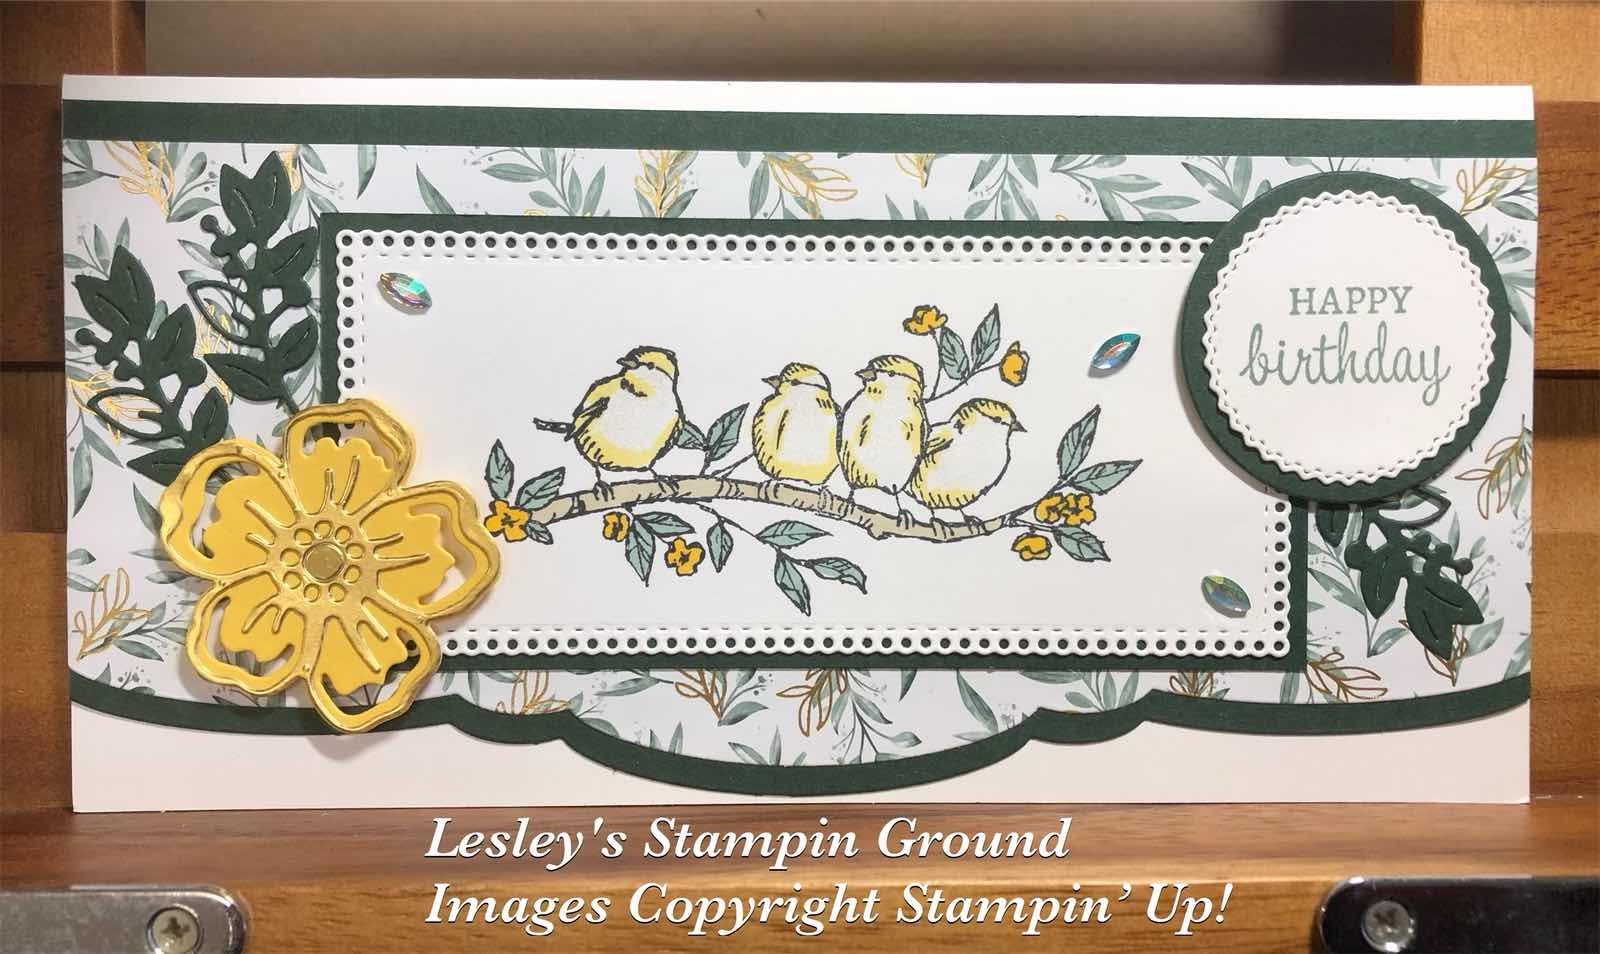
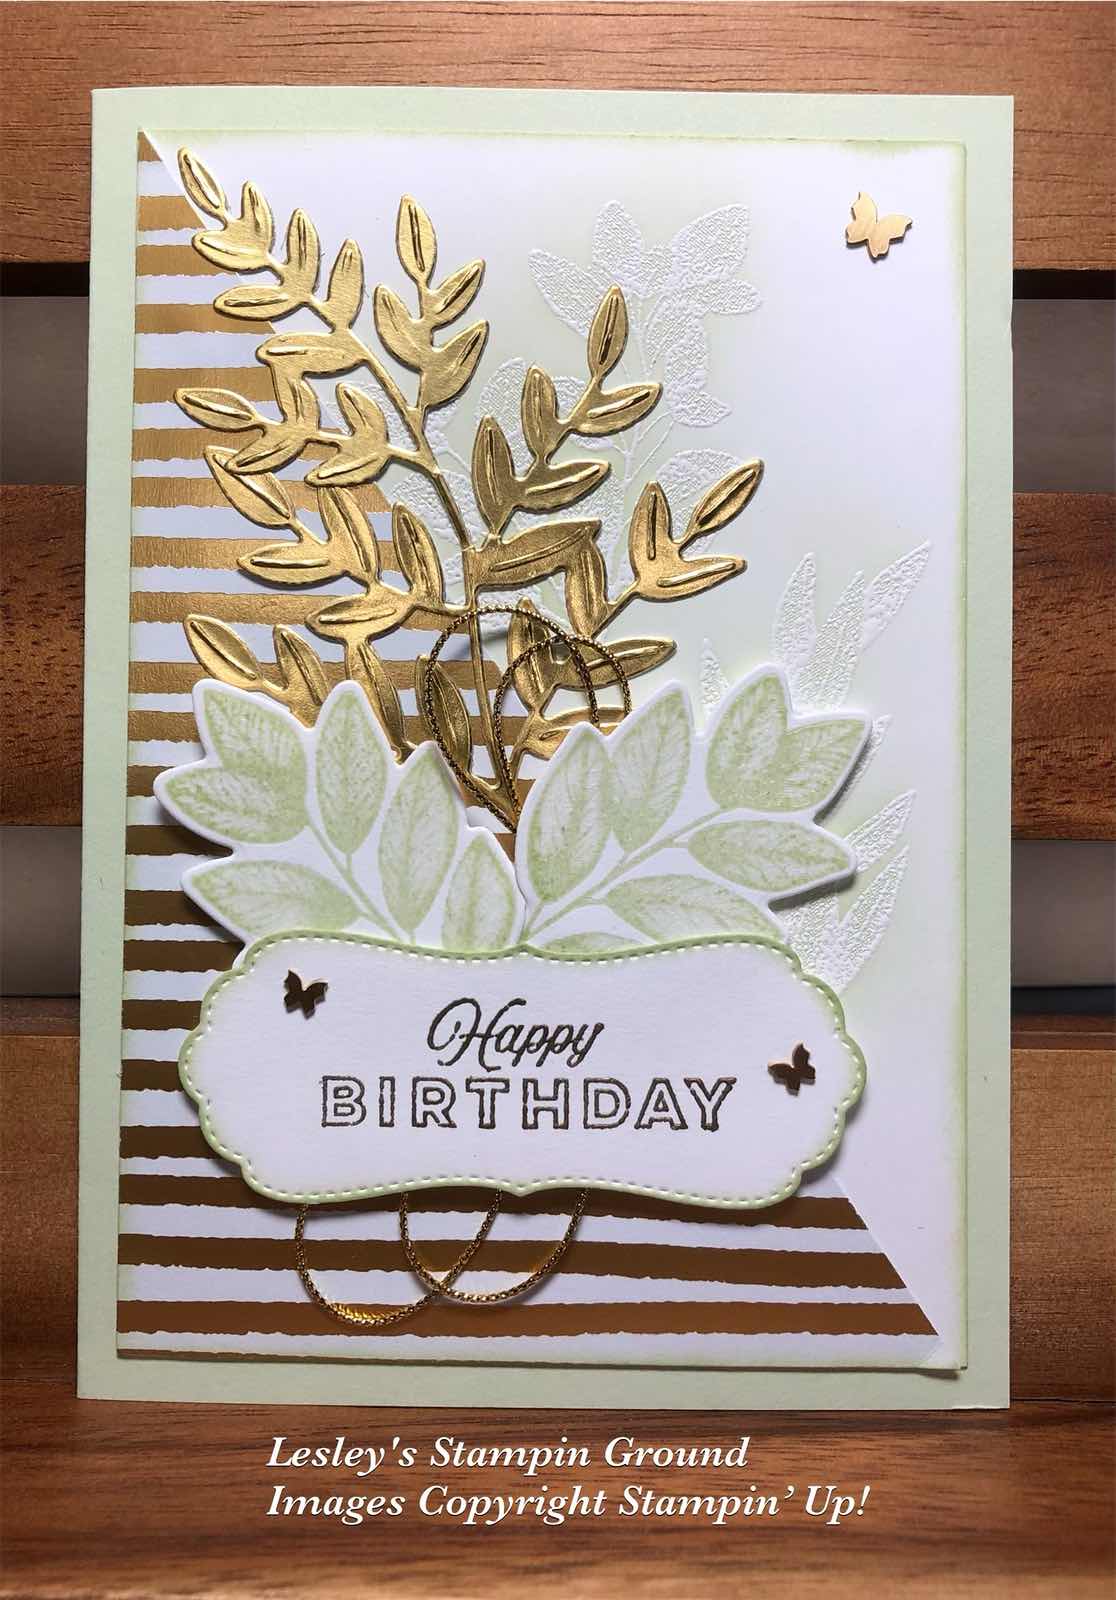
“Love what you do and share what you love.”