Showing posts with label #celebrationlabelsdies. Show all posts

Wednesday, 30 September 2020

Joyful Holly

Hello again friends,

The Joyful Holly stamp set (#153440) which I have used on this card is a Two-Step stamp set, which means you can create a layered image. Here I have stamped the outline with a darker colour and then stamped the inside colour with a lighter ink.
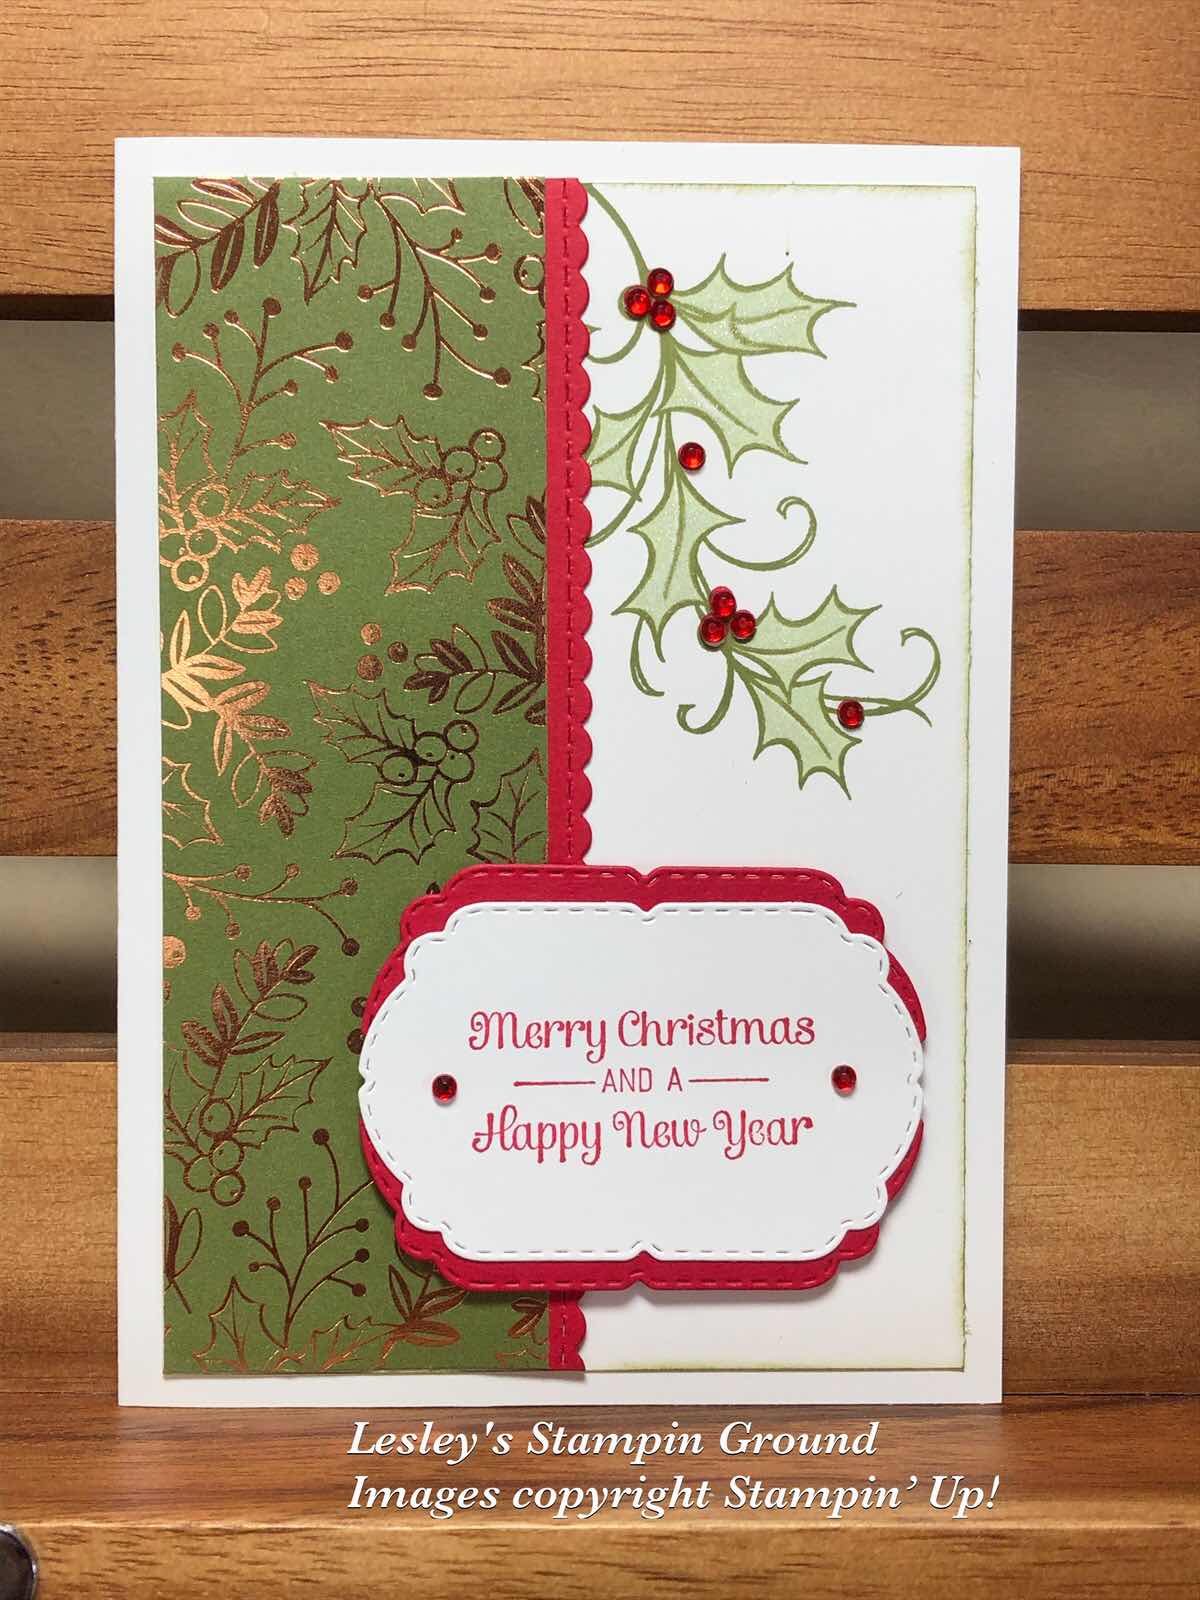


I stamped the outline of the holly leaves with Old Olive ink (#147090), then stamped the inside of the leaves with Soft Sea Foam ink (#147102). There is also an image to stamp the berries but I chose to use the Red Rhinestone Basic Jewels (#146924) instead. I sponged the edges of this Whisper White card front (#106549) with Old Olive ink and attached it to the Whisper White base card. 
The scalloped edge cut from a piece of Real Red card (#106578) uses a die from the Stitched Be Mine dies (#151814) and I attached this to the Brightly Gleaming Specialty Designer Series Paper (#150429), then this was attached to the card front. The greeting from the Itty Bitty Christmas stamp set (#150513) was stamped with Real Red ink (#147084) and this was cut with a Celebration Labels Die (#153570). I cut a piece of Real Red card with the same die, cut it in half and attached it to the sentiment. This was then attached to the card with Stampin’ Dimensionals (#104430). I added 2 more of the Red Rhinestones to the greeting.

For the month of October Stampin’ Up have 15% of a variety of Designer Series Papers so check them out here and save.

Have a fantastic day.


Friday, 11 September 2020

So Much Love

Hi and welcome to another weekend,

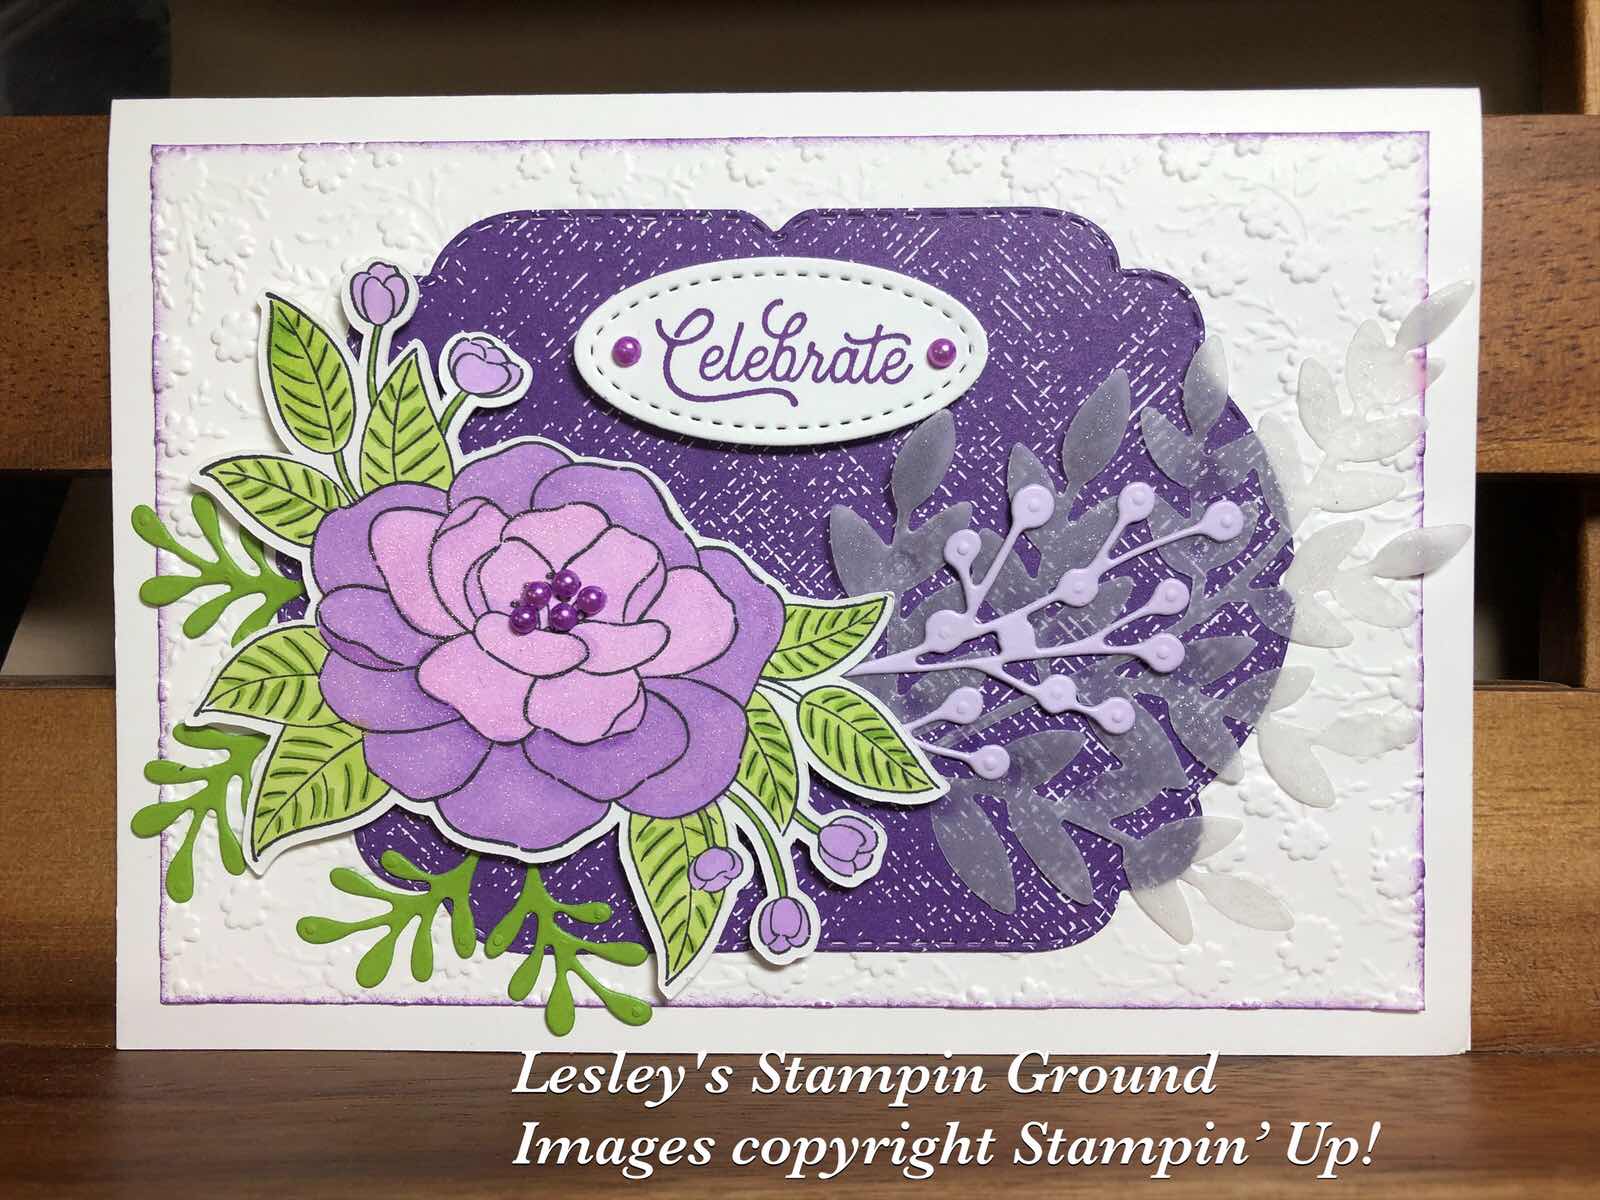
As well as butterflies being a favourite (as I said yesterday), purple/mauve is my favourite colour, here I have used my favourite colours.


The Whisper White card front (#106549) was dry embossed with the Ornate Floral 3D Embossing Folder (#152725). I daubered the edges with Gorgeous Grape ink (#147099), then attached it to the Whisper White base card. The Gorgeous Grape paper from the Brights 6”x6” Designer Series Paper (#152487) was cut with a Celebration Labels Die (#153570). The floral image from So Much Love stamp set (#c152667) was stamped with Tuxedo Black Memento Ink (#132708). This was coloured with the following Stampin’ Blends - Purple Posy (#154896), Highland Heather (#154887) and Granny Apple Green (#154885), then fussy cut. The Vellum (#106584) leaves were cut with a Forever Flourishing Die (#152714), the Purple Posy “berries” were cut with a Poinsettia Die (#153522) and the Granny Apple Green “leaves” were cut with dies from the Celebration Labels Dies. I had adhered the Adhesive Sheet (#152334) on the back of the Purple Posy card (#150887) and Granny Apple Green card (#147014) before cutting with the dies. The floral image was attached with Stampin’ Dimensionals (#104430). “Celebrate” is from the Many Mates stamp set (#c152633) and I used Gorgeous Grape ink. I cut this with a Stitched Shapes Die (#152323) and it was attached with Mini Stampin’ Dimensionals (#144108). I coloured the Pearl Basic Jewels (#144219) with the Dark Highland Heather Stampin Blends and attached them to the flower and sentiment.

Have a great weekend.


Wednesday, 26 August 2020

Sweetest Time Bundle

Hello friends,

There are so many beautiful bundles in the new August-December 2020 Mini catalogue, including the Sweetest Time Bundle (#155169). This includes the Sweetest Time stamp set (#p153436) and the Sweetest Borders Dies (#153559).


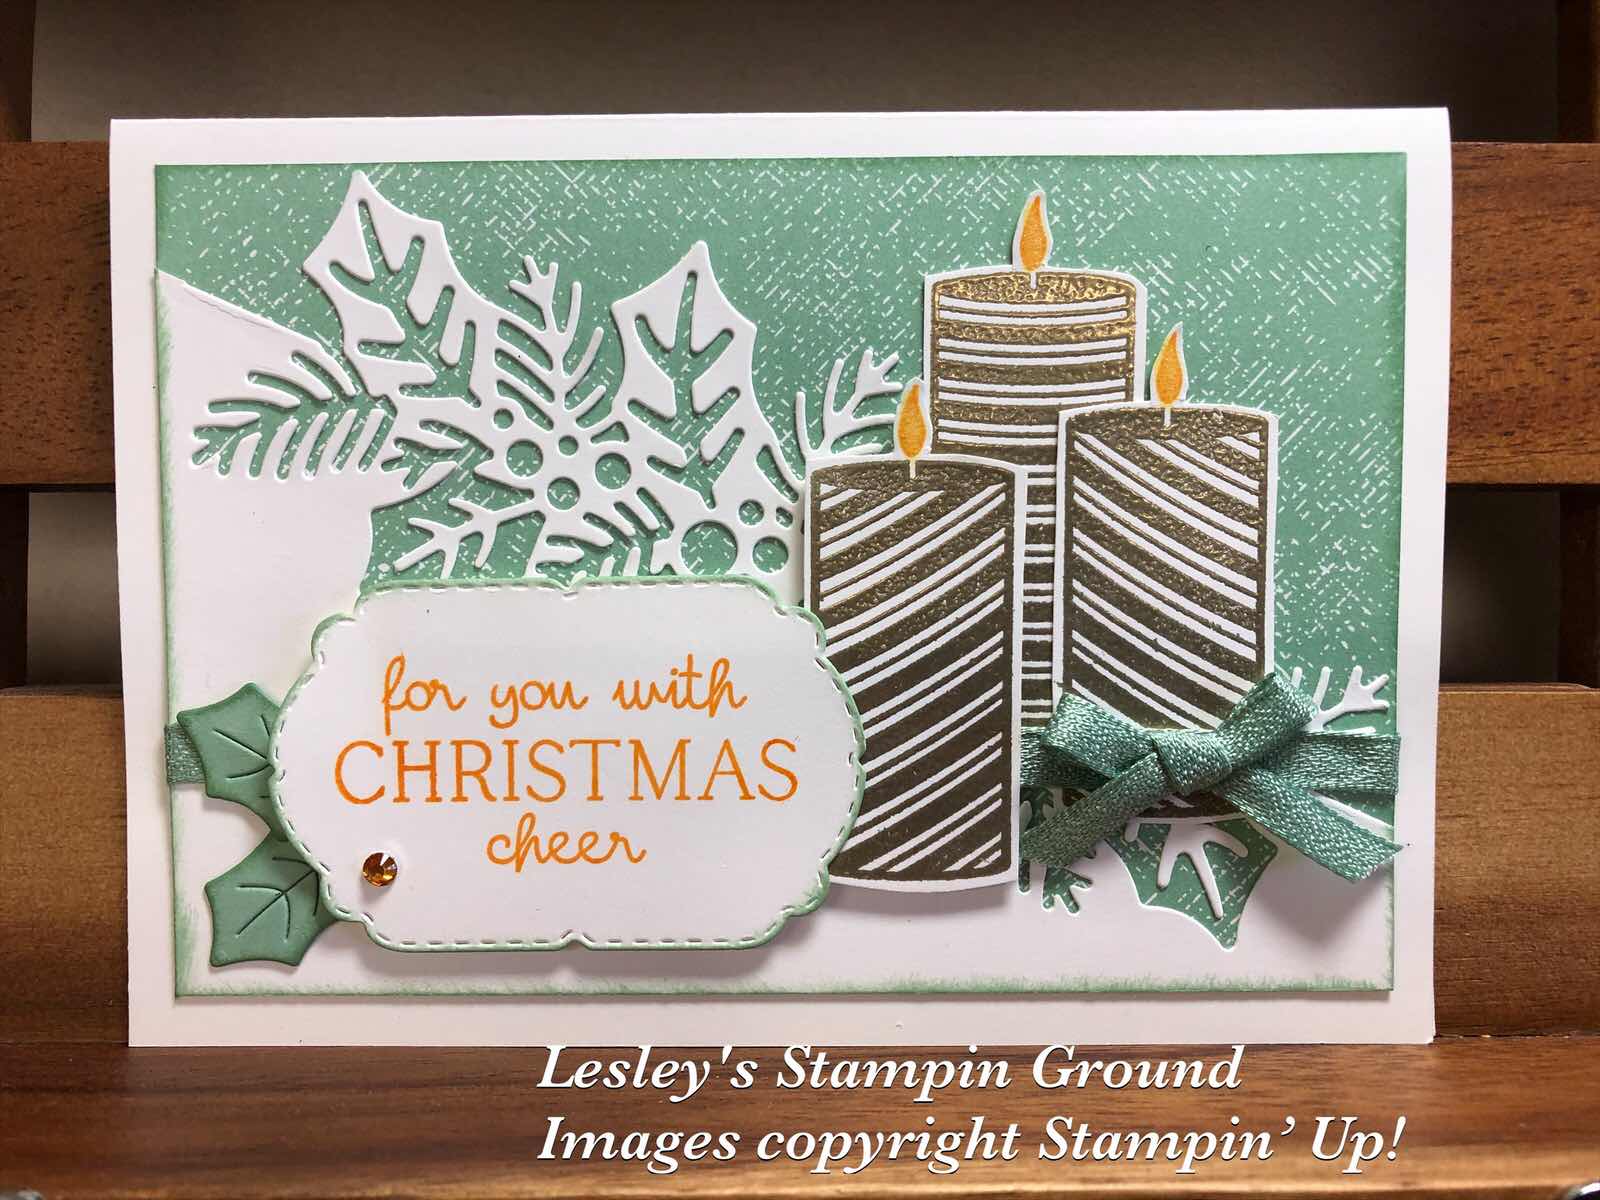
The holly leaves border was used to cut the Whisper White card (#106549), then attached to a piece of Mint Macaron from the Subtles 6”x6” Designer Series Paper (#153072). The base card is also Whisper White. I stamped the set of 3 candles using VersaMark (#102283) and heat embossed with Gold Stampin’ Emboss Powder (#109129) and set with the Heat Tool (#129056). The flames were stamped with Mango Melody ink (#147093). I fussy cut these candles to separate them, as they are stamped as one image. I attached middle and the candle on the right to the card. Then I wrapped the ribbon (which I just realised is the retired Mint Macaron Textile Ribbon) around the card front. I then added the 3rd candle to the card with Stampin’ Dimensionals (#104430). The sentiment was stamped with Mango Melody ink and cut with a Celebration Labels Die (#153570). The small holly leaves at the left of the sentiment were cut from Mint Macaron card (#138344). The edges of the sentiment, holly leaves and cardfront were sponged with Mint Macaron ink. The sentiment was attached with Stampin’ Dimensionals and the holly leaves with Mini Glue Dots (#103683). A Holiday Rhinestone Basic Jewel (#150457) was added to the sentiment.

Have a great day, stay safe and keep crafting!!


Sunday, 23 August 2020

Celebration Labels Dies

Hello and welcome everyone,

The Celebration Labels Dies (#153570) have been used on this card today.


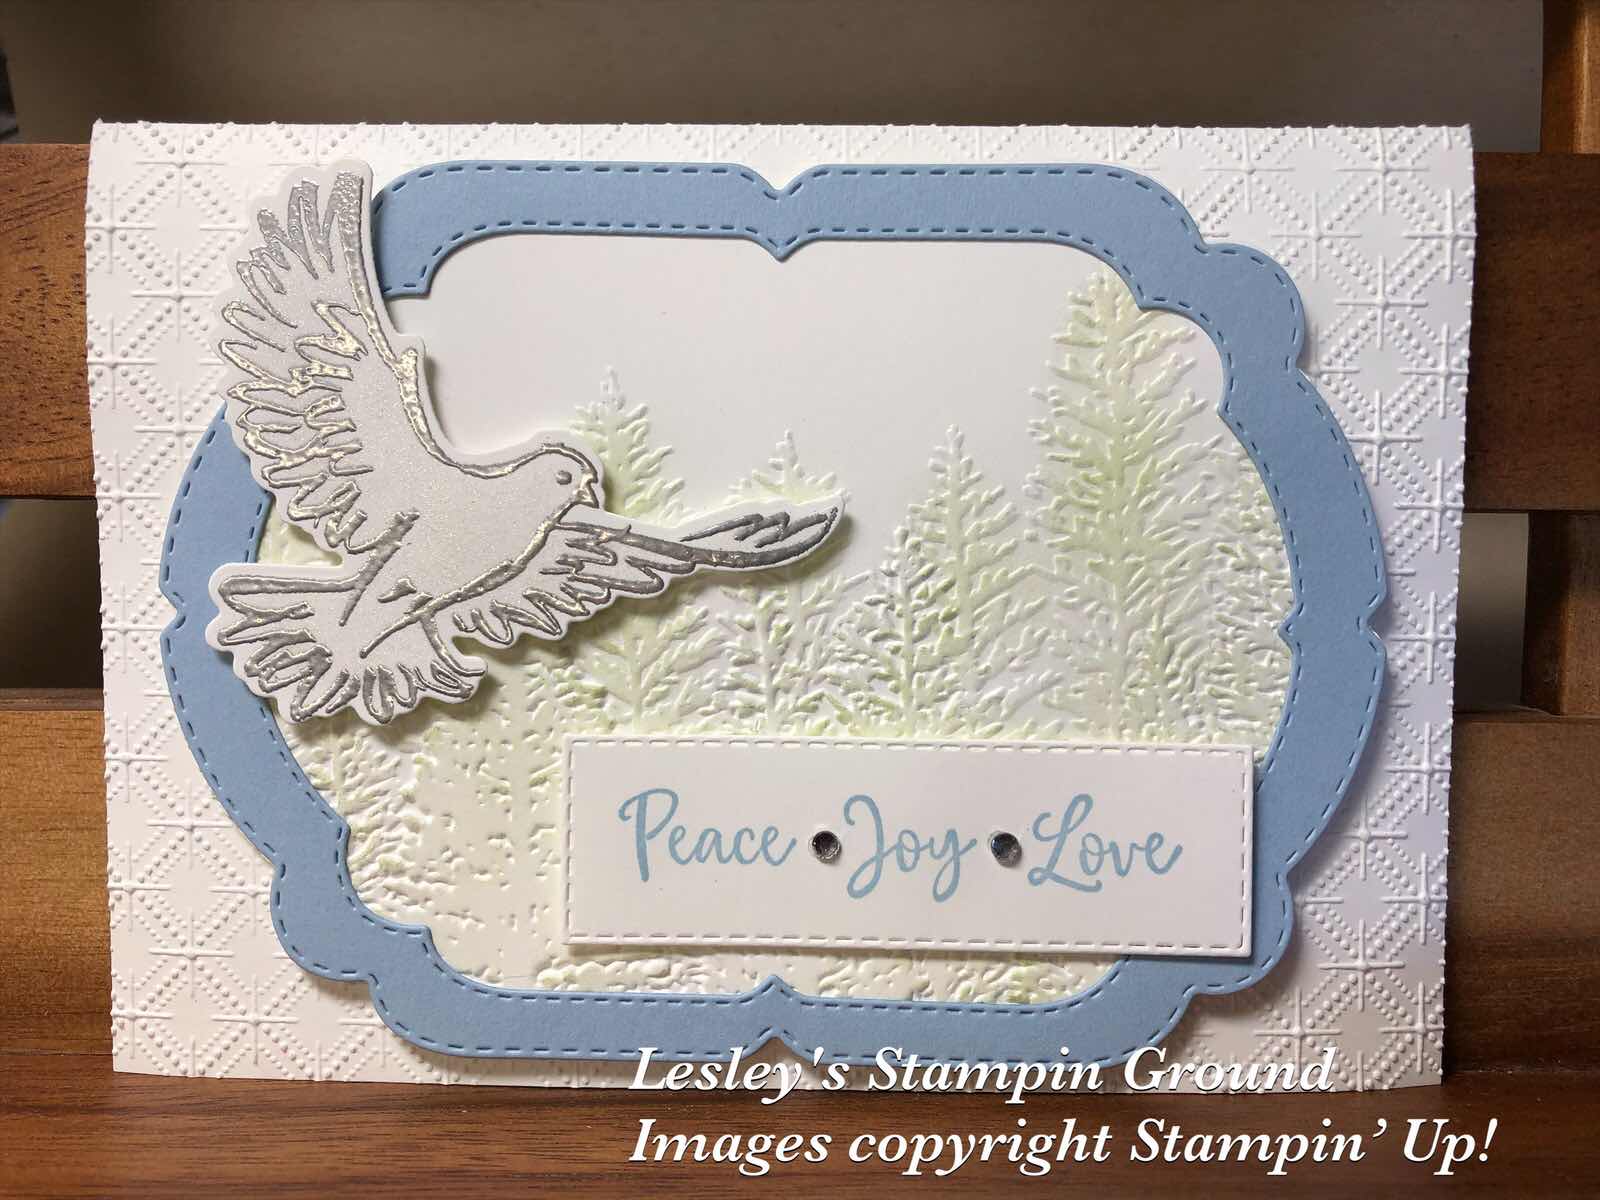
Firstly, I embossed the Whisper White base card (#106549) with the Dainty Diamonds 3D Embossing Folder (#152702). I cut a piece of Whisper White card with a Celebration Labels Die, then embossed this with the Evergreen Forest 3D Embossing Folder (#153576). I then daubered the trees with Soft Sea Foam ink (#147102). The “frame” was made by cutting the Seaside Spray card (#150889) with 2 of the Celebration Labels Dies and this was attached to the White card. This was then attached to the base card with Stampin’ Dimensionals (#104430). I stamped the dove from the Dove Of Hope stamp set (#153406) using VersaMark (#102283) and heat embossed with the Silver Stampin’ Emboss Powder (#109131) which was set with the Heat Tool (#129056). This was cut with the co-ordinating Detailed Dove Dies (#153526) and attached to the card with Stampin’ Dimensionals. I used the Clear Wink Of Stella Glitter Brush (#141897) to add Glitter to the dove. The sentiment, also from the Dove Of Hope stamp set was stamped with Seaside Spray ink (#150085) and cut with a Stitched Rectangles Die (#151820). I added the Rhinestone Basic Jewels (#144220) to the sentiment and added the sentiment to the card with Stampin’ Dimensionals.
These dies are also great for making bag toppers. After cutting, just fold in half at the notches and attach to the top of the bag. There are 5 different sizes of these dies, so you can use them for large or small bags and you can use the longer side or shorter side, as well as layering the different sizes. So many options!!

Enjoy whatever it is you are doing today.