Showing posts with label #silverfoilspecialtypack. Show all posts

Wednesday, 27 December 2023

Trusty Toolbox Designer Series Paper

Hi stamping friends,

Another Masculine card today using the Trusty Toolbox Designer Series Paper (#162978) which is a Sale-a-bration product and co-ordinates with the Trusty Tools Bundle (#162723) from the upcoming Mini catalogue.


Some of the tools in the Designer Paper can be cut with the Trusty Tools dies (#162722). The others are easily fussy cut. After cutting the tools they were attached to the card front which is also from the Trusty Toolbox DSP. This was matted with Lost Lagoon card (#133686) ad then attached to the Basic White card base (#159228).

The tool box was cut with the Trusty Tools dies using one of the foils from the Silver Foil Specialty Pack (#156457). The box was then dry embossed with the Metal Plate 3D Embossing Folder (#160766). I attached the box & handle with Mini Stampin’ Dimensionals.

“Thank you” is from the Trusty Tools stamp set (#163274) and this was stamped with Lost Lagoon ink (#161678). I used a Timeless Arrangements die (#161525) to cut the sentiment.

“Love what you do and share what you love.”

INSPIRE. CREATE. SHARE. 


Saturday, 4 November 2023

Rustic Christmas Tree

Hello friends,

Something very different today with this rustic Christmas Tree. (I saw a photo of one similar some time ago and just loved it.)


I got hubby to get some old pieces of timber (he has plenty hanging around) and cut them, attached them to a stick, then attached this to a piece of old ply. He had an old box which I used to hold the pinecones.

The letters and large star are cut with a Scan & Cut machine. I used Crushed Curry card (#131288), Cherry Cobbler card (#1216810 and Shaded Spruce card (#147006) for the letters and Distressed Gold 12”x12” Specialty Paper (#159237) for the large star.

The smaller stars are cut with the Stars At Night dies (#162006) using Gold Foil Sheets (#132622) and Silver Foil Specialty pack (#156457). I used the Night Of Navy from the Soft Shimmer Paper Combo Pack (#161750) for the small star on the large gold star at the top.

All the letters and stars were glued with Multipurpose Liquid Glue (#110722).

I think at Christmas I will add some greenery amongst the pinecones.


“Love what you do and share what you love.”

INSPIRE. CREATE. SHARE. 


https://www.stampinup.com.au


lesley.j.jendra@gmail.com


http://lesleysstampinground.blogspot.com

Monday, 24 April 2023

Radiating Stitches Dies

Hi again,

I have been playing with the Butterfly Brilliance stamp set (#155092) again before it retires.


I coloured the Basic White card (#159228) with Blending Brushes (#153611) and a variety of inks - Tahitian Tide (#159210), Pale Papaya (#155670, Flirty Flamingo (#147052) and Daffodil Delight (#147094). The butterfly was stamped with VersaMark (#102283) and I embossed this with Silver Stampin’ Emboss Powder (#155555). The Brilliant Wings die (#155523) was used to cut the butterfly.

I used 3 of the dies from the Radiating Stitches Dies (#161595) to cut 2 of the Silver Foils from the Silver Foil Specialty Pack (#156457) and the top layer from the Naturally Gilded Specialty Designer Series Paper (#161639). These were taped together then attached to the Basic White base card.

The sentiment from Nested Friends stamp set (#160322) was stamped with Balmy Blue ink (#147105) then cut with another die from the Radiating Stitches Dies. The sentiment & butterfly were attached to the card with Stampin’ Dimensionals (#104430). The embellishments are from the Festive Pearls (#159963).

The retiring products used on this card are the Butterfly Brilliance stamp set, the Brilliant Wings dies and the Nested Friends stamp set.

Time is running out for you to get any of the remaining retiring products. Check out what is available here - lesleyjendra.stampinup.net


“Love what you do and share what you love.”


INSPIRE. CREATE. SHARE.


Sunday, 16 April 2023

Enjoy The Rhythm

Hello friends,

This card using the Enjoy The Rhythm stamp set (#160361) would be great for anyone interested in music. 


I stamped the images on the background using Smoky Slate ink (#147113) on the Basic White card (#159228). The drums were stamped with VersaMark (#102283) and I used Black Stampin’ Emboss Powder (#155554) and set this with the Heat Tool (#129056).

I used the Layering Diorama dies (#155565) to cut the drums and the Basic Black card (#121688). The silver foil from the Silver Foil Specialty Pack (#156457) was dry embossed with the Merry Melody Embossing Folder (#156392).

The stamped card front was matted with Basic Black card then attached to the Basic White base card. The silver foil was attached to the card front, then the drums were attached to the card with Stampin’ Dimensionals (#104430). The sentiment from the same stamp set was stamped with Tuxedo Black memento Ink (#132708) and cut with a Stitched Rectangles Die (#151820). This was attached with Mini Stampin’ Dimensioanls (#144108).

The retiring products here are Enjoy The Rhythm stamp set, Stitched Rectangles Dies and Layering Diorama Dies.


“Love what you do and share what you love.”


INSPIRE. CREATE. SHARE.


Saturday, 8 April 2023

Perfectly Pencilled Designer Series Paper

Hello & Happy Easter to everyone,

I have fuss cut these flowers from the Perfectly Pencilled Designer Series Paper (#159244) then coloured them with Stampin’ Blends.


The Stampin’ Blends used are Cherry Cobbler (#154880), Old Olive (#154892), Daffodil Delight (#154883), Flirty Flamingo (#154884) and Balmy Blue (#154830). I then used the Clear Wink Of Stella (#141897) on the flowers to add some shimmer.

The Foil from the Silver Foil Specialty Pack (#156457) was dry embossed with the Timeworn 3D Embossing Folder (#156505). I used a die from the Blossoming Happiness dies (#158823) on the left side of the Cherry Cobbler card (#121681). The corners of the Silver Foil & Cherry Cobbler card were punched with the Very Best Trio Punch (#159878). These were taped to the Basic White base card (#159228).

Happy Birthday is from the Artistically Inked stamp set (#154542) and stamped with Cherry Cobbler ink (#147083). I cut this with a Seasonal Labels die (#156299). The flowers & sentiment were attached to the card with Stampin’ Dimensionals (#104430). Adhesive-Backed Milky Dots (#160582) were added to the flower centres and a Dragonfly Trinket (#160520) was attached with Mini Glue Dots (#103683).

The retiring products used on this card are the Perfectly Pencilled DSP, Seasonal Labels Dies, Blossoming Happiness dies and the Dragonfly Trinkets.

“Love what you do and share what you love.”

INSPIRE. CREATE. SHARE.


Tuesday, 28 June 2022

Rugged Icons Dies

Hello friends,

A quick and easy masculine card using a die from the Rugged Icons Dies (#159104) which contain 5 dies great for the male in your life.


I have used the fishing rod die. I backed the silver foil from the Silver Foil Specialty Pack (#156457) with Adhesive Sheet (#152334) before cutting with the die. I then used another of the silver foil to cut the fish.

The base card is Basic White (#159228). The designer paper is from the Hues Of Happiness Designer Series Paper (#158822) and this was matted with Night Of Navy card (#106577).

The sentiment is from the Home & Garden stamp set (#157910) and stamped with Night Of Navy ink (#147110). I used a die from the Stylish Shapes Dies (#159183) to cut the sentiment and this was attached with Stampin’ Dimensionals (#104430).

Don’t forget time is running out to get anything from the retiring list from the January -June Mini Catalogue. There are many retiring products at reduced prices still available and must be ordered by 30th June.


“Love what you do and share what you love.”


Tuesday, 16 November 2021

Peaceful Deer with Peaceful Place DSP

Hi friends,


I have never experienced a white Christmas (and probably never will) but I am sure it would be beautiful. This beautiful winter scene and the background DSP is from the Peaceful Place 12”x12” Specialty Designer Series Paper (#156394).


I cut the DSP and the Silver from the Silver Foil 12”x12” Specialty Pack (#156457) using the Layering Diorama Dies (#155565). This was attached to the cardfront with Stampin’ Dimensionals (#104430). The base card is Basic White (#159228).

I added a pop of colour to the card by stamping the sentiments and the deer with Cherry Cobbler ink (#147083). These are from the Peaceful Deer stamp set (#156891). The deer was punched with the Deer Builder Punch (#156390) and the sentiments were cut with a Potted Succulents Die (#154330). When I attached these to the card I used tape where they were attached to the Diorama area which is already lifted and Stampin’ Dimensionals outside of the diorama which is lower.

From 16th - 18th November Stampin’ Up! has a Seasonal sale with 10% off cardstock, 15% off ink pads and 20% off dies, all from the Annual Catalogue. Please check out all the info on the link below-

Just email if you would like to place an order (in Australia) or shop here - lesleyjendra.stampinup.net

“Love what you do and share what you love.”


Friday, 29 October 2021

Merriest Moments Bundle

Hi,

A lovely subtle coloured Christmas card using the Merriest Moments Bundle (#156783).


I cut 3cms from the bottom of the card, allowing you to see the Painted Christmas Designer Series Paper (#156292) which I had attached to the inside of the Basic White card (#159228).

I embossed a piece of  Basic White card using the Wintry 3D Embossing Folders (#155433) with the snowflakes. This was attached to the front of the card.

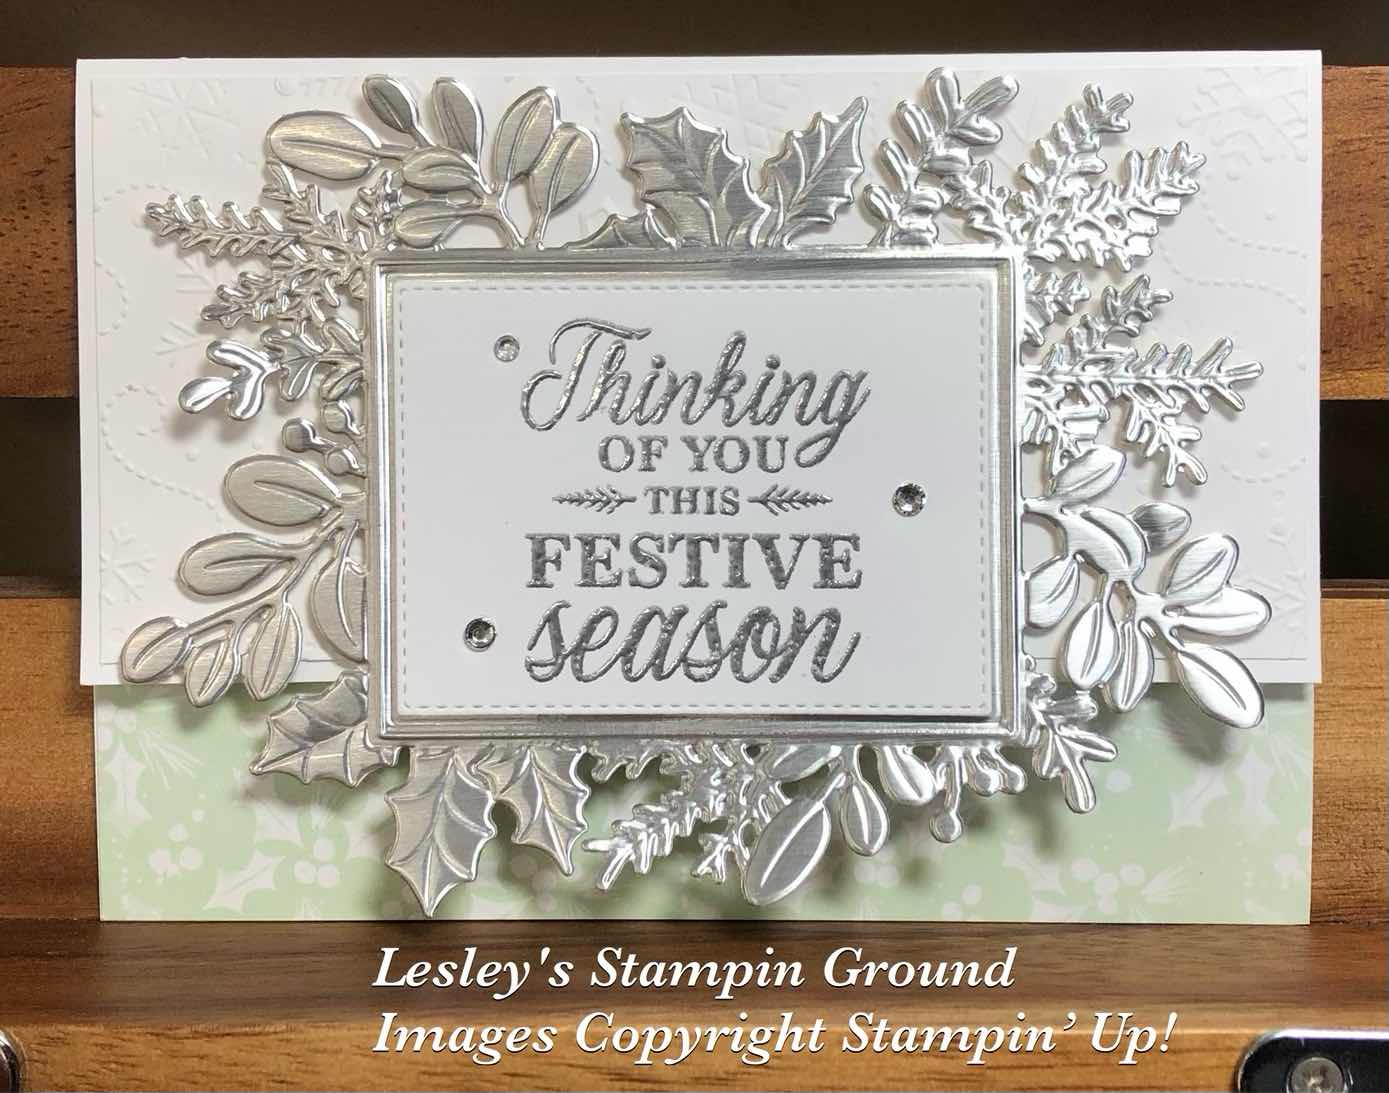
The lightest Silver from the Silver Foil Specialty Pack (#156457) was cut and embossed using the Merriest Frames Hybrid Embossing Folder (#156385).  This hybrid embossing folder also includes the dies. The sentiment from the Merriest Moments stamp set (#156353) was stamped with VersaMark (#102283) and heat embossed with Silver Stampin’ Emboss Powder (#155555) and set with the Heat Tool (#129056). This was cut with another die from the set and attached with Stampin’ Dimensionals (#104430). The detailed leaves were also attached with Stampin’ Dimensionals.

The embellishments around the sentiment are the Rhinestone Basic Jewels (#144220).

A pretty card but very easy to make with the right tools.

“Love what you do and share what you love.”

Stay safe & keep crafting!!


Friday, 6 August 2021

Stitched Snowflake Dies

Hi & welcome again,

As the new mini catalogue has a huge range of Christmas products, you will see many Christmas cards in the next few weeks, which means you can get your cards organised well before Christmas. Unfortunately here in Australia we don't get snow at Christmas (and most places not even in winter) but I still love the snowflakes.


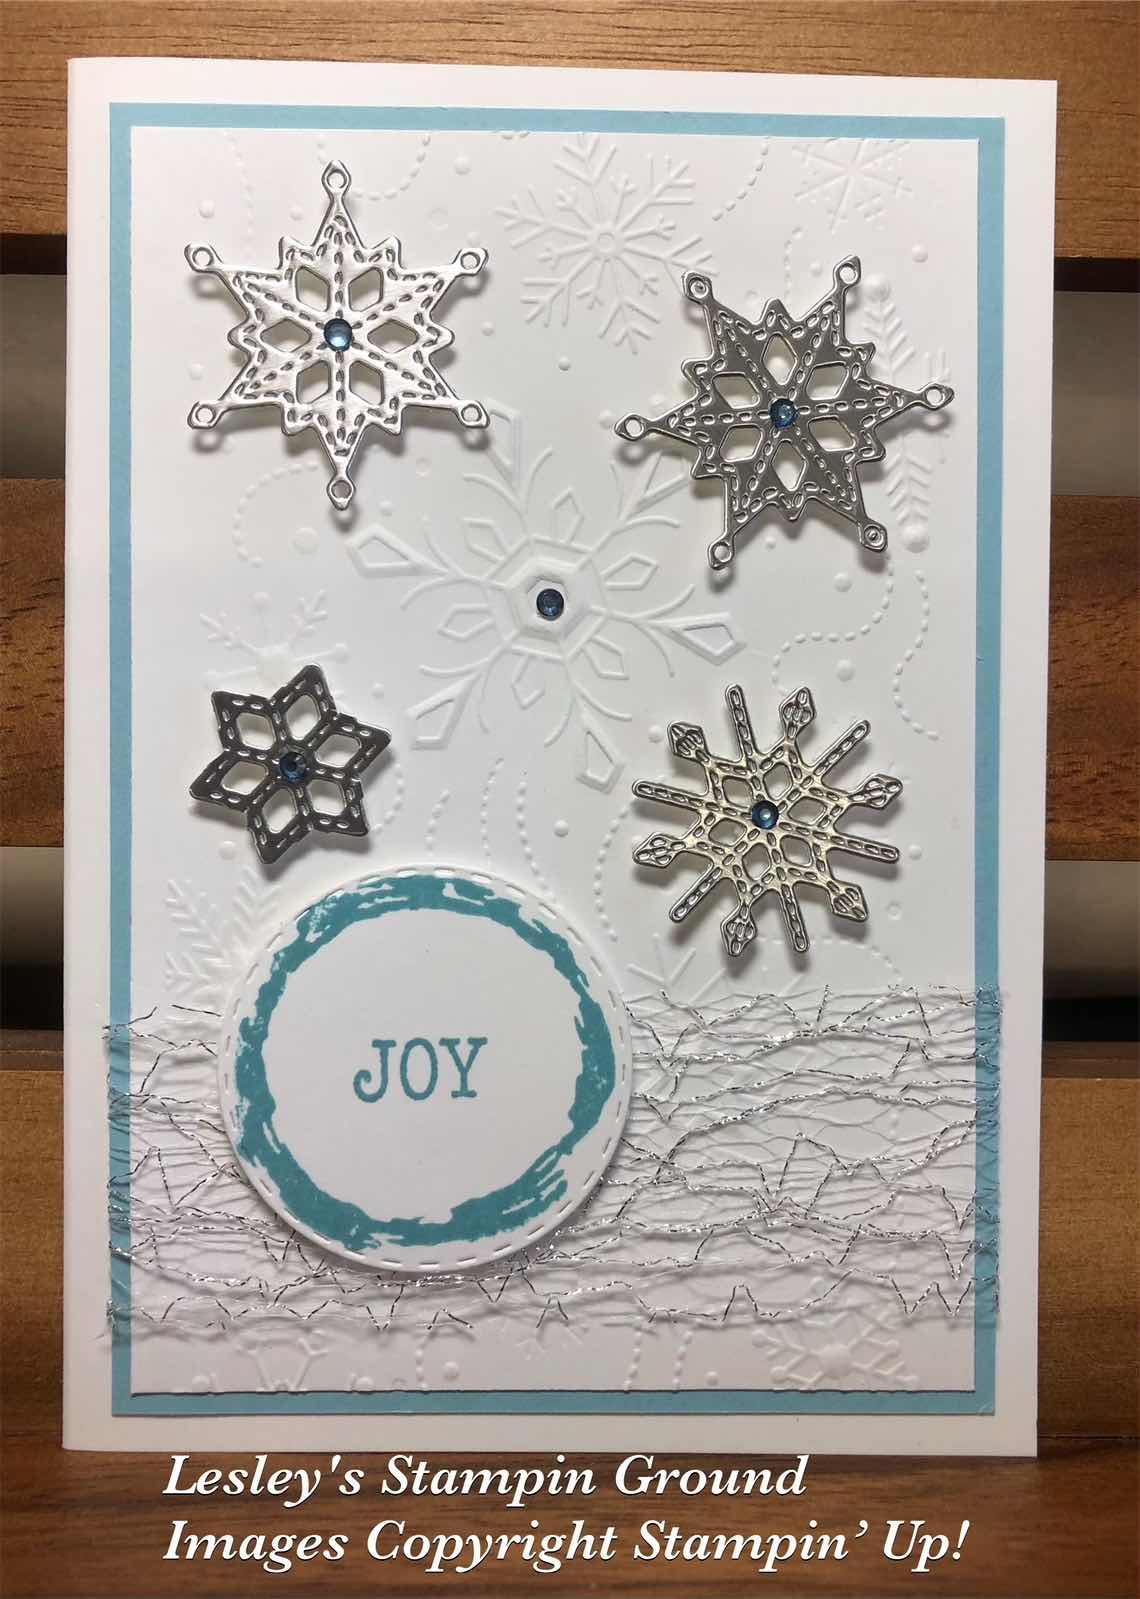
The Basic White (#159228) card front was dry embossed with one of the Wintry 3D Embossing Folders (#155433) and this was matted with the Balmy Blue card (#147007). The Mettalic Mesh Ribbon (#153550) was wrapped around the card front then this was attached to the Basic White base card.

I stamped the circle from the Textures & Frames stamp set (#156616) which is one of the Sale-a-bration products. This was stamped with Balmy Blue ink (#147105), then cut with a circle from the Picture This Die (#155559).

The Stitched Snowflakes Dies (#156455) were used to cut the snowflakes from the Silver Foil 12”x12” Specialty Pack (#156457). The sentiment & snowflakes were attached with Mini Stampin’ Dimensionals (#144108) and Stampin’ Dimensionals (#104430). The embellishments are the Rhinestone Basic Jewels (#144220) and I coloured them using the light Night Of Navy Stampin’ Blends (#154891) before attaching them to the card.

“Love what you do and share what you love.”


Stay safe & keep crafting!


Monday, 2 August 2021

Artistic Dies

Hello my friends,

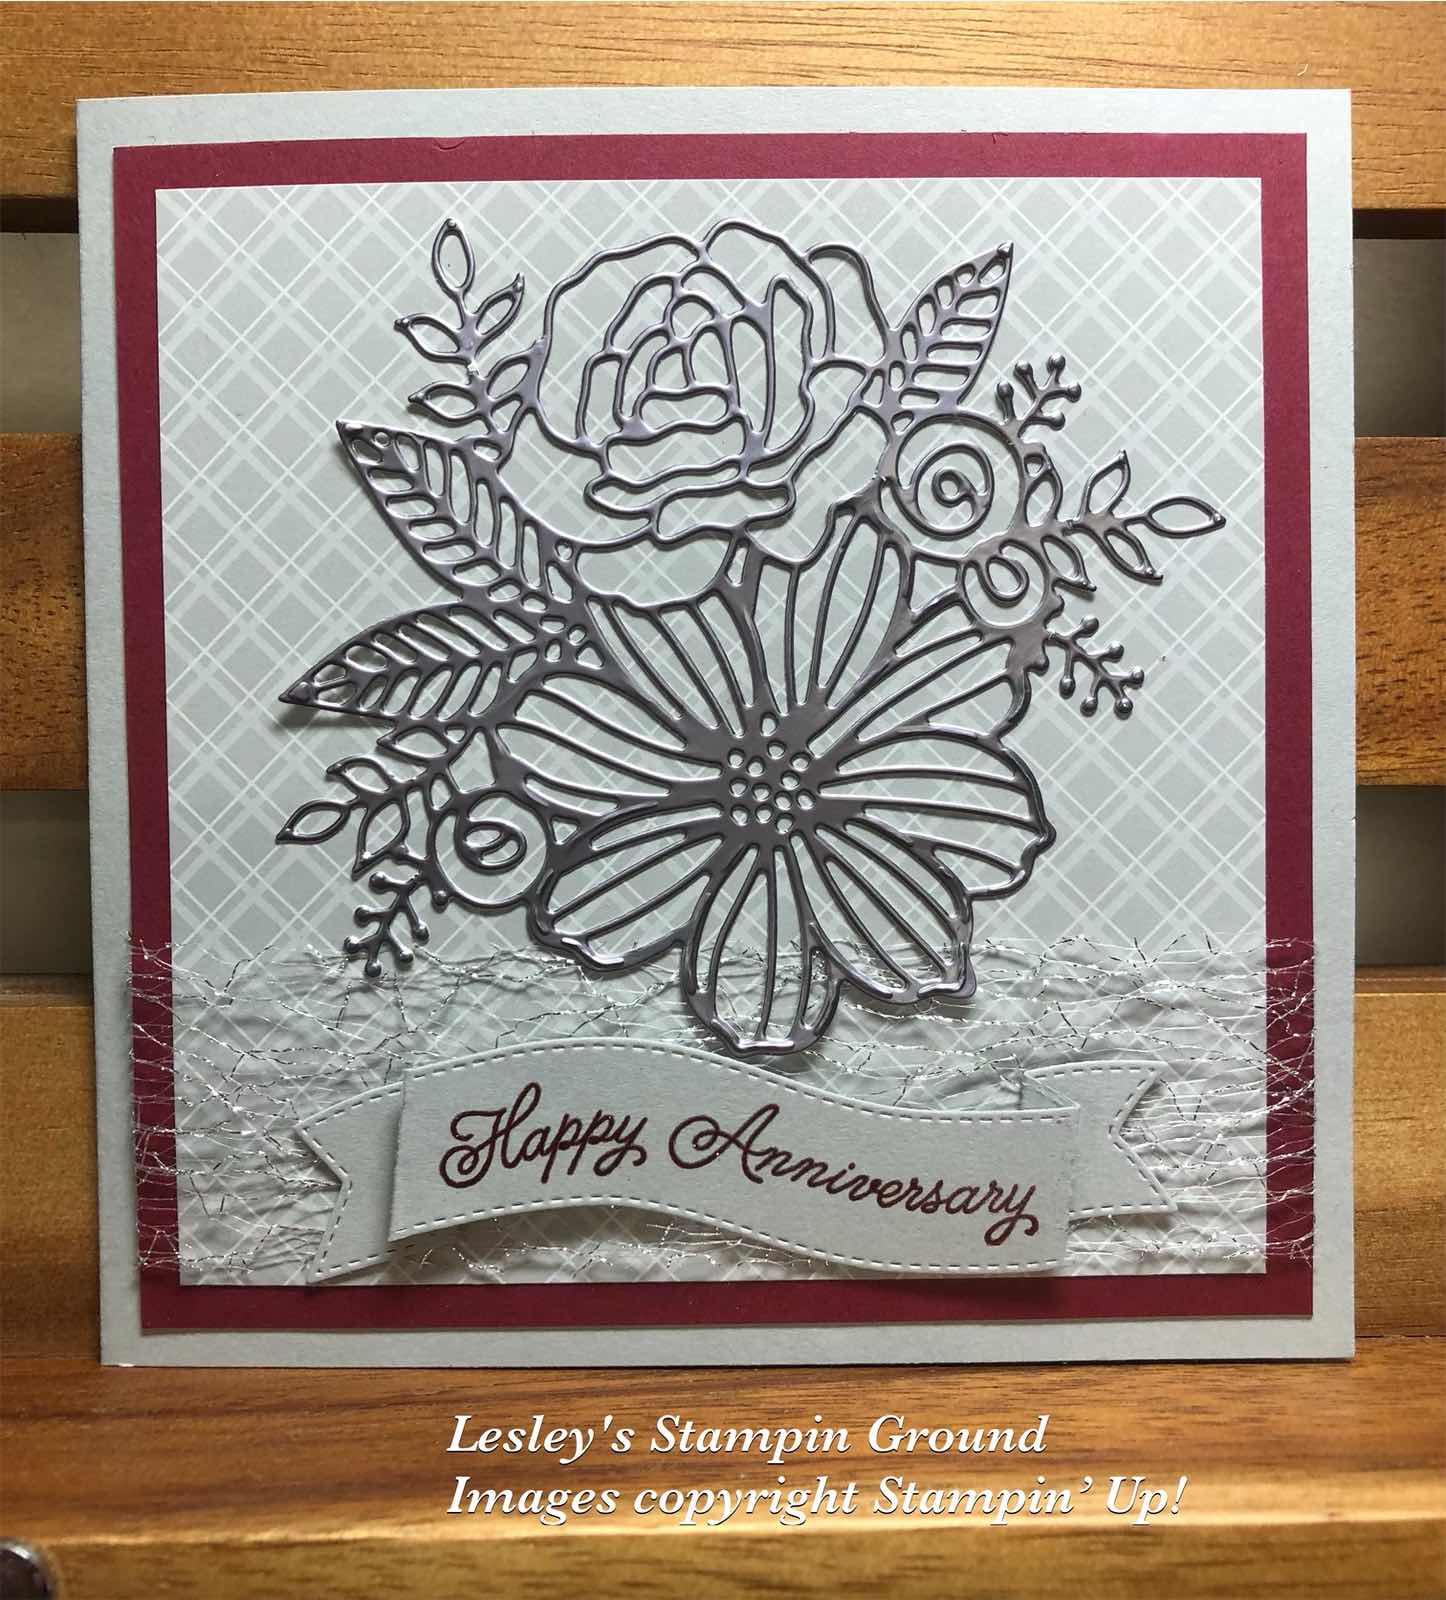
Here’s another card using the beautiful Artistic Dies (#155371). I had cut the image from the Silver Foil 12”x12” Specialty Paper (#156457) for another card but I wasn’t happy with the colour combination so used another colour for that card, so had to make another card with the Silver. Much happier with this one. The finished size of the card is 14cm x 14cm.


The base card is Smokey Slate (#131291), followed by Merry Merlot card (#147005) then Smokey Slate from the Neutrals 6”x6” Designer Series Paper (#155226). I wrapped the Metallic Mesh Ribbon (#153550) around the card front.

The Silver Foil Specialty Paper had Adhesive Sheet (#152334) adhered to the back before cutting with the Artistic die. This was attached to the card with ease.

“Happy Anniversary” from the Always In My Heart stamp set (#158183) was stamped with Merry Merlot ink (#147112) using the Stamparatus (#148187). I then re stamped it with VersaMark (#102283) and sprinkled it with Clear Stampin’ Emboss Powder (#155554) and set it with the Heat Tool (#129056). This was then cut with a die from the Floral Hearts Dies (#154306). This banner was then attached with Mini Glue Dots (#103683) and Stampin’ Dimensionals (#104430).

Just a note regarding the sentiment. With narrow and longer photopolymer stamps, you can easily make them curve which is what I have done with this stamp, so that it suited the curve on the banner. Just curve it as you are applying it to the clear acrylic block.

The Silver Foil is from the Mini Catalogue which you can order from on 3rd August. This pack has 3 different finishes - Brushed, Matte and Mirror Foil finish. I used the Matte finish on this card.


“Love what you do and share what you love.”


Stay safe & keep crafting!!


Thursday, 22 July 2021

Ornate Layers dies

Hello friends,

I do love dies as they make cardmaking easy with beautiful results.


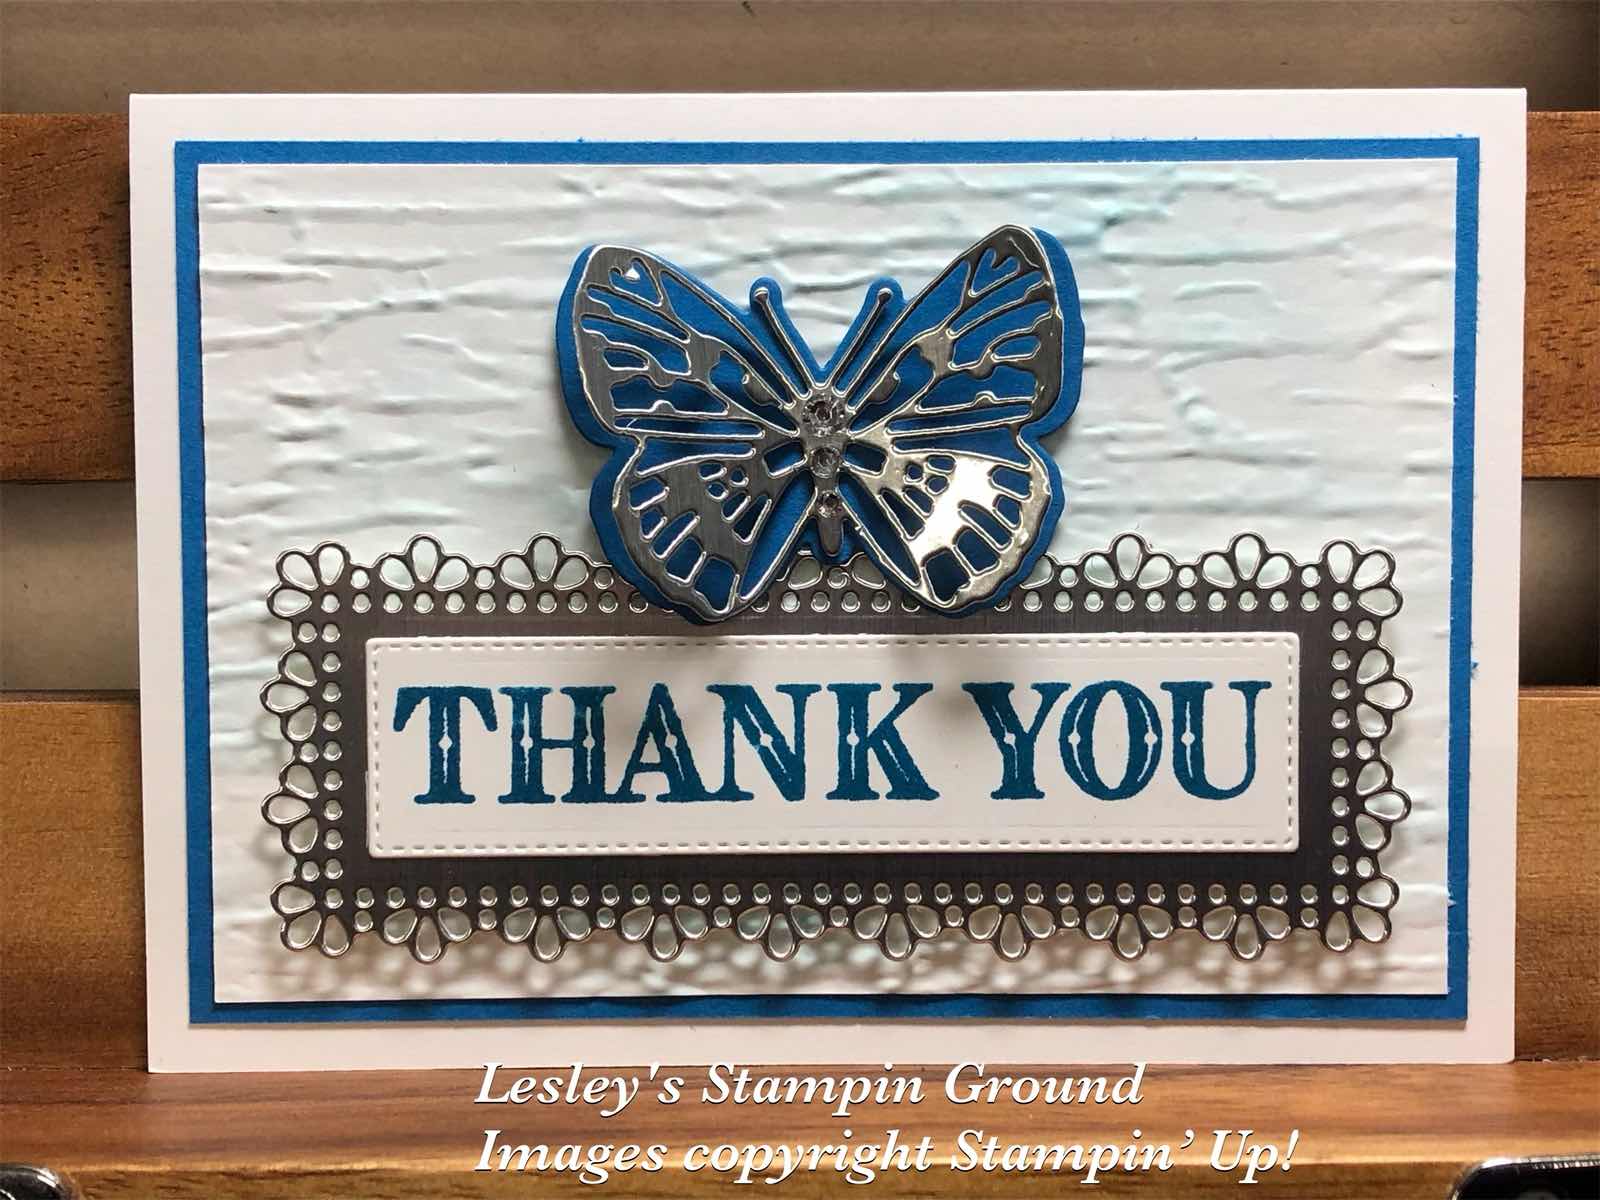
I cut the butterflies using the Brilliant Dies (#155523). Pacific Point card (#116202) was used for the solid base butterfly and Silver Foil 12”x12” Specialty Pack (#156457) for the detailed butterfly on top. This foil is from the upcoming Mini catalogue and consists of 3 sheets - 1 brushed finish, 1 matt finish and 1 mirrored foil finish.

“Thank you” was stamped with Pacific Point ink (#147098). This sentiment is from the Ornate Thanks stamp set (#158301). The sentiment and silver foil underneath were cut with dies from the Ornate Layers (#152726).

I dry embossed the Basic White card front (#159228) using the Bark 3D Embossing Folder (#155431). Using a Blending Brush (#153611) I lightly coloured the embossed card, then attached it to the Pacific Point card.

The sentiment and butterfly were attached to the card using Stampin’ Dimensionals (#104430) and I added Rhinestone Basic Jewels (#144220) to the body of the butterfly.

“Love what you do and share what you love.”