Showing posts with label #brassfoilsheets. Show all posts

Monday, 22 March 2021

To A Wild Rose

Welcome,

These flowers are from the To A Wild Rose stamp set (#149452) and is a Two-step stamp which allows you to stamp 2 images in different colours. This flower also has a 3rd image which I didn't use as I just let the Basic White card (#159228) be the background, instead of stamping a lighter 3rd colour.


The pink flower was stamped with Magenta Madness ink (#153117). The lighter colour was achieved by ‘stamping off” once onto scrap paper then stamping on the card. The purple flower was stamped with Highland Heather ink (#147103) and Gorgeous Grape (#147099). These flowers were cut with the co-ordinating Wild Rose dies (#149547).

The leaves are from the Forever Fern stamp set (#153559), stamped with Granny Apple Green ink (#147095) and cut with a Forever Flourishing Die (#152714).

The base card and card front are Basic White and I dry embossed the card front with a Meadow Moments Embossing Folder (#153126). There are 2 folders in this set and are suitable for use in the Mini Stampin’ Cut & Emboss Machine (#150673).

I cut the Rainbow Glimmer Paper (#153056) and the Brass Foil Sheet (#153057) with a Curvy Die (#154319).

“Congratulations” is from the Vine Design stamp set (#154488) and the die to cut this is from the Flowering Vine Dies (#154332). This was stamped with Magenta Madness ink. The pink flower and sentiment were attached to the card with Stampin’ Dimensionals (#104430).

The current annual catalogue will be coming to an end on 3rd May and the retiring list will be available soon, so keep an eye out for that. I will let you know when it is available.

Have a great day and I hope you are keeping safe & dry if you are in any of the very wet areas in Australia.

“Love what you do and share what you love.”


Saturday, 28 November 2020

Wreath Builder Dies

Hello friends,

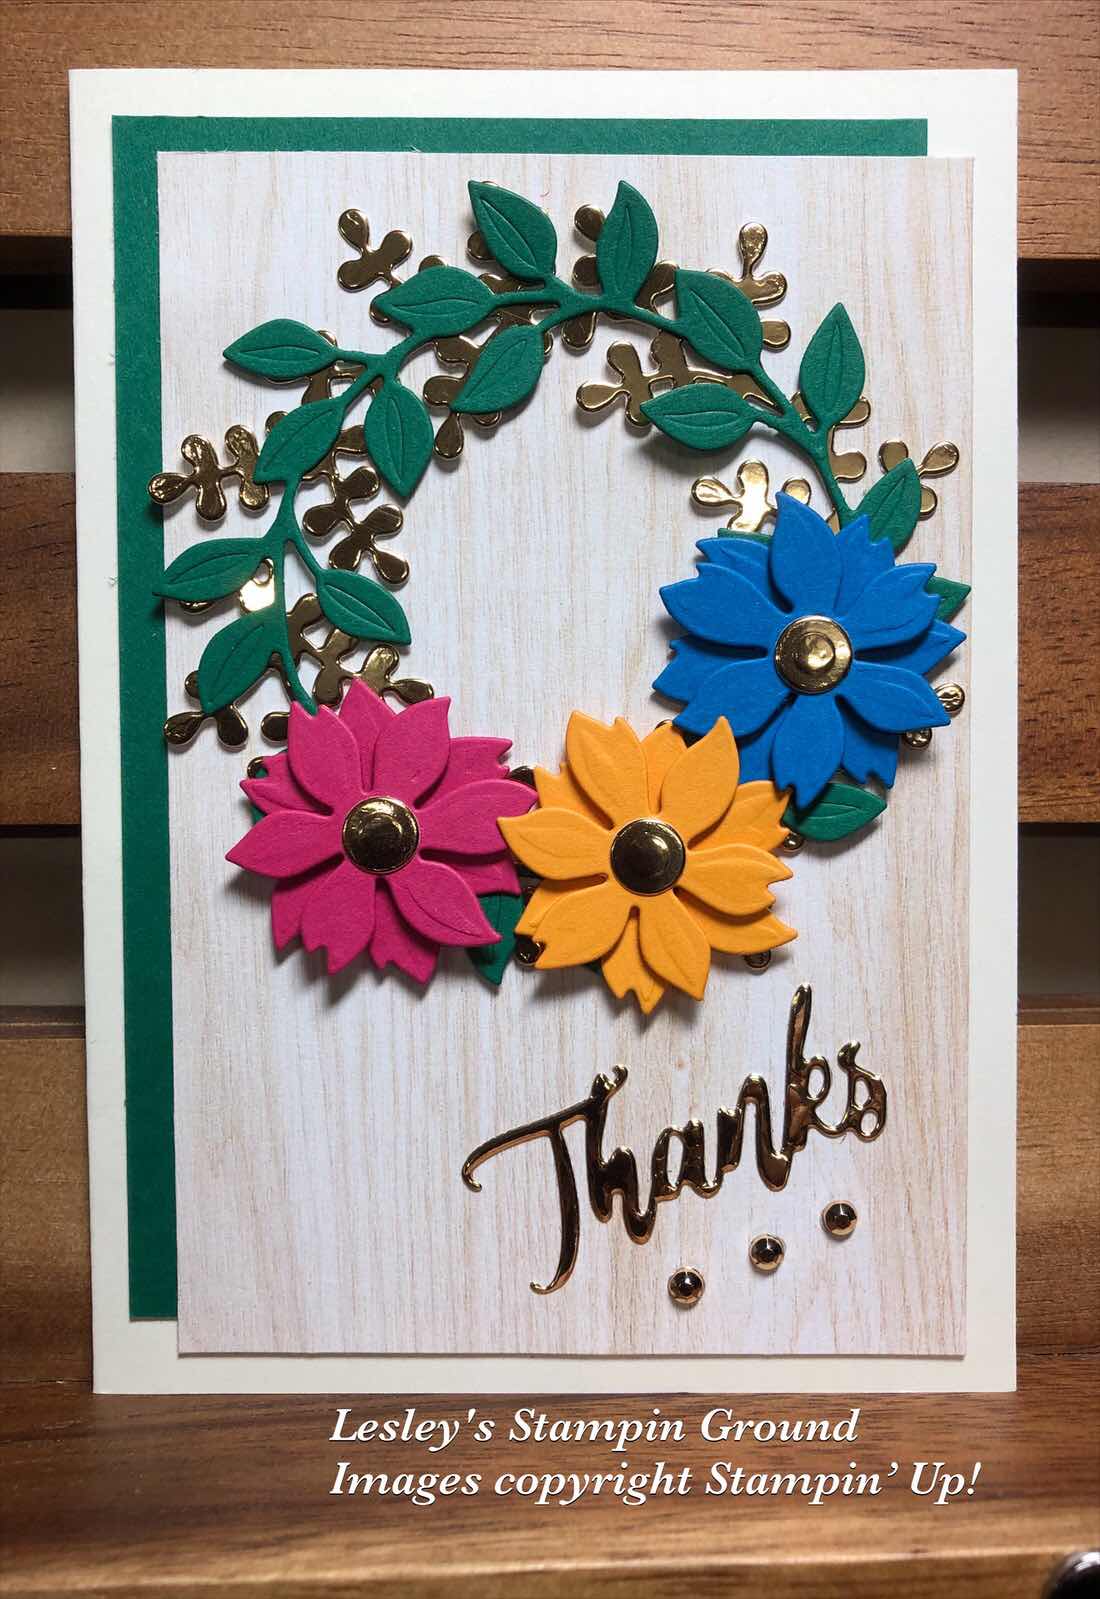
I haven’t done any stamping on this card which is a little usual for me. I have used the Wreath Builder Dies (#152722) and the Well Written Dies (#151816).


I have used the Brass Foil Sheet (#153057) and Shaded Spruce card (#147006) for the wreaths which were cut with the Wreath Builder Dies. I attached these to the In Good Taste Designer Series Paper (#152494) using Mini Glue Dots (#103683). Under the DSP is Shaded Spruce card and the base card is Very Vanilla (#106550). The flowers, also cut with Wreath Builder dies, were cut from Melon Mambo card (#119980), Mango Melody card (#147013) and Pacific Point card (#116202). I cut 2 of each colour and assembled them using Mini Stampin’ Dimensionals (#144108) and used Mini Glue dots to attach them to the wreath. The flower centres were also cut from the Brass Foil and attached with Mini Glue Dots. Using Adhesive sheets (#152334) on the back of the Brass Foil, I cut “Thanks” using the Well Written Dies. The actual word is “Thanksgiving” but I only wanted “Thanks” so cut off  the rest of the word. I added a trio of Gilded Gems (#152478) under the sentiment.

I hope you are having a relaxing weekend.

“Love what you do and share what you love.”


Friday, 6 November 2020

Poinsettia Dies with Red Velvet Paper Pack

Hi everyone,

Today I have had the opportunity to attend “Stampin’ Up! Onstage At Home” which is instead of the normal get together for demonstrators where we gather together, this one is on line. It is always so inspirational and fun to create cards together and learn heaps of new things. One great thing about being a demonstrator is that you get to see and purchase new products early, so I have already seen the upcoming catalogue that will be released in January and have ordered some new exciting goodies, so can’t wait to share them with you soon. If you would like to be part of the fun and become a demonstrator (and live in Australia), please contact me.

Now to todays card. It is a Christmas card using the gorgeous Red Velvet Paper (#153490) for the poinsettia.


The 3 layers of the poinsettia flower were cut and embossed with the Poinsettia Dies (#153522) from the Red Velvet Paper. The leaf, berries and flower centre were cut from the Brass Foil Sheets (#153057), also using the Poinsettia Dies. The flower was assembled using Mini Glue Dots (#103683). The flower centre and berries had Adhesive Sheets (#152334) adhered to the back before cutting.
The base card and card front are Whisper White (#106549). I dry embossed the card front with the Tasteful Textile 3D Embossing Folder (#152718), then attached the Ornate Garden Specialty Designer Series Paper (#152488) to the card. The Real Red 3/8” Sheer Ribbon (#153535) was wrapped around the cardfront.
The poinsettia was attached to the card with Stampin’ Dimensionals (#104430). The greeting from the Itty Bitty Christmas stamp set (#c150513) was stamped with Real Red ink (#147084) and cut with a Stitched Shapes Die (#152323) and also attached with Stampin’ Dimensionals. The trio of Red Rhinestone Basic Jewels (#146924) were added to finish the card.

“Love what you do and share what you love.”
Have a fantastic day!!


Sunday, 18 October 2020

Quite Curvy Bundle

Hello,

Here’s another seek peak of the Quite Curvy Bundle (#156228) which will be available for purchase from November 3rd.


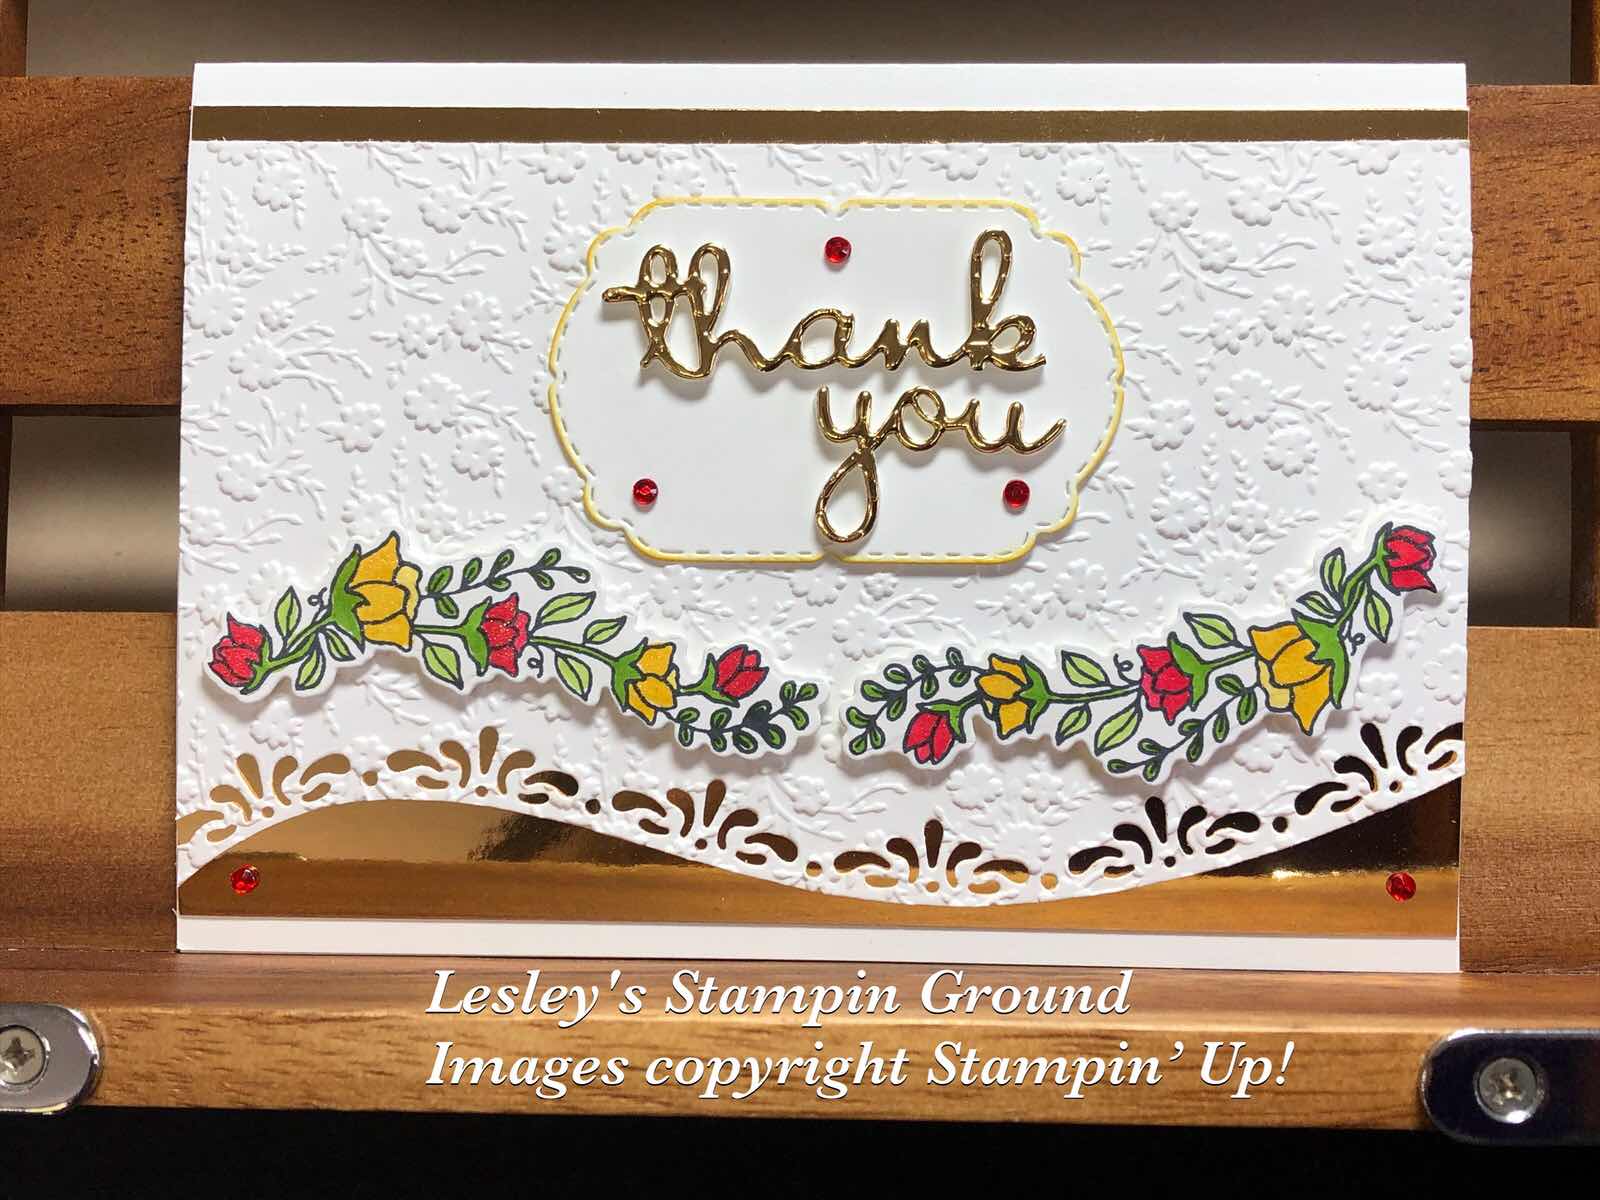
I cut the Whisper White card front (#106549) with one of the Curvy Dies (#154319), then dry embossed this with the Ornate Floral 3D Embossing Folder (#152725). This was then attached to a piece of the Brass Foil Sheet (#153057) and attached to the Whisper White base card.
I stamped the floral image from the Quite Curvy stamp set (#p154430) twice, using Tuxedo Black Memento Ink (#132708). These were then coloured with Stampin’ Blends - Real Red (#154899), Daffodil Delight (#154883)and Granny Apple Green (#154885). These were cut with a Curvy Die and attached to the card with Stampin’ Dimensionals (#104430).
I attached a piece of the Brass Foil to a Foam Adhesive Sheet (#152815), then cut “Thank You” using the Well Written Dies (#151816). This was then attached to the label cut with the smallest of the Celebration Labels Dies (#153570). The edges were daubered with Daffodil Delight ink (#147094), then the label was attached to the cardfront. The Red Rhinestone Basic Jewels (#146924) were added to finish the card.

Hope you have had a great weekend!!


Tuesday, 22 September 2020

Foil Sheets with Tree Angle

Hi friends,

This card is similar to one I made earlier this month, but I have used Foil sheets for a lovely shine.


I embossed the Whisper White card front (#106549) using the Evergreen Forest 3D Embossing Folder (#153576). The sentiment from the Itty Bitty Christmas stamp set (#150513) was stamped with Real Red ink (#147084). I added glitter to the embossed trees using the Clear Wink Of Stella Glitter Brush (#141897). The base card is Real Red (#106578). The images for the trees from the Tree Angles stamp set (#153442) were stamped with Shaded Spruce ink (#147088), Bumble Bee ink (#153116) and Real Red ink. The foil sheets are Red & Green Foil Sheets (#153510) and Brass Foil Sheets (#153057). The stamped images and the foil sheets were cut with the Stitched Triangles Dies (#152710). The tree trunks were stamped with Crumb Cake ink (#147116) and fussy cut. The red and green trees were attached using Stampin’ Dimensionals (#104430). The embellishments are from the Woven Threads Sequin Assortment (#149498).


For one day only, on 23rd September there is a 24 hour only sale for selected stamp sets. Each stamp set is 15% off so check out the sets here.

Don’t delay as this is only available on 23rd September 2020.

If you live in Australia, you can contact me via email lesleyjendra@bigpond.com.au or order via my online store lesleyjendra.stampinup.net

Have a fantastic day.


Sunday, 20 September 2020

Sweetest Time

Hi everyone,

The Sweetest Time Bundle (#155169) used on this card consists of the Sweetest Time stamp set (#153436) and the Sweetest Borders Dies (#153559).


The candles were stamped with Real Red ink (#147084) onto the Whisper White card (#106549). The flames were stamped with Crushed Curry ink (#147087). This card was matted onto the Red Foil from the Red & Green Foil Sheets (#153510). The green foil also from this pack was used for the holly leaves using dies from the Sweetest Border Dies. The Brass Foil Sheets (#153057) were used for the fine leaves and the border pieces. These border pieces were cut with a die from the Many Medallions Dies (#153584). The berries were stamped with Real Red ink and cut with a co-ordinating die. These were attached to the card with Mini Stampin’ Dimensionals (#144108). I added Shimmery Crystal Effects (#150892) to the berries giving a subtle shimmer and some dimension to the berries. The sentiment is also from the Sweetest Time stamp set and I used Real Red ink. This was cut with a Stitched Rectangles Die (#151820). The Plush Poinsettia Specialty Paper (#153524) was attached to the Whisper White base card after all the elements were attached to it, making sure to only use adhesive where it can’t be seen through the vellum.


Have a great day!!


Thursday, 17 September 2020

Many Layered Blossoms

Hello,

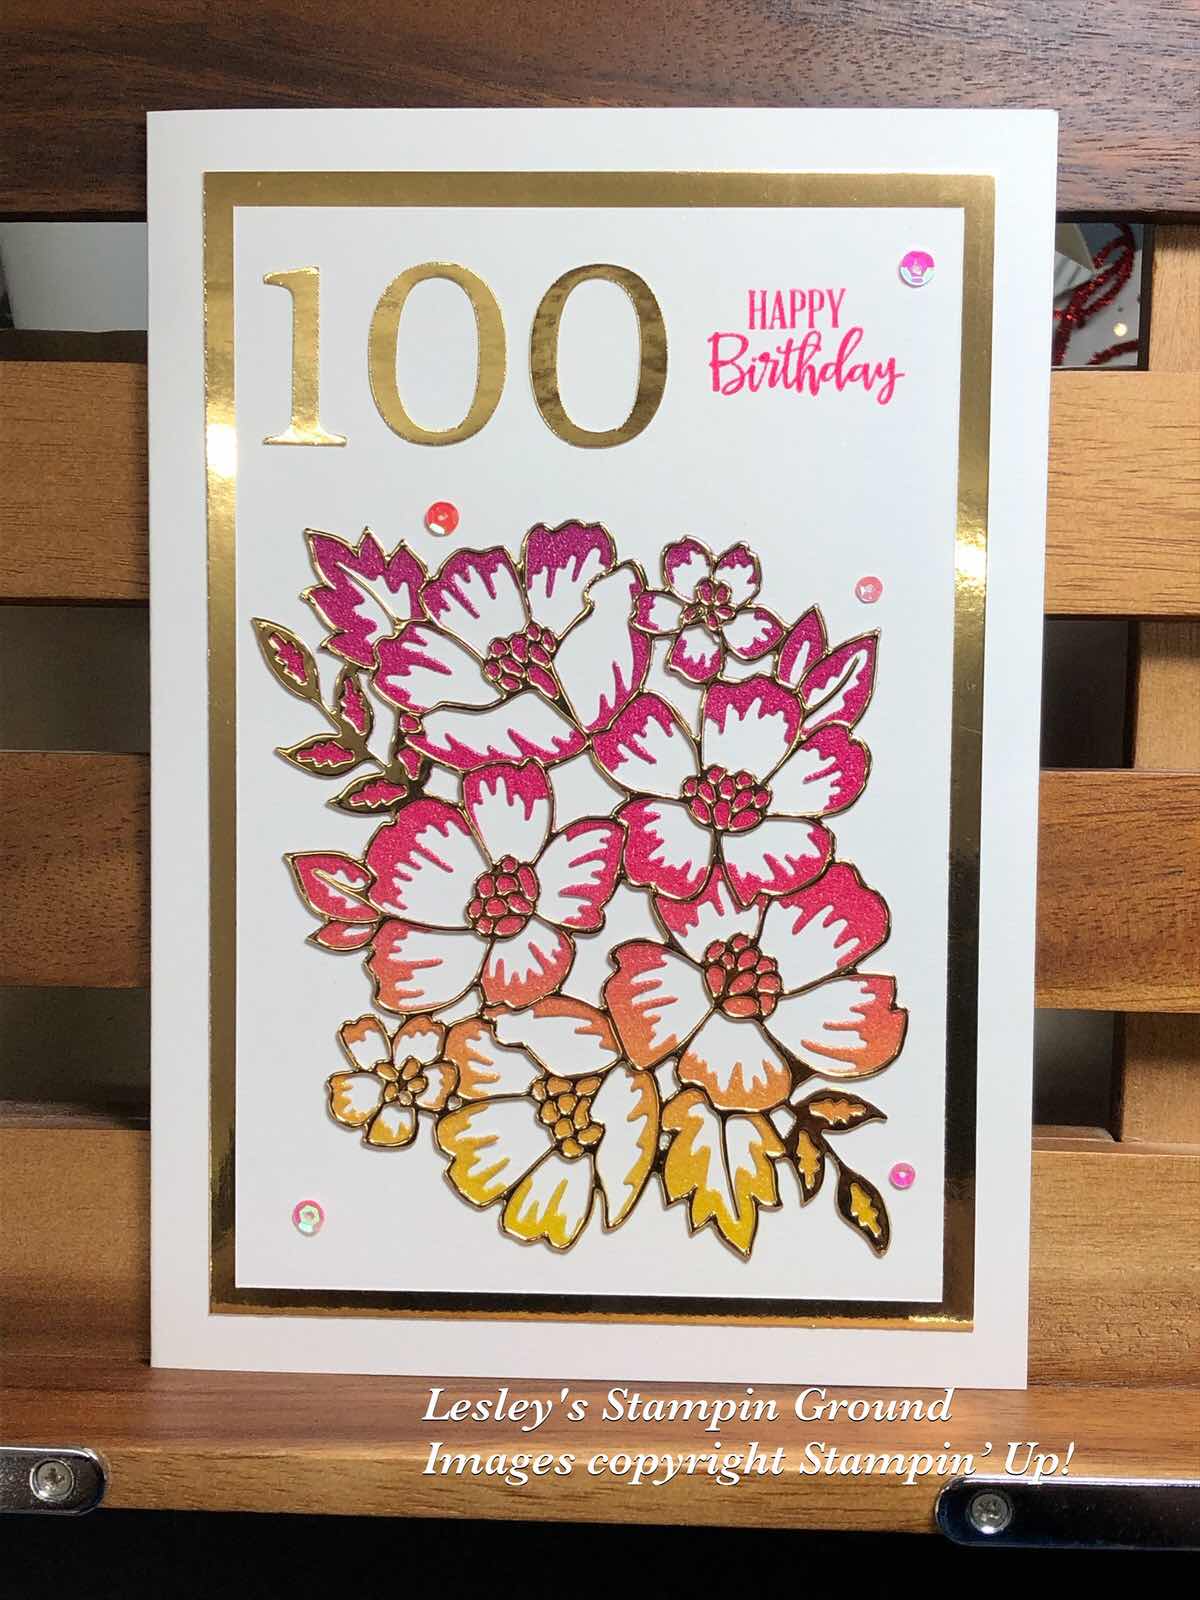
I was asked to make a birthday card for a lady turning 100, so I hope she likes it.


I used the Shimmery White card (#121717), using the whole sheet and folding in half for the base card. I adhered the Adhesive Sheets (#152334) to the back of the Rainbow Glimmer Paper (#153056) and Brass Foil Sheets (#153057) before cutting the flowers using the Many Layered Blossoms Dies (#153582). The sentiment from the Peaceful Moments stamp set (#151595) was stamped with Magenta Madness ink (#153117), then re-stamped with VersaMark (#102283) and Heat embossed with Clear Stampin’ Emboss Powder (#109130) and set with the Heat Tool (#129056). The Stamparatus (#148187) is the perfect tool to be able to heat emboss in any colour like this. The cardfront was attached to a piece of the Brass Foil. Sequins from The Woven Threads Sequin Assortment (#149498) were attached to the card using the Fine-Tip Glue Pen (#138309).

Enjoy your day!!


Tuesday, 28 July 2020

Beautiful World

Hi & Welcome,

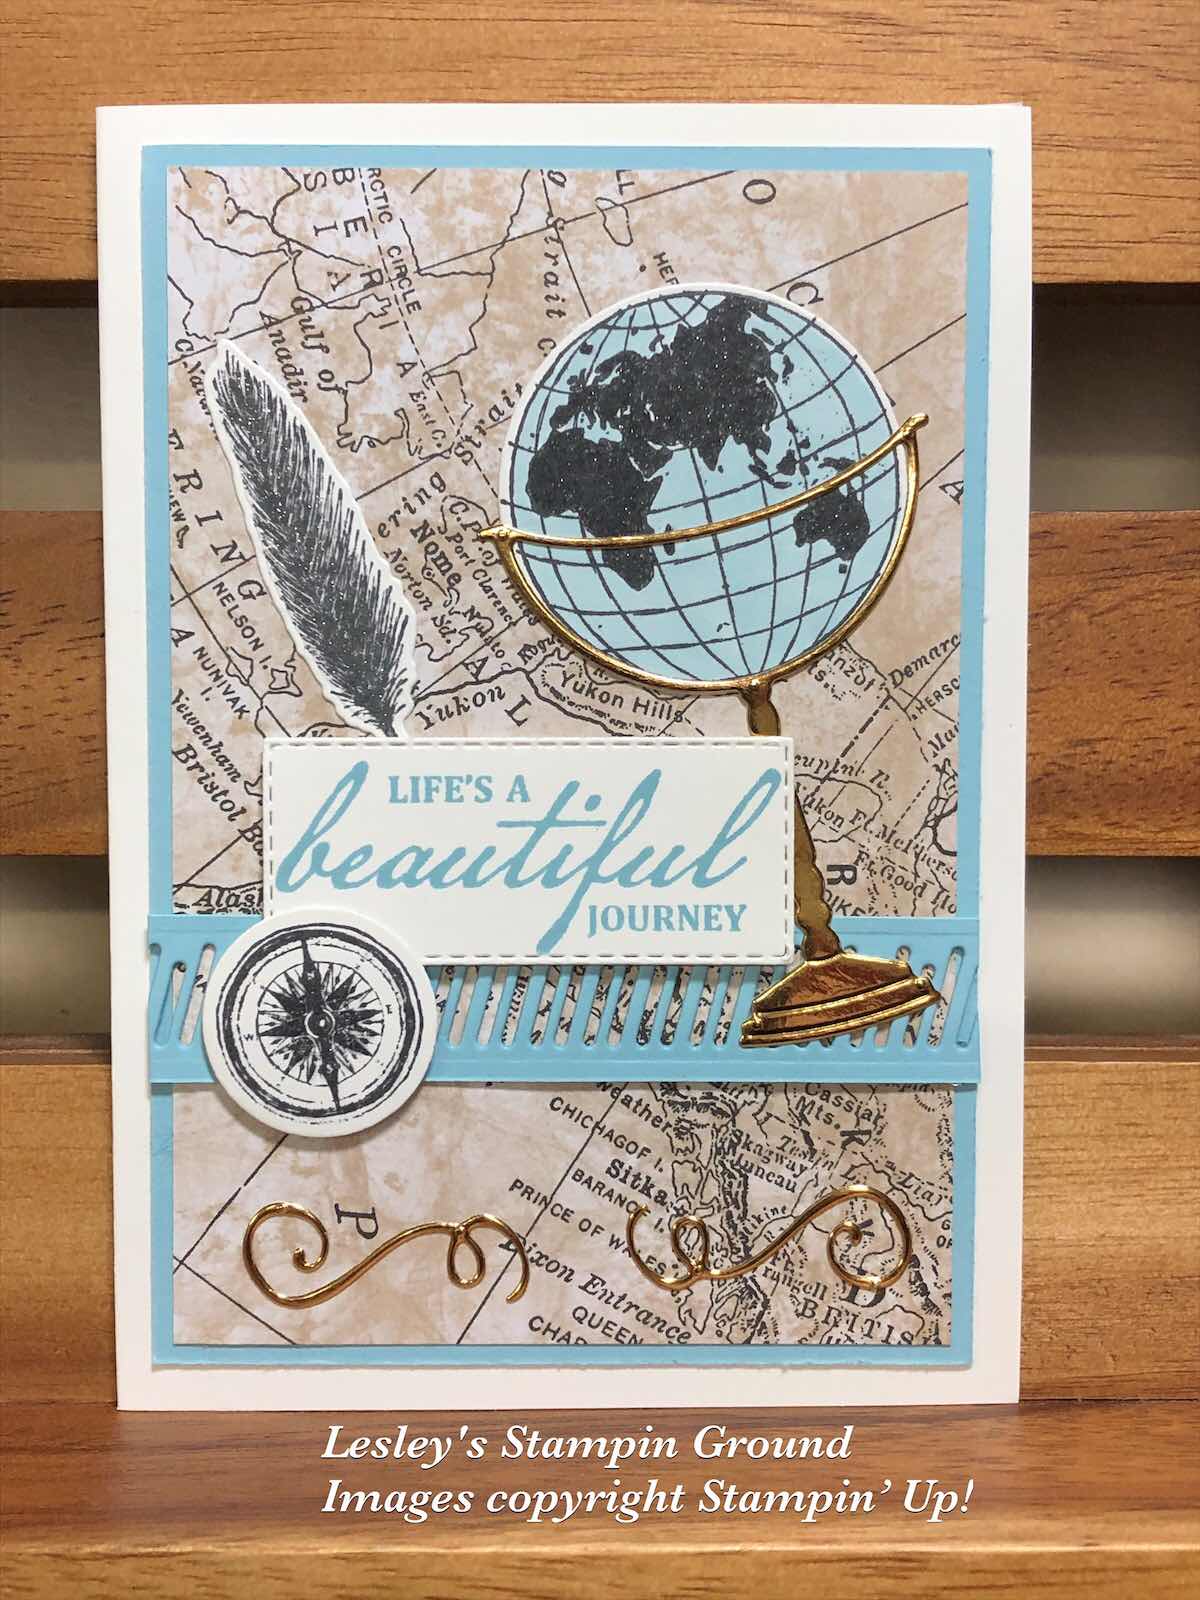
There’s not a lot of travelling around the world at the moment, but the Beautiful World Bundle (#c154091) can let you dream of that future holiday, or use it to decorate your scrapbook pages of your previous holidays.


The Designer Series Paper is the World Of Good Specialty DSP (#152491) and this was attached to the Balmy Blue card (#147007). The base card is Whisper White (#106549). All the images are from the Beautiful World stamp set (#c152994) using Balmy Blue ink (#147105) and Tuxedo Black Memento Ink (#132708) on Whisper White card. I coloured the sea area of the map with Balmy Blue Stampin’ Blends (#154830). The stand for the globe and the swirls are cut from Brass Foil Sheet (#153057). The sentiment was cut with a Stitched Rectangles Die (#151820). The feather, map, globe stand, strip of blue card and swirls are all cut with the World Map Dies (#152712). 

Hope you are having a crafty day.


Tuesday, 16 June 2020

Butterfly Beauty Dies

Hi everyone,

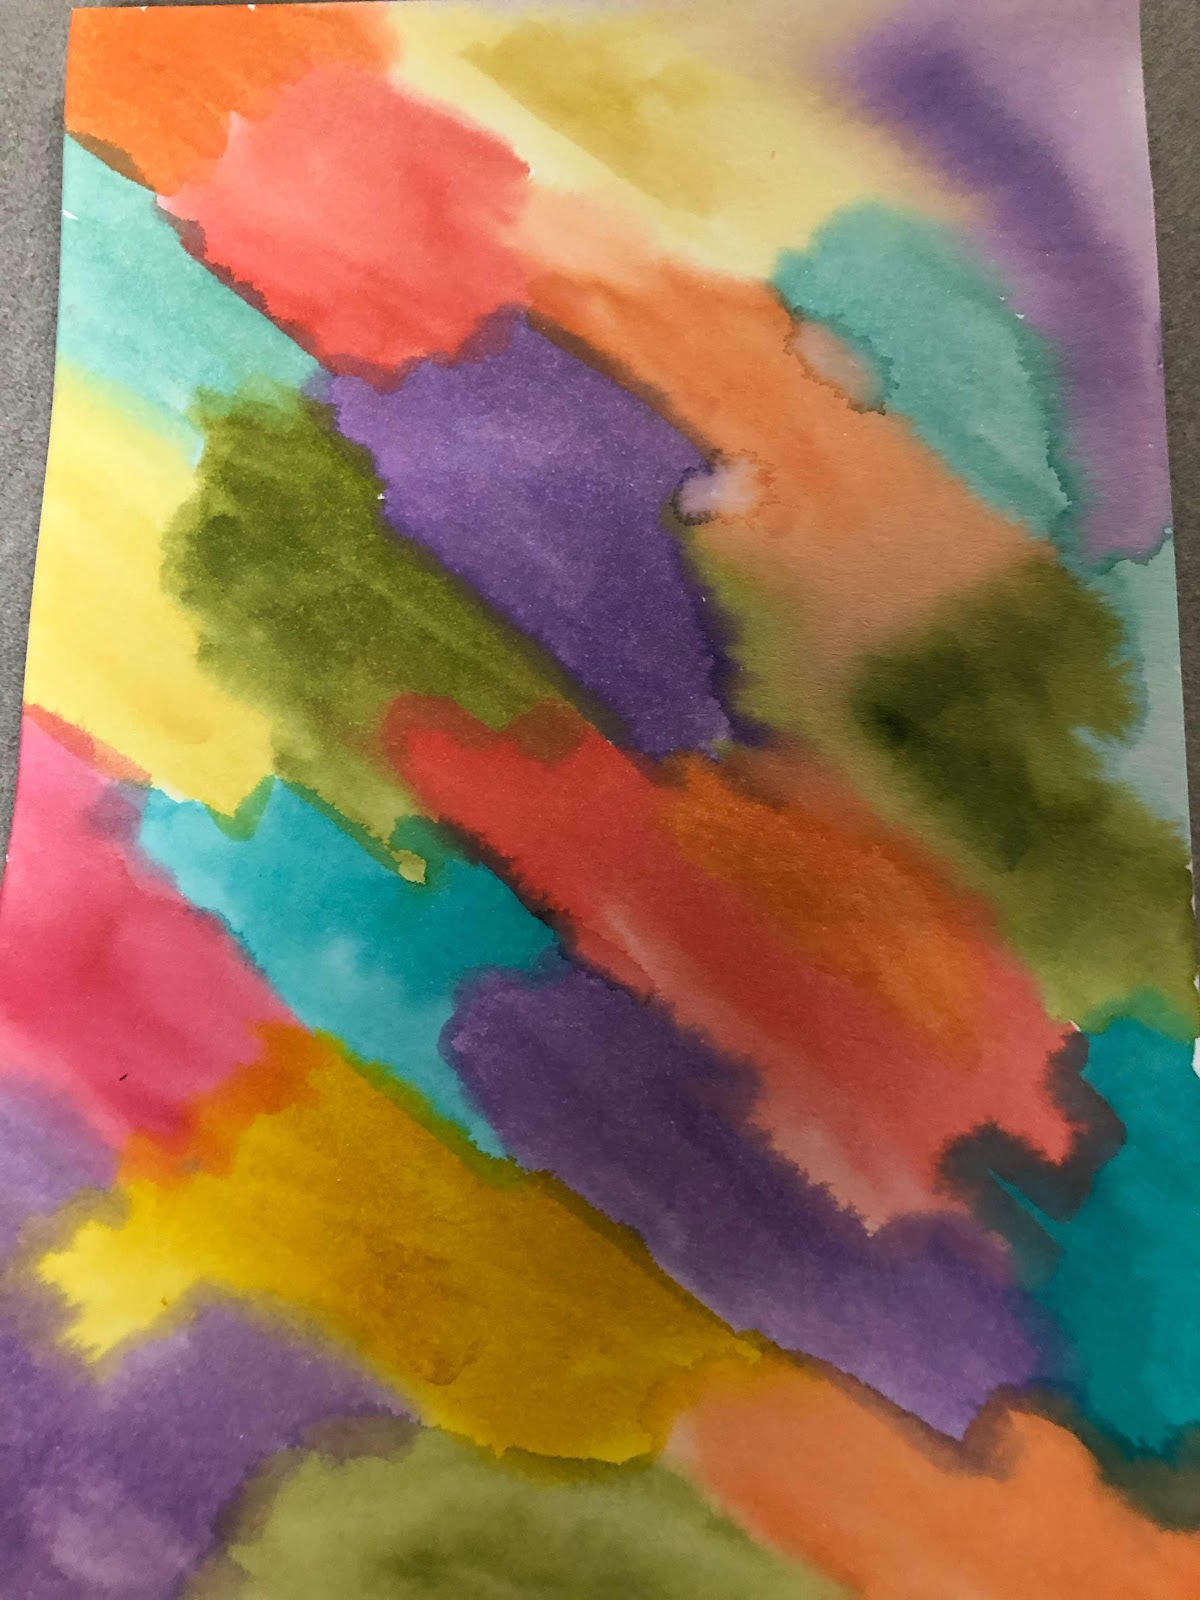
I was reminded recently of this technique using ink refills and Water Painters (#512298).


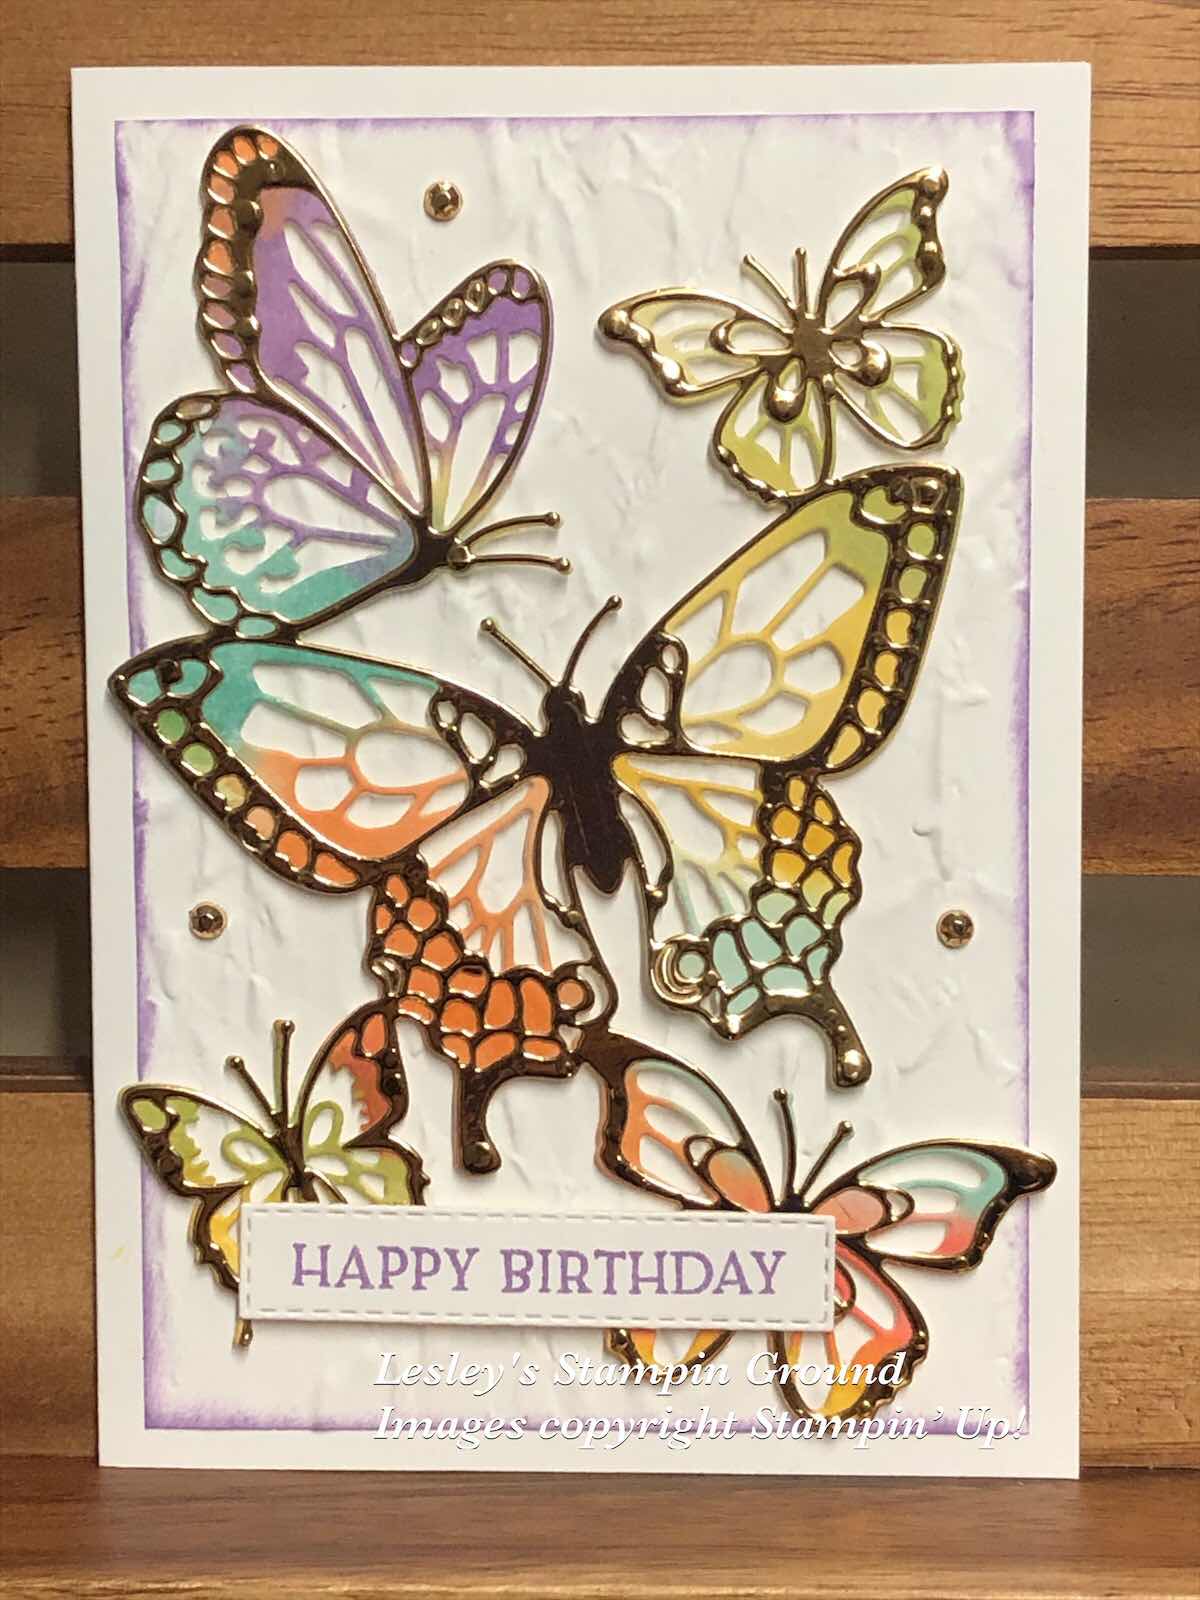
Using a variety of ink refills and a Water Painter, I randomly coloured a piece of the Shimmery White card (#121717) as shown above. (This photo is another piece I coloured as I didn’t photograph the piece before I cut it). Shimmery White card is perfect for watercolouring, so great for this technique. You can get more subtle colours by using more water when colouring. You can allow this to air dry or use the Heat Tool (#129056) for a quicker result. Once dried I cut the coloured card using the Butterfly Beauty base Die (#151819). Then the Brass Foil Sheet (#153057) was cut with the “outline” die from the same set. I had used the Adhesive Sheets (#152334) on the back of the foil sheets before cutting, which makes it so easy to adhere this more detailed die-cut piece. The Whisper White card front (#106549) was embossed with the Old World Paper 3D Embossing Folder (#153200). The butterflies were attached to the card with Mini Stampin’ Dimensionals (#104430). The sentiment is from the Blossoms In Bloom stamp set (#p152684) and stamped with Highland Heather ink (#147103). The die to cut the sentiment is one of the Stitched Rectangles Dies (#152323). This was attached to the card with Mini Glue Dots (#103683). The beautiful Gilded Gems (#152478) were added to finish the card.


Enjoy your day & keep crafting!!