Showing posts with label #expressionsininkspecialtydesignerseriespaper. Show all posts

Friday, 11 March 2022

Expressions In Ink Specialty Designer Series Paper

Hello lovely friends,

There are so many beautiful Stampin’ Up! Designer Papers, it makes it very easy to make an easy but beautiful card like this one.


Both pieces of Designer Paper are from the Expressions In Ink 12”x12” Specialty Designer Series Paper (#155464). This was attached to the Basic White base card (#159228).

The sentiment from Blessings Of Home stamp set (#157930) was stamped with Magenta Madness ink (#153117), then cut with the label die from the Bloom Dies (#155989). The fine Gold die cut piece around the sentiment and the “leaves” are from the Expressions In Ink Ephemera Pack (#155465). These were attached to the card with the Fine-Tip Glue Pen (#138309). The Iridescent Rhinestone Basic Jewels (#158130) were added to the sentiment.

As I said, a very easy but beautiful card.

TIP: Most of the designer papers are double sided which gives you great variety of designs. This pack has beautiful gold foiling on one side of each sheet.

“Love what you do and share what you love.”


Monday, 6 December 2021

Elegantly Said

Hello my friends,

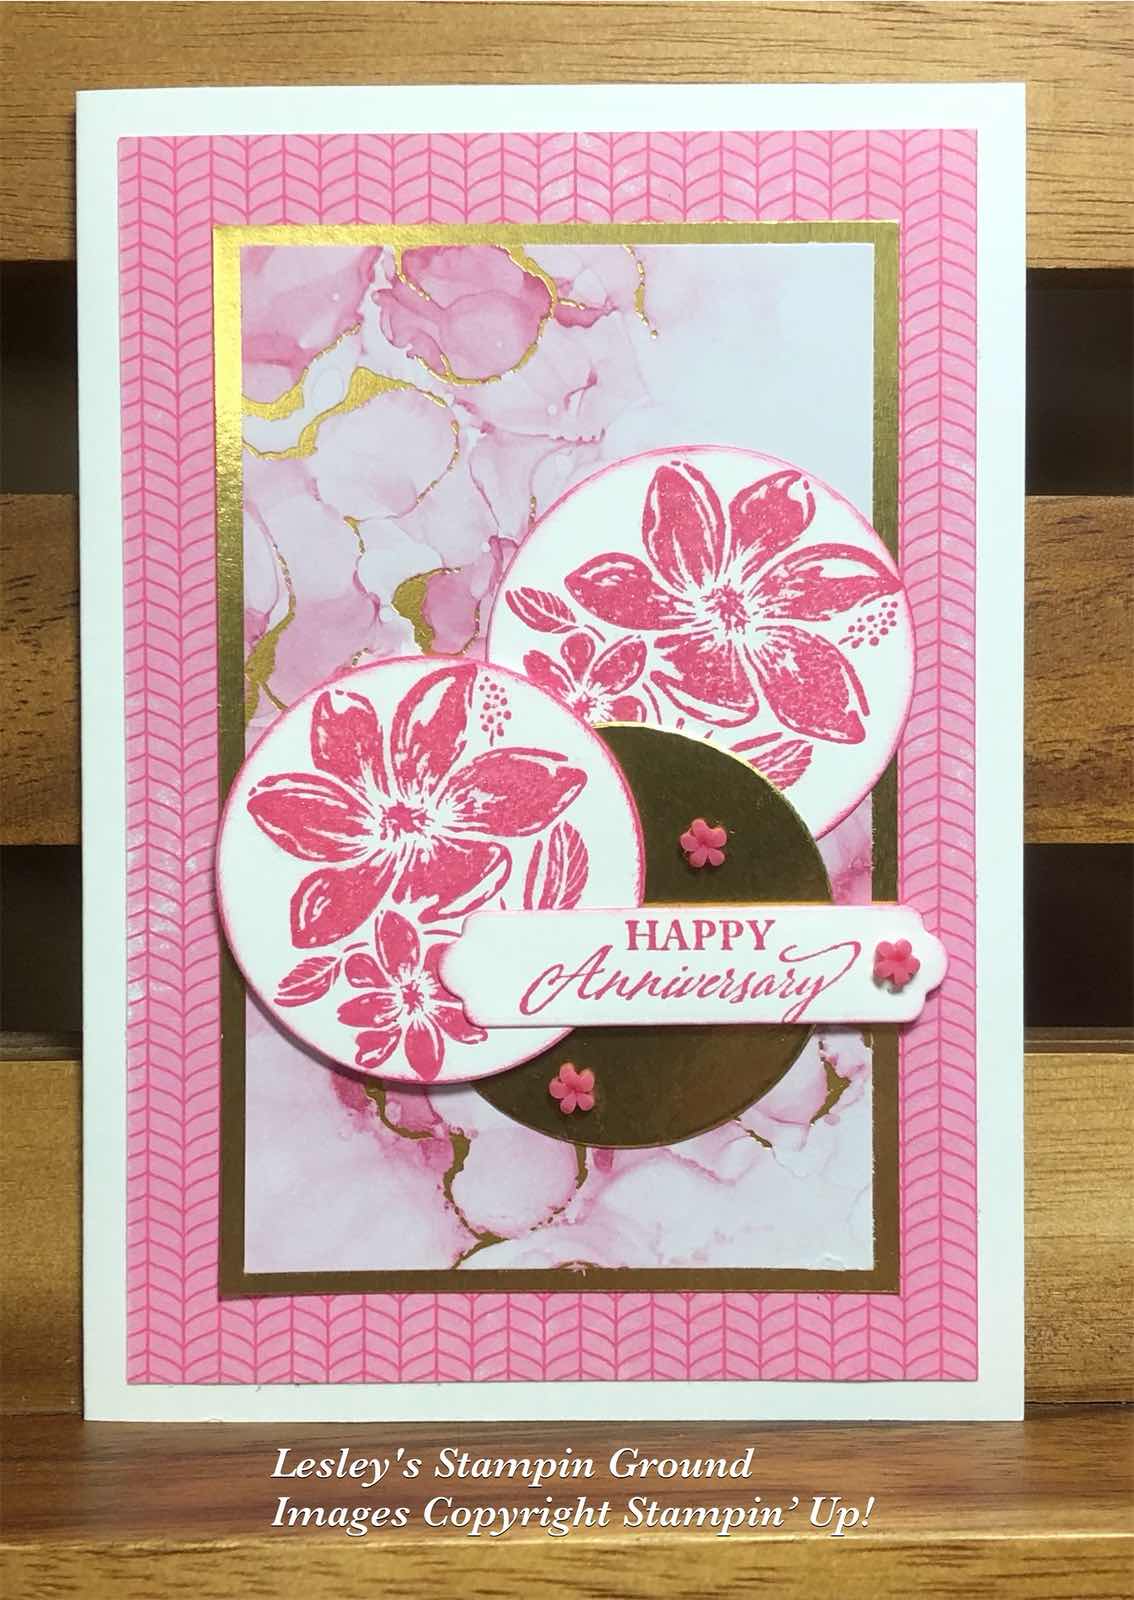
I have used the Elegantly Said stamp set (#155095) for the flowers and sentiment on this card today.


The flowers and sentiment were stamped with Polished Pink ink (#155712) on Basic White card (#159228). The flowers and Gold Foil Sheet (#132622) were cut with one of the Layering Circles Dies (#151770) and the sentiment was cut with a Seasonal Labels Die (#156299).

I attached the DSP from the Whimsy & Wonder 12”x12” Specialty Designer Series Paper (#156329) to the Basic White base card. I matted the DSP from the Expressions In Ink Specialty Designer Series Paper (#155464) onto Gold Foil Sheet, then attached this to the card. The flowers, Gold circle and sentiment were attached with tape & Stampin’ Dimensionals (#104430). The small Polished Pink flowers from the Loose Flower Flourishes (#155808) were attached with the Fine-Tip Glue Pen (#138309).

Clear Wink Of Stella (#141897) was used on the flowers to add some sparkle.


“Love what you do and share what you love.”


Saturday, 27 November 2021

Encircled In Beauty Dies

Hello my friends,

I have cut the Shaded Spruce card (#147006) with the Encircled In Beauty Dies (#155546) to get this beautiful detailed “doilie”.


The Very Vanilla card front (#106550) was dry embossed with the Timber 3D Embossing Folder (#156406). I attached a piece of the Expressions In Ink 12”x12” Specialty Designer Series Paper (#155464) to the card front, then wrapped the Old Olive/Pretty Peacock Reversible Ribbon (#149496) around. This was attached to the Very Vanilla Base card.

I adhered Adhesive Sheets (#152334) to the back of the Shaded Spruce card before cutting with the detailed die and the outline die to cut the outside. The inside circle cuts at the same time and I cut a small amount from the circle with a Layering Circles Die (#151770) as I wanted it a bit smaller. I find the adhesive sheets so convenient and easy for adhering any detailed cuts outs like this one.

The butterfly was cut with one of the Brilliant Wings Dies (#155523) from Gold Foil Sheet (#132622). I used Mini Stampin’ Dimensionals (#144108) to attach this to the card. The sentiment is from the Art Gallery Stamp Set (#158201) and stamped with Shaded Spruce ink (#147088). A Seasonal Labels Die (#156299) was used to cut the sentiment and it was also attached with Mini Stampin’ Dimensionals. The Genial Gems (#155500) were added to the card, butterfly & sentiment.

“Love what you do and share what you love.”