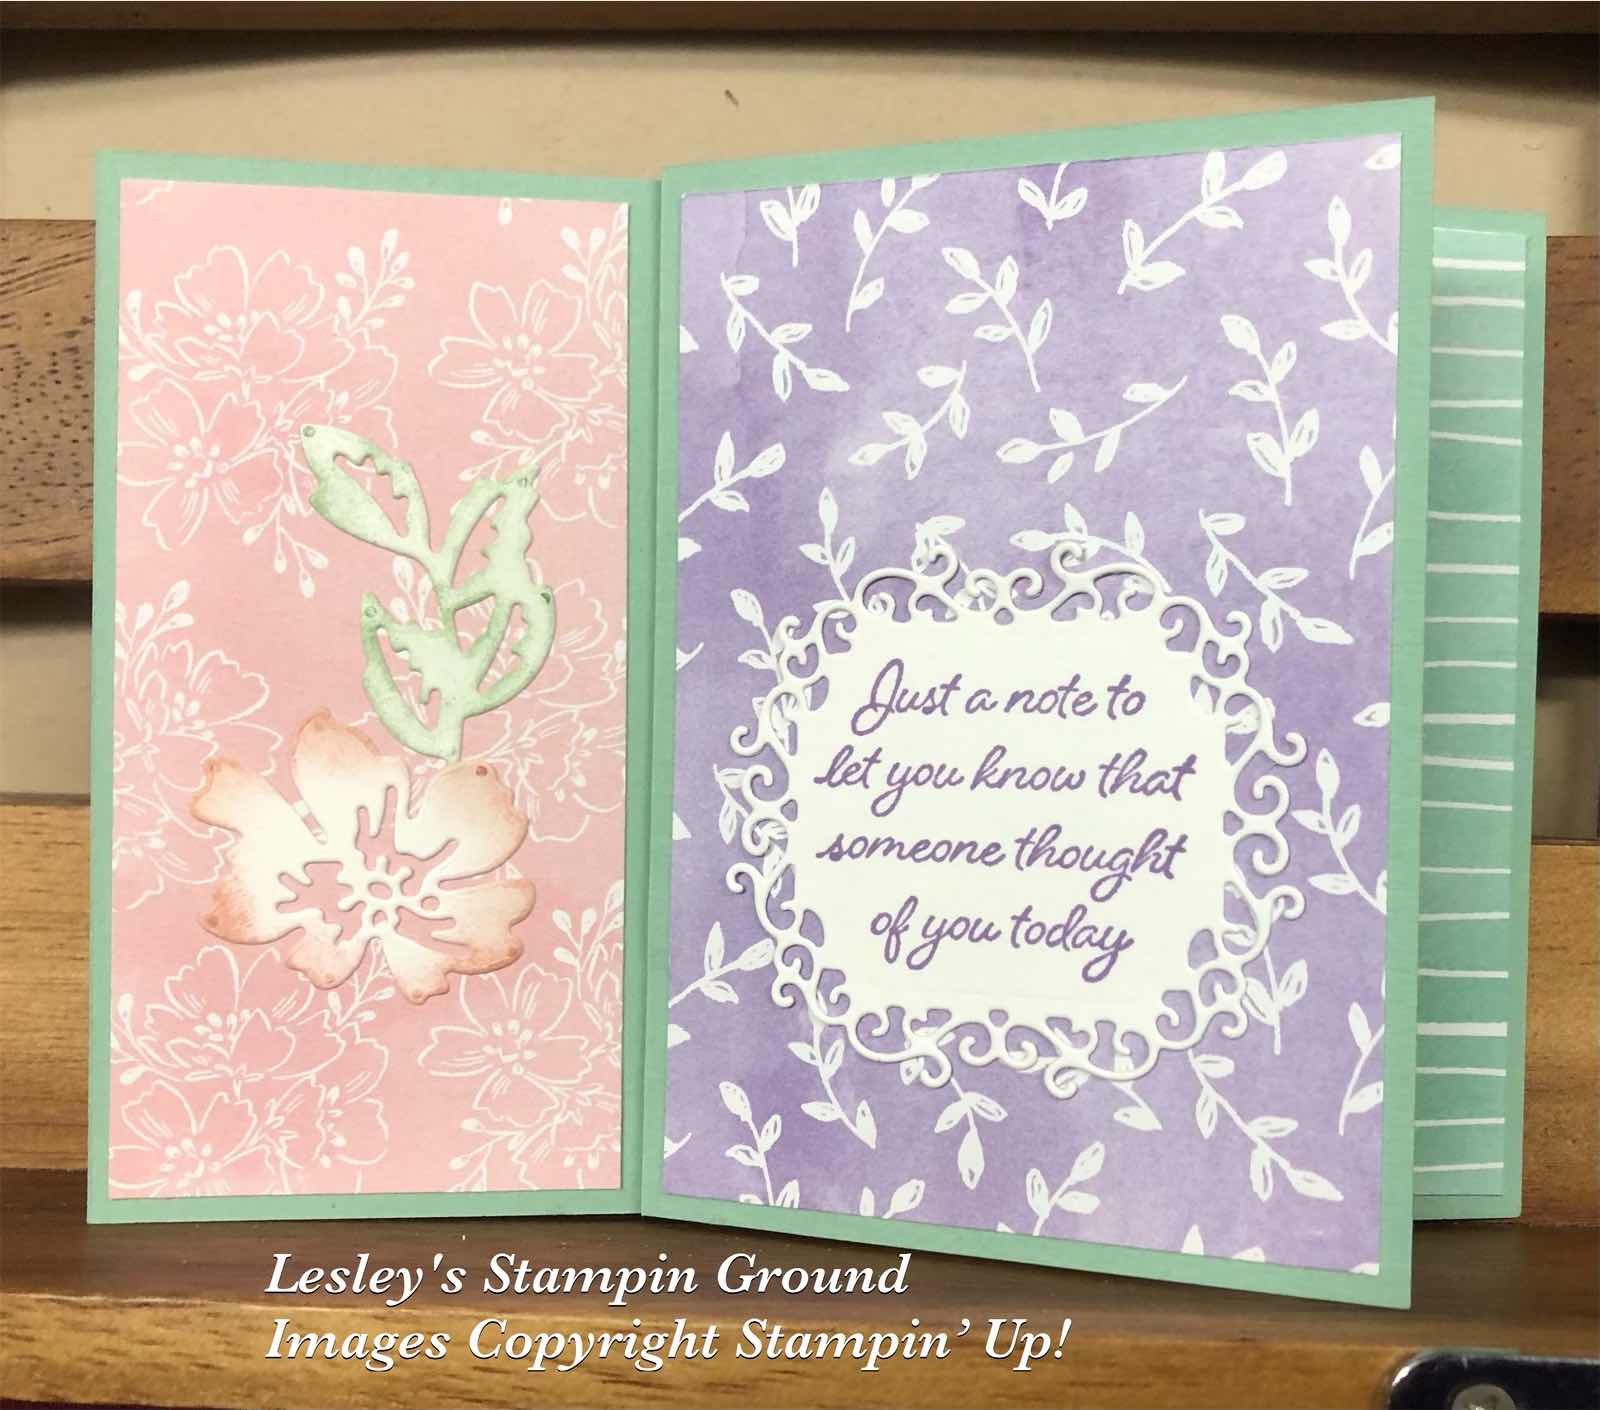
Recently I made a small pinwheel tower card so this one today is a larger one with the finished size approximately 21cm x 15cm when flattened out. I am using the Blessings Of Home Bundle (#157939) which is a sneak peek from the upcoming Mini catalogue available from 4th January 2022.
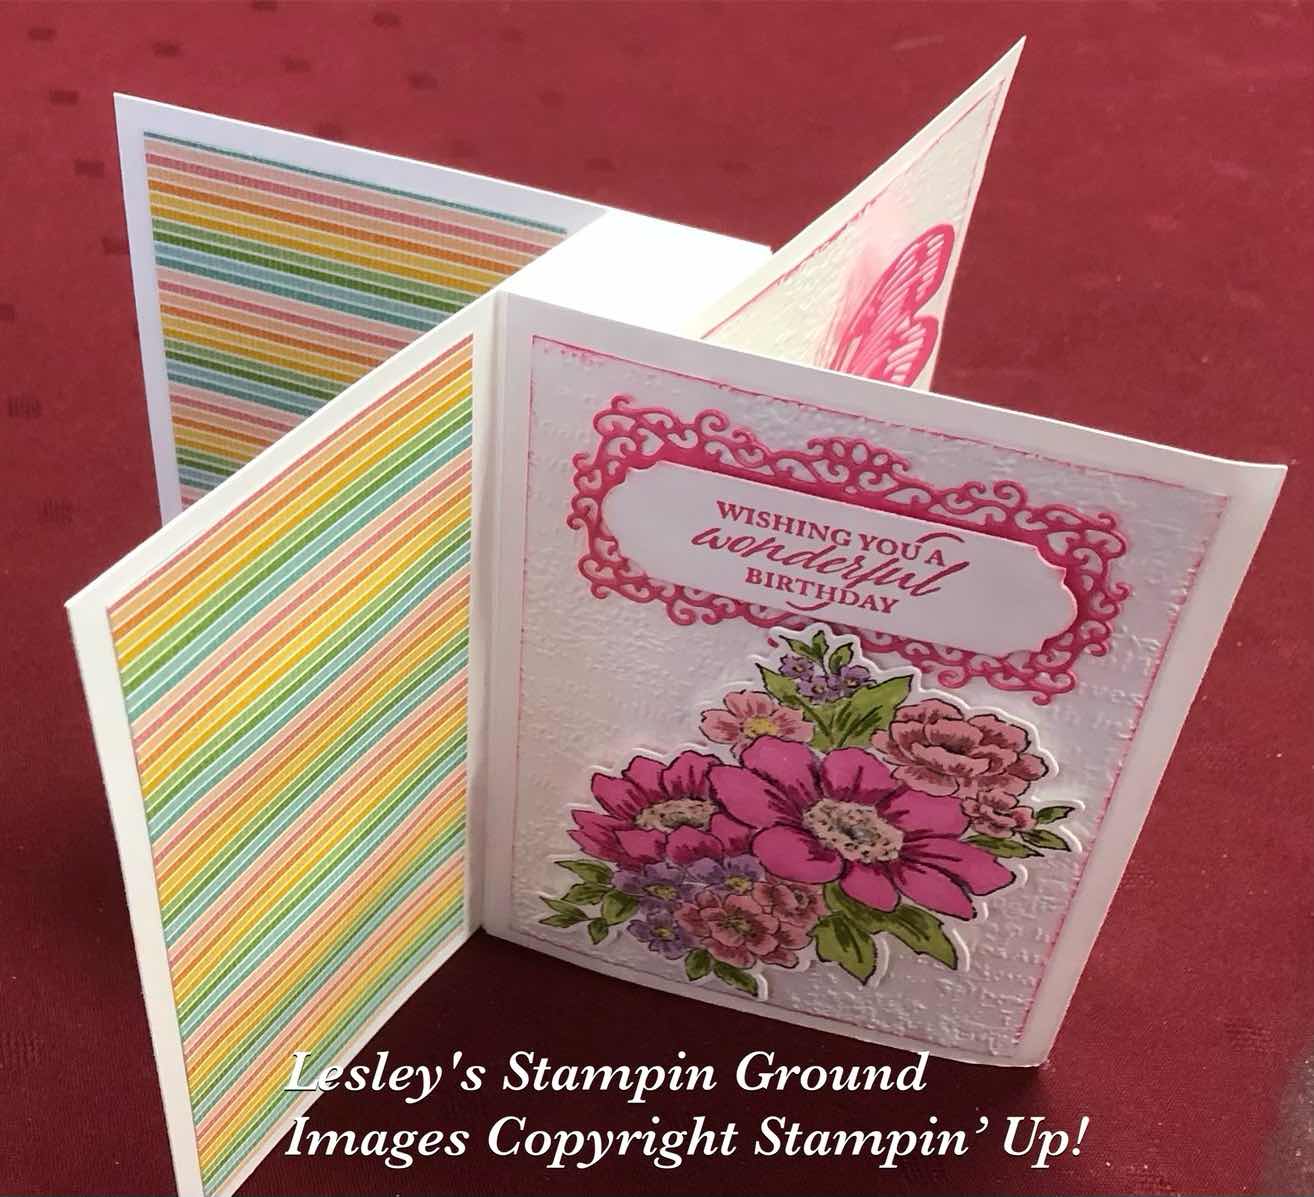
The Basic White card (#159228) measurements for the basic card shape are as follows-
1 piece - 20.5 x 14.9cm and scored at 2.5cm, 5cm,7.5cm and 10cm along the long side.
3pieces - 14.9 x 10.5 cm
The other measurements are-
3 pieces Basic White - 13.9 x 9.5cm. These were embossed with the Timeworn Type 3D Embossing Folder (#156505).
4 pieces of Pattern Party Designer Series Paper (#155426) - 7cm x 13.9cm and 1 piece - 5cm x 13.9cm
1 piece of Basic White card 6cm x 13.9 cm
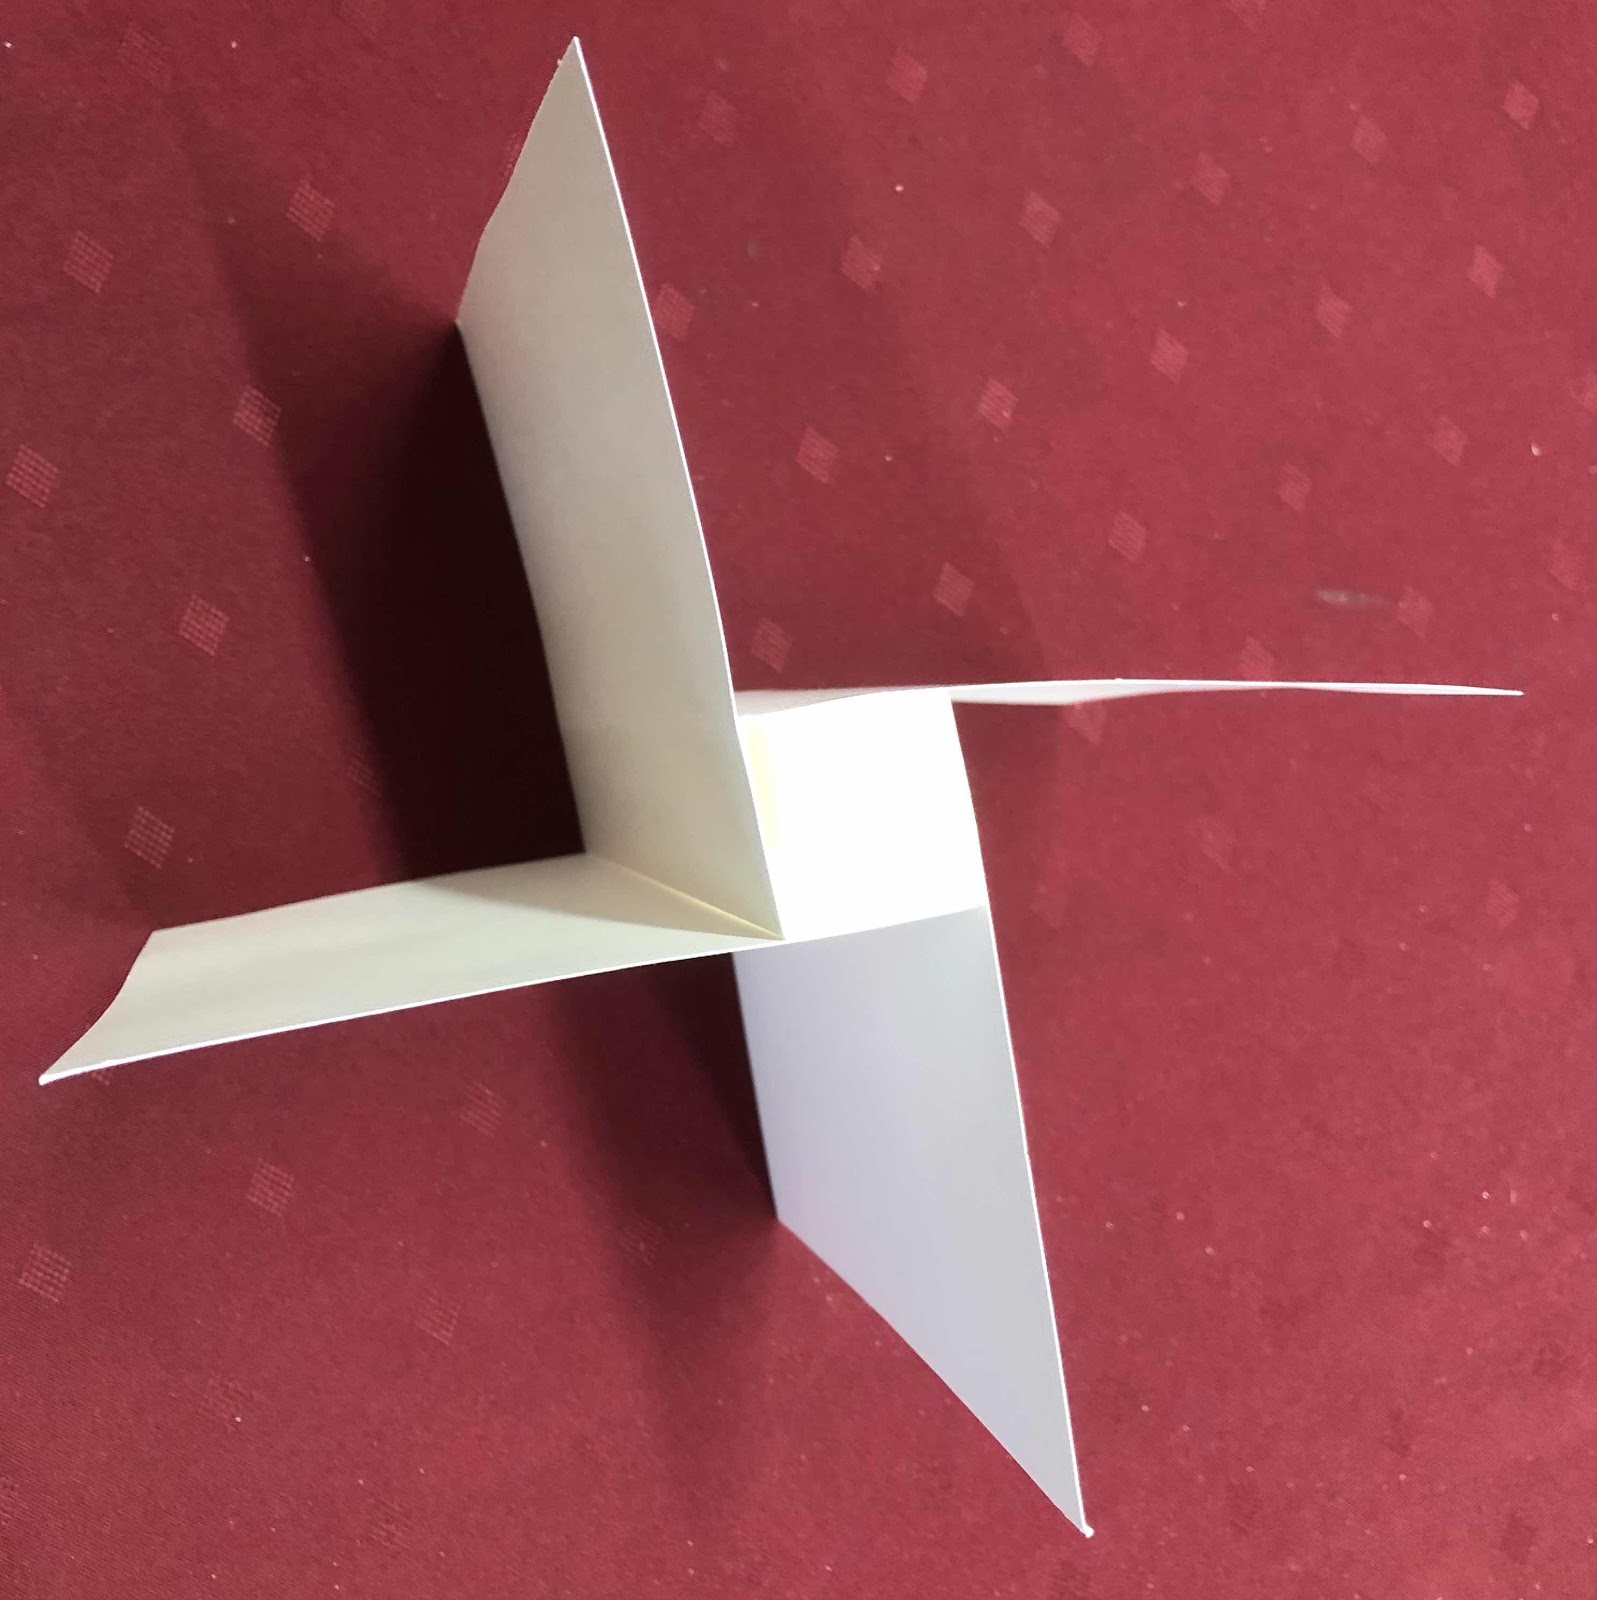
Fold each of the scored lines, to form a square. Apply glue or tape to the end of the “square” as shown below. Fold the left side over to the piece on the right.

You will continue adding glue or tape to one side of the “square”, and place a piece of the 14.9cm x 10.5cm on the right side and fold the left side onto this. (This is very hard to describe so I hope you can understand what to do).

The final base card looks like this from above-
I stamped the larger floral image and I stamped 2 of the smaller floral images from the Blessings Of Home stamp set (#157930) using Tuxedo Black Memento ink (#132708). These were coloured with Stampin’ Blends - Polished Pink (#155520), Flirty Flamingo (#154884), Fresh Freesia (#155518), Granny Apple Green (#154885) & So Saffron (#154905). These were cut with the Flowers Of Home Dies (#157938).
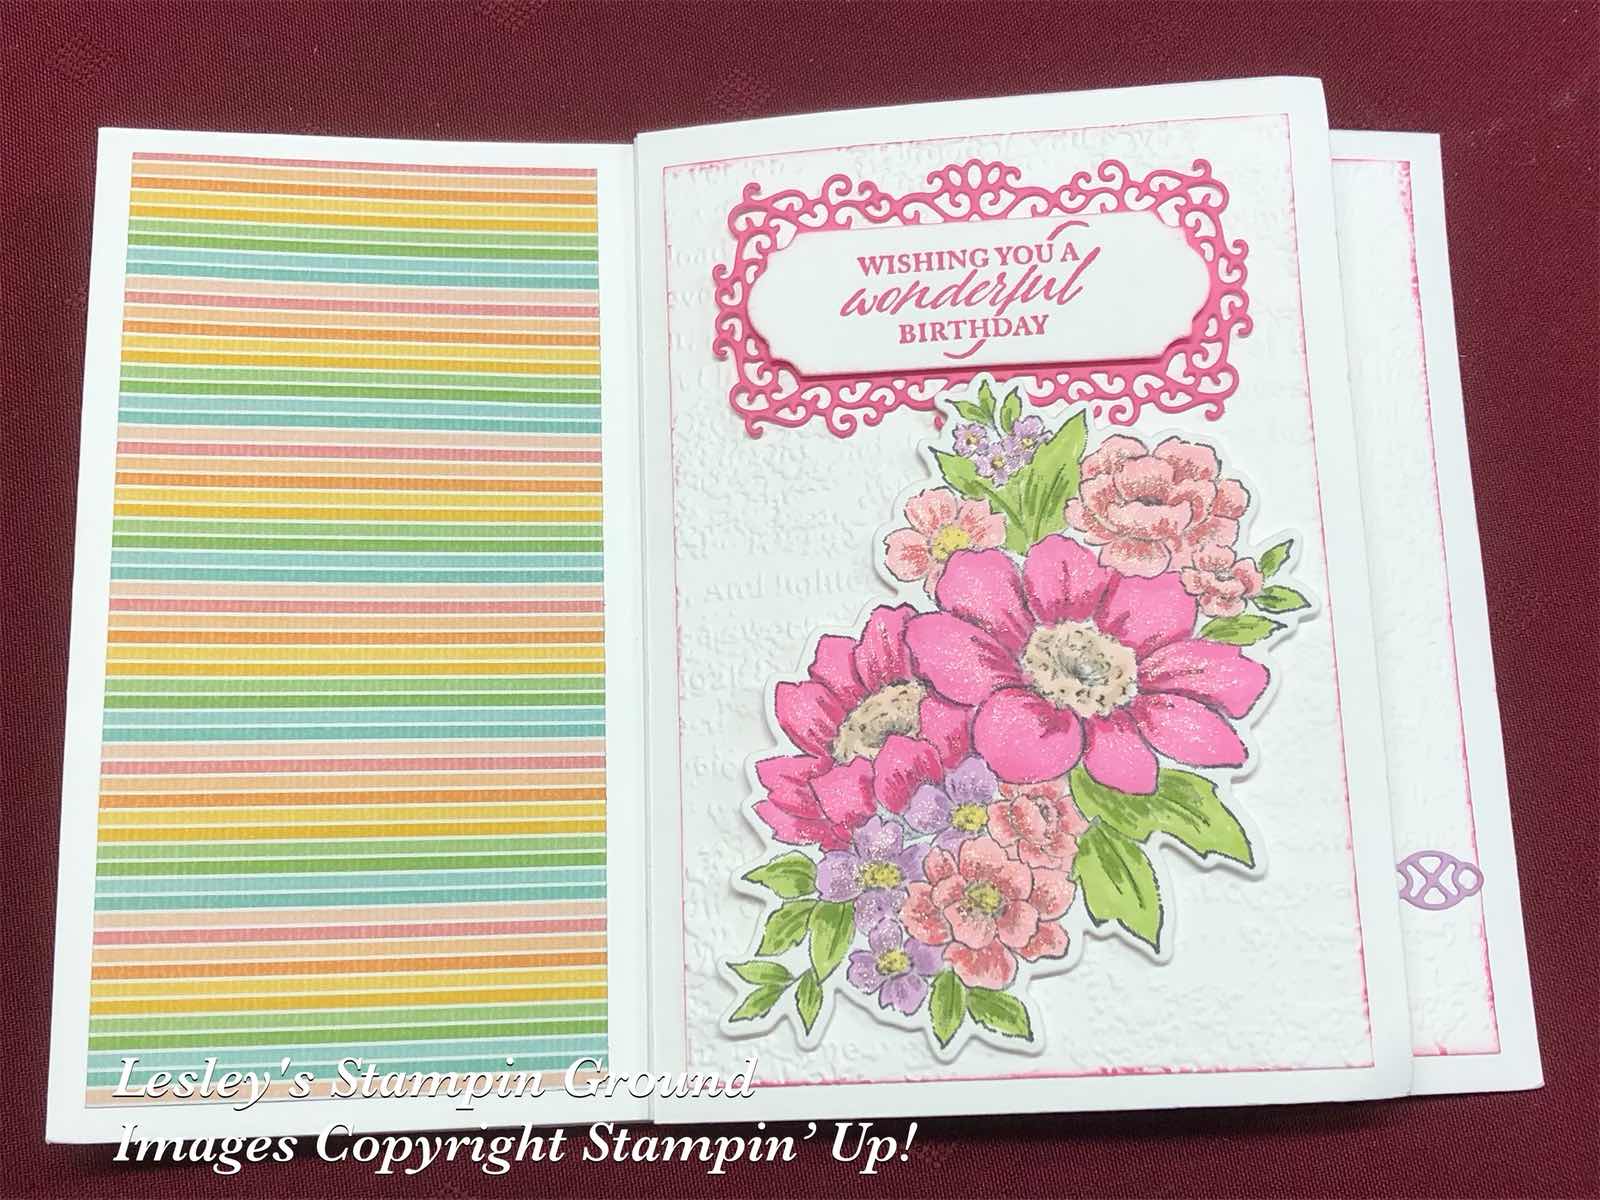
“Wishing You a Wonderful Birthday” from Elegantly Said stamp set (#155095) was stamped with Polished Pink ink (#155712). I used Ornate Frames Dies (#150664) to cut the sentiment and the Polished Pink card (#155711) under the sentiment. This and the larger floral image were attached to one of the dry embossed cards.

Next I cut the butterflies with the Brilliant Wings Dies (#155523) from Polished Pink card and Fresh Freesia card (#155614). The detailed border under the sentiment is cut with a Nature’s Thoughts die (#153586). The Fresh Freesia card was backed with Adhesive Sheet (#152334) before cutting this border. The sentiment on this opening is from the Pansy Patch stamp set (#154999) and also stamped with Polished Pink ink. The butterflies and sentiment were added to another of the dry embossed cards with Stampin’ Dimensionals (#104430).
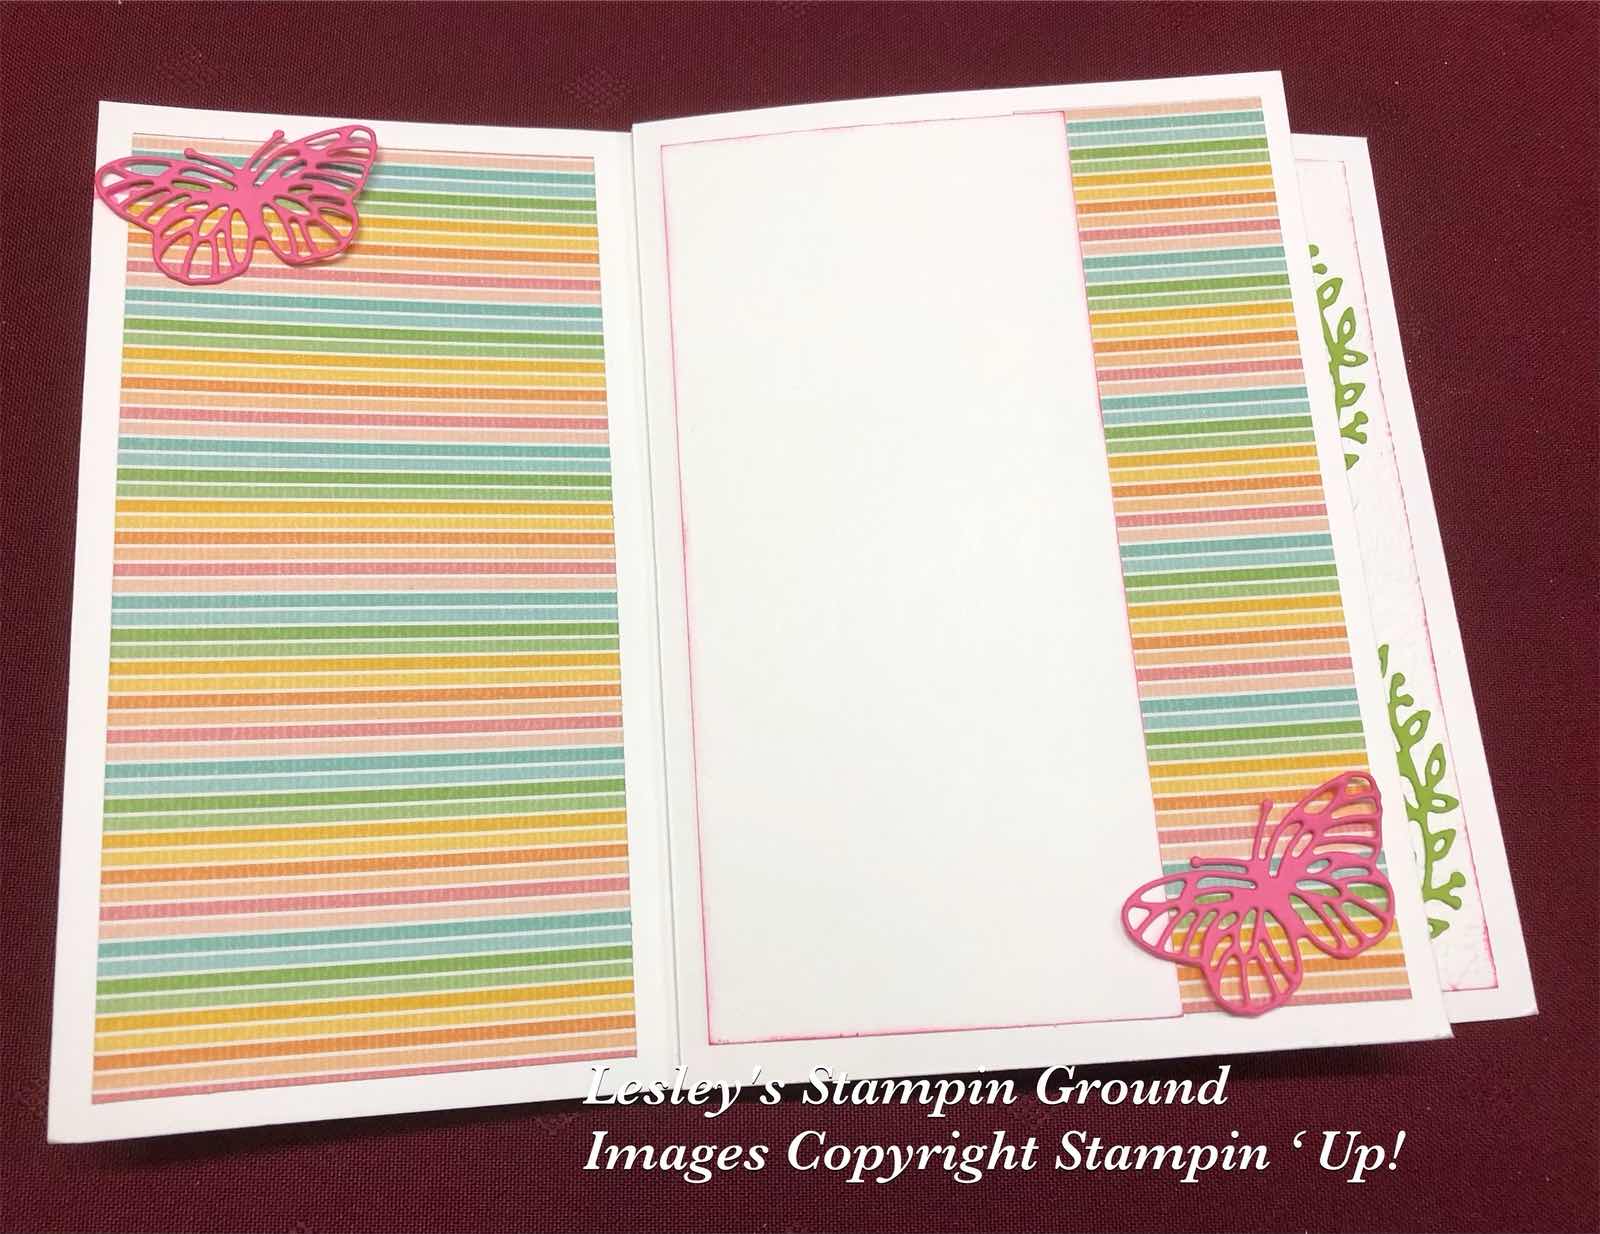
On the next side I attached a larger piece of Designer Series Paper on the left side and the smaller piece on the right side. The smaller Basic White card (6cm x13.9cm) was attached and this is where you will write your personal greeting. I attached 2 more butterflies cut from Polished Pink card. These were attached to the card with Mini Glue Dots (#103683).
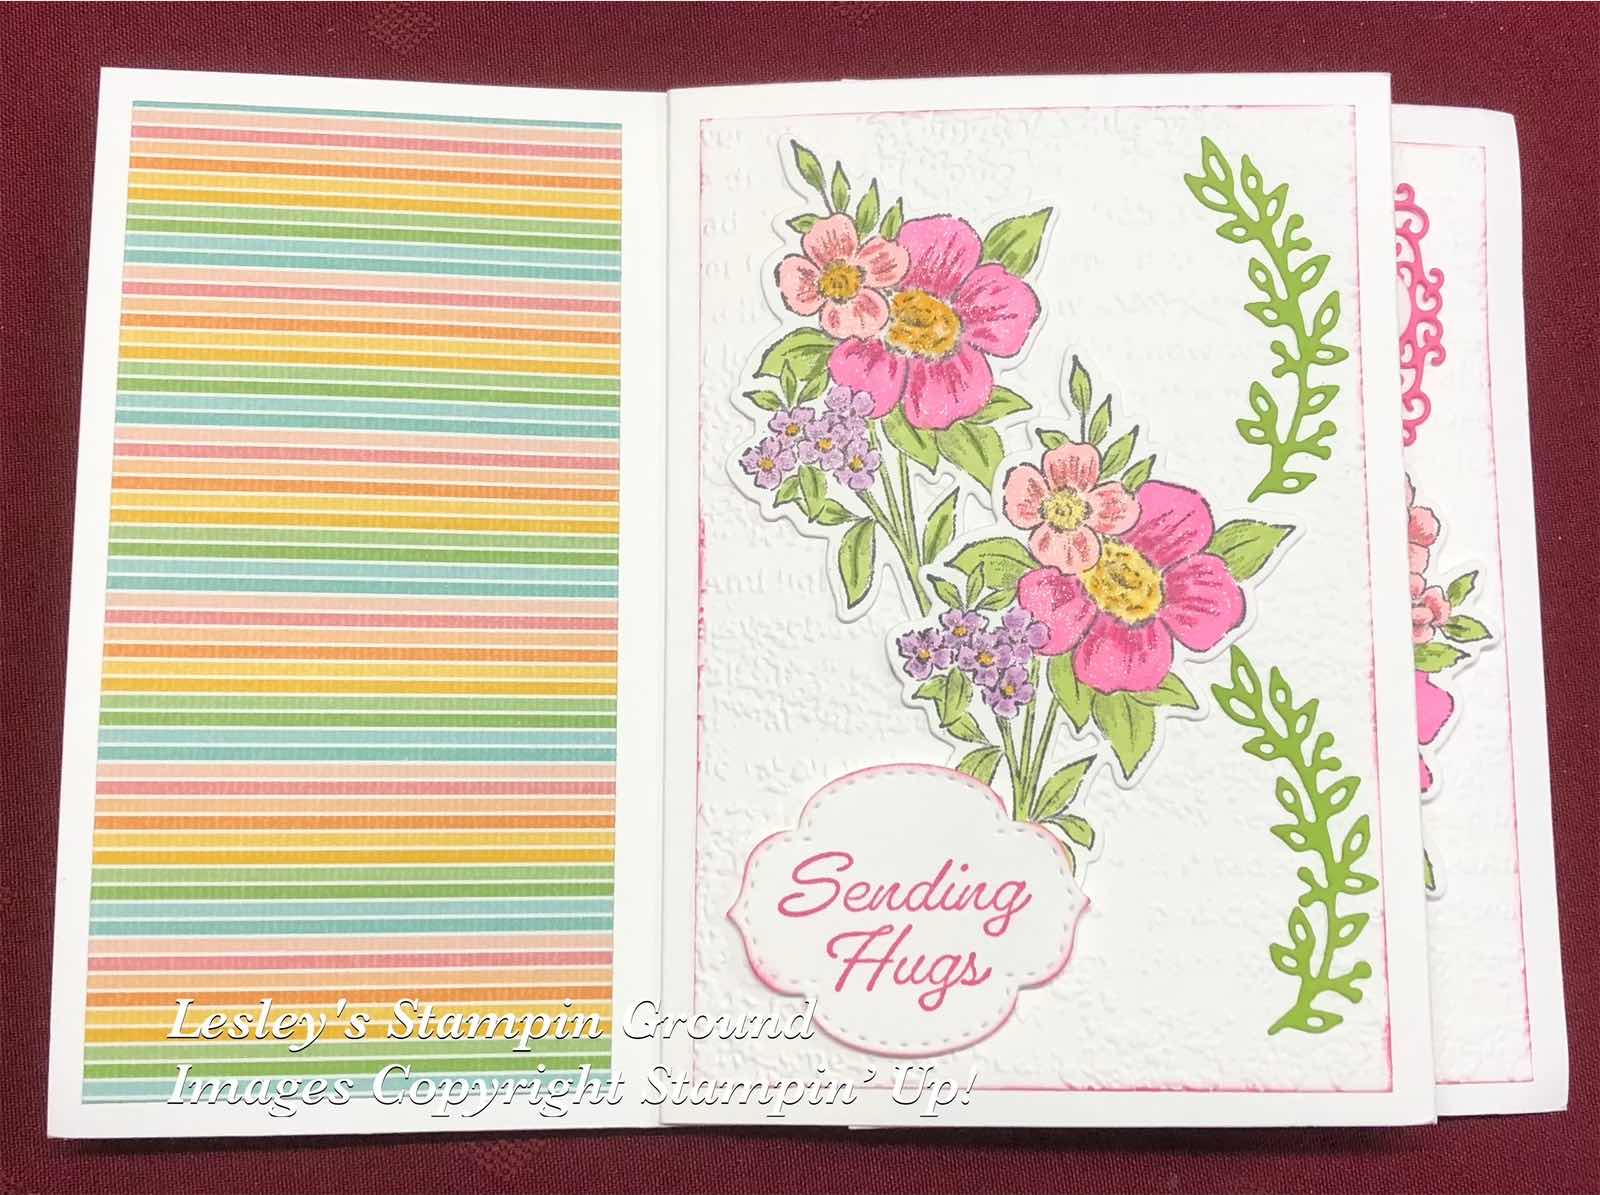
On this side I added the 2 smaller floral images to another of the dry embossed cards. Using Adhesive Sheet on the back of the Granny Apple Green card (#147014), I cut the leaves with a Flowers Of Home die. “Sending Hugs” is from the Eden’s Garden stamp set (#157823), stamped with Polished Pink ink and cut with a Stitched So Sweetly die (#151690).
I attached the DSP to each of the left sides of each “opening”.
“Love what you do and share what you love.”