Tuesday, 8 February 2022

Dahlia Days Bundle

Hello & welcome,

Today I have made 2 cards basically with the same products but what a difference colour makes to the finished cards.
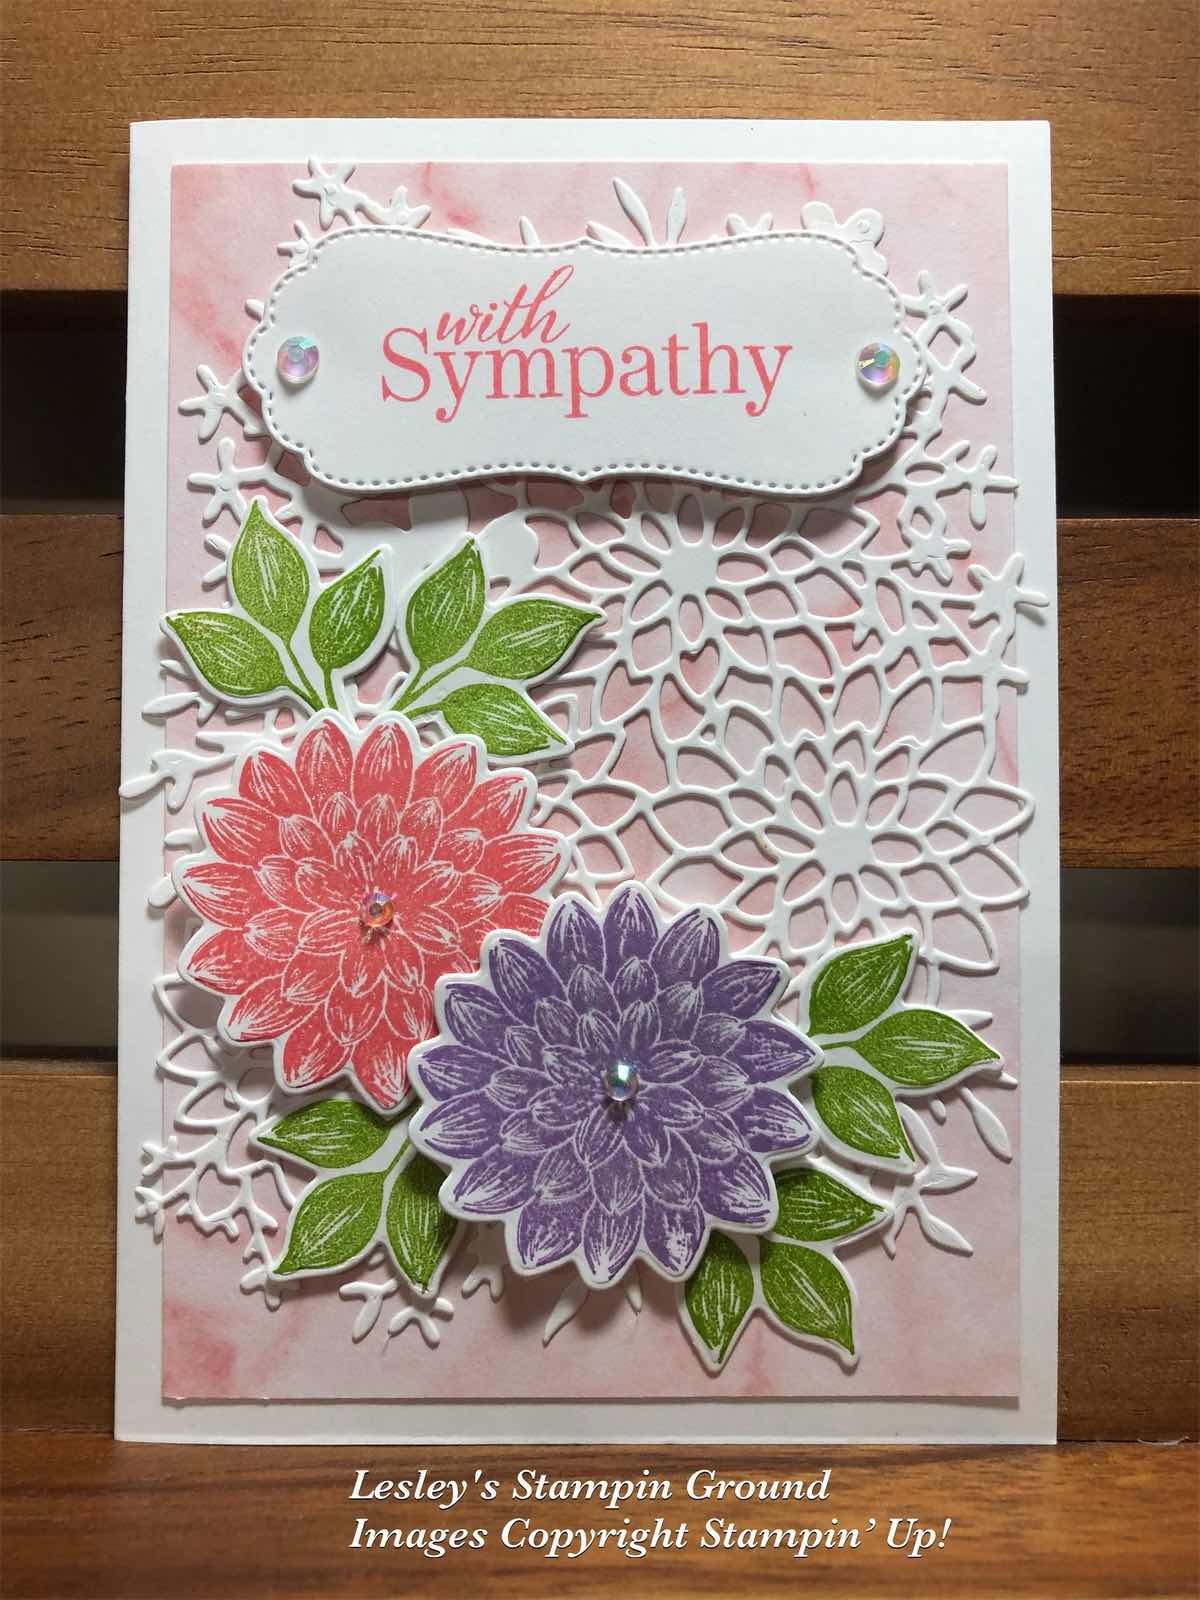
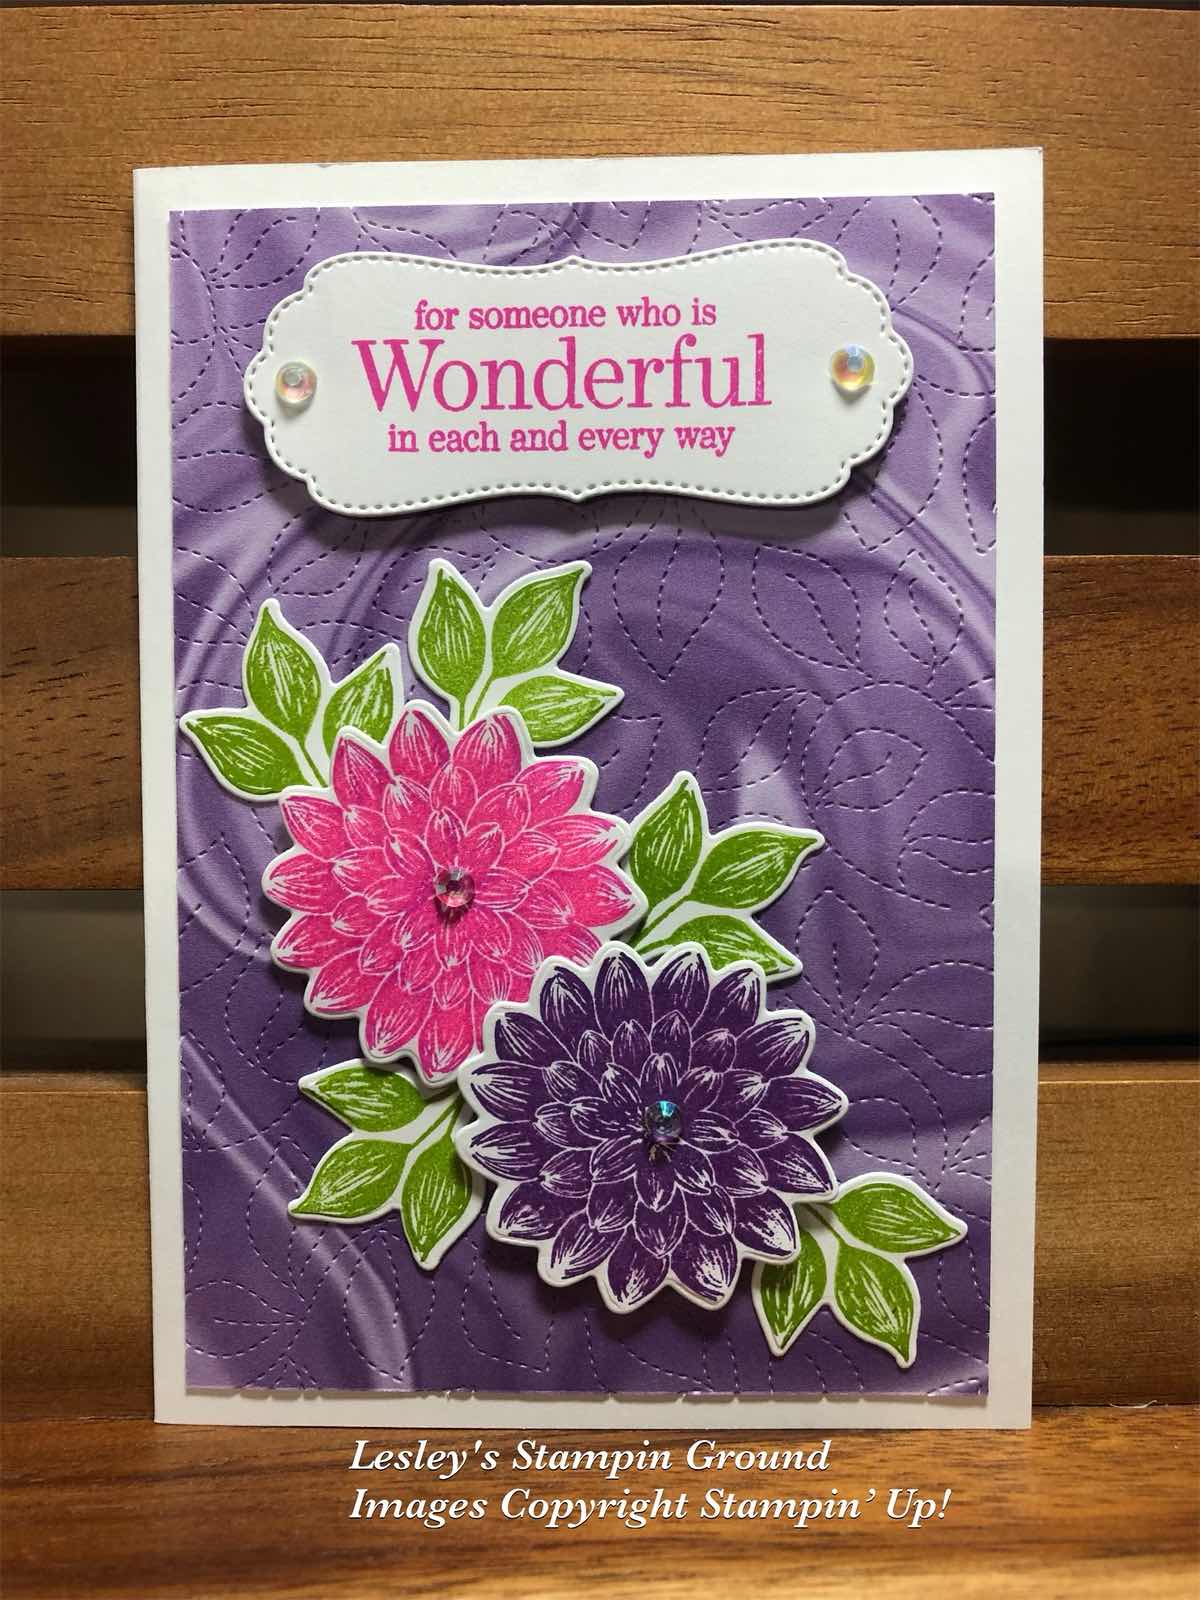


I have used the Dahlia Days stamp set (#157799) for the flowers & leaves on both cards. I have used the detailed background die from the Detailed Dahlias Dies (#157801) to cut the Basic White card (#159228) which was adhered to the Designer Paper on the first card. The Simply Marbleous 6”x6” Designer Series Paper (#158128) has been used on both cards. The stitching on the second card was done with the Stitched Greenery Die (#155451).

On the first card I stamped the flowers with Flirty Flamingo ink (#147052) and Fresh Freesia ink (#155611). I used Magenta Madness ink (#153117) and Gorgeous Grape ink (#147099) for the flowers on the second card. The leaves were stamped with Granny Apple Green ink (#147095). The leaves & flowers are all cut with the Detailed Dahlia dies.

The sentiments are both from the Special Moments stamp set (#158081) - a Sale-a-bration product. “With Sympathy” was stamped with Flirty Flamingo ink and I used Gorgeous Grape ink for the second sentiment. The label die from the Potted Succulents dies (#154330) was used to cut the sentiments. The sentiments and flowers are all attached to the cards with Stampin’ Dimensionals (#104430). I used Mini Glue Dots (#103683) to attach the leaves.

The base cards are Basic White and I added the Iridescent Rhinestone Basic Jewels (#158130) to both cards.

TIP: I used the Adhesive Sheet (#152334) on the Basic White card before cutting with the Detailed Dahlia die. 

“Love what you do and share what you love.”


Monday, 7 February 2022

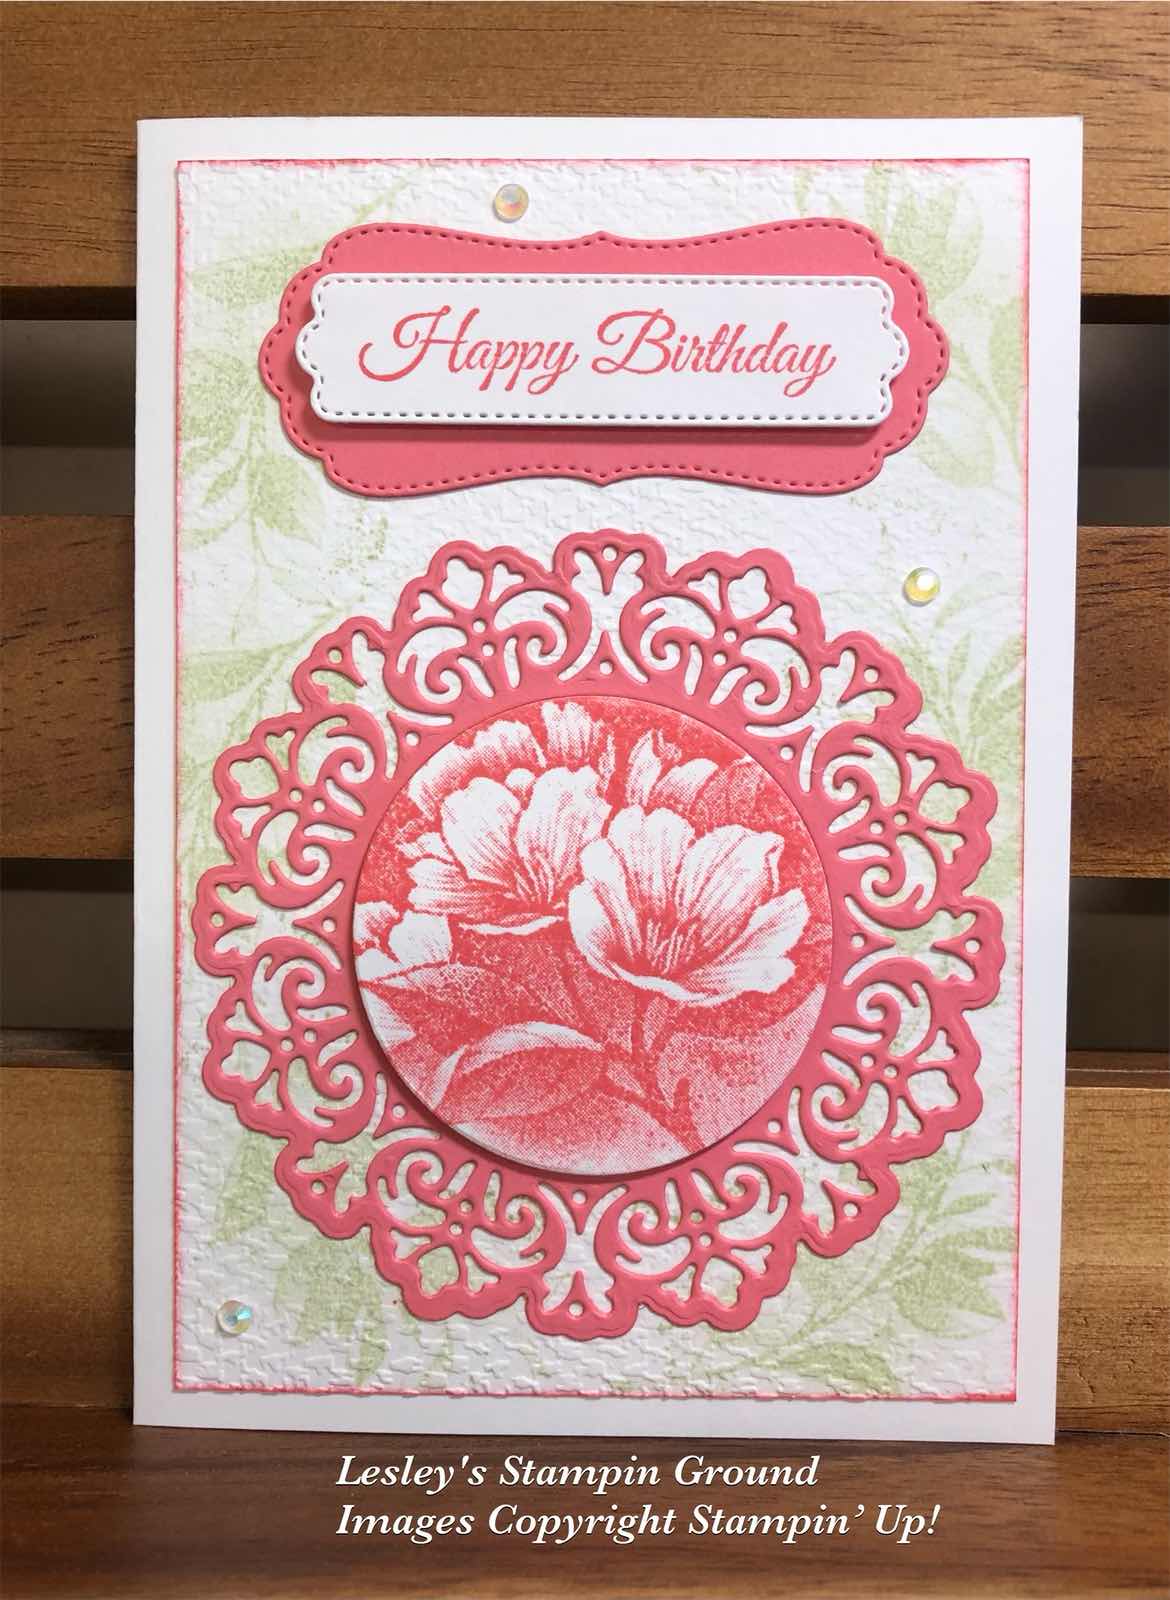
Calming Camellia

Hi again my friends,

Sale-a-bration is a great time of the year when you can earn free products when placing a qualifying Stampin’ Up! order ($90 or $180 in Australia). There has been an extension of Sale-a-bration in Australia till 16th March so still time to get some fantastic products. The Calming Camellia stamp set (#158117) is a Sale-a-bration host set which you can earn by hosting a party or placing a personal order of $500. I have used this stamp set on this card.


I stamped the leaves with Soft Sea Foam ink (#147102) onto the Basic White card front (#159228). I then dry embossed this with the Tasteful Textile 3D Embossing Folder (#152718). The edges were daubered with Flirty Flamingo ink (#147052), then attached to the Basic White base card.

I stamped the flowers with Flirty Flamingo ink and cut it with a die from the Encircled In Beauty Dies (#155546). I only used the circle from the cut out. I then cut the Flirty Flamingo card (#141421) which was backed with Adhesive Sheet (#152334) with the same die for the outside detailed cut-out. This was attached to the card, then the circle with the stamped flower was attached with Stampin’ Dimensionals (#104430).

“Happy Birthday” is also from the Calming Camellia stamp set and stamped with Flirty Flamingo ink. I used a label die from the Pretty Pillow Box dies (#156321) to cut the sentiment and a die from the Potted Succulents Dies (#154330) was used to cut the Flirty Flamingo card under the sentiment. The sentiment was attached to the card with Stampin’ Dimensionals. The beautiful Iridescent Rhinestone Basic Jewels (#158130) were added to finish the card.

TIP: The adhesive sheet is ideal for adhering cut outs when using detailed dies. Just adhere it to the back of the card before cutting with a die. Remove the backing and attach to your card. So simple!!

“Love what you do and share what you love.”


Saturday, 5 February 2022

Sentimental Swirls

Hi friends,

The stamping on this card is all from the Sentimental Swirls stamp set (#157996).


I set up the swirl stamp on the Stamparatus (#148187) and stamped the swirl with Pear Pizzaz ink (#147104) on Basic White card (#159228). Then I positioned the scalloped rectangle which was cut with a Stitched So sweetly die (#151690) onto the Stamparatus so when this was stamped it would match the image on the card front, but only seeing part of the image. The stitching on the card front was achieved with the Stitched Greenery die (#155451). The Pale Papaya Open Weave Ribbon (#155672) was wrapped around the card front, then it was matted with the Pale Papaya card (#155669). The small rectangle was attached to the card with Stampin’ Dimensionals (#104430).

I stamped the flowers with Pale Papaya ink (#155670) - one on Basic White card and the other on Pale Papaya card (#155669) and these were punched with the Flowers & Leaves Punch (#155373). The small leaves were stamped with Soft Sea Foam ink (#147102). The bird and sentiment were also stamped with Pale Papaya ink. “Hello” was cut with a Stitched So Sweetly die. 

I added sparkle to the flowers & bird with the Clear Wink Of Stella Brush (#141897) and added the Genial Gems (#155500) to the flower centres and the card.

The flowers and sentiment were attached to the card with Stampin’ Dimensionals.


“Love what you do and share what you love.”

Friday, 4 February 2022

Grove Dies

Hi everyone,

I have used the Grove Dies (#157844) for the trees & the deer on this simple card.


For the background I have used one of the designs from the New Horizons 6”x6” Designer Series Paper (#157768). I cut the Mossy Meadow card (#133683) with a Grove die for the trees and attached this to the DSP. I then matted this with the Brushed Metallic 12”X12” cardstock (#153524) and attached it to the Very Vanilla base card (#106550).

The deer were also cut with the Groves dies and using the Brushed Metallics cardstock. I attached these to the card with Mini Stampin’ Dimensionals (#144108). Best Wishes from the Special Moments stamp set (#158081) was stamped with Mossy Meadow ink (#147111) and cut with the Messages Die (#154422). The Pebbles Enamel Shapes (#158141) were added to the card.

TIP: The Special Moments stamp set is a Sale-a-bration product. Sale-a-bration is extended in Australia till 16th March so you have extra time to get some free products (with a qualifying $90 or $180 order).


“Love what you do and share what you love.”


Thursday, 3 February 2022

Oceanfront stamp set

Hello friends,

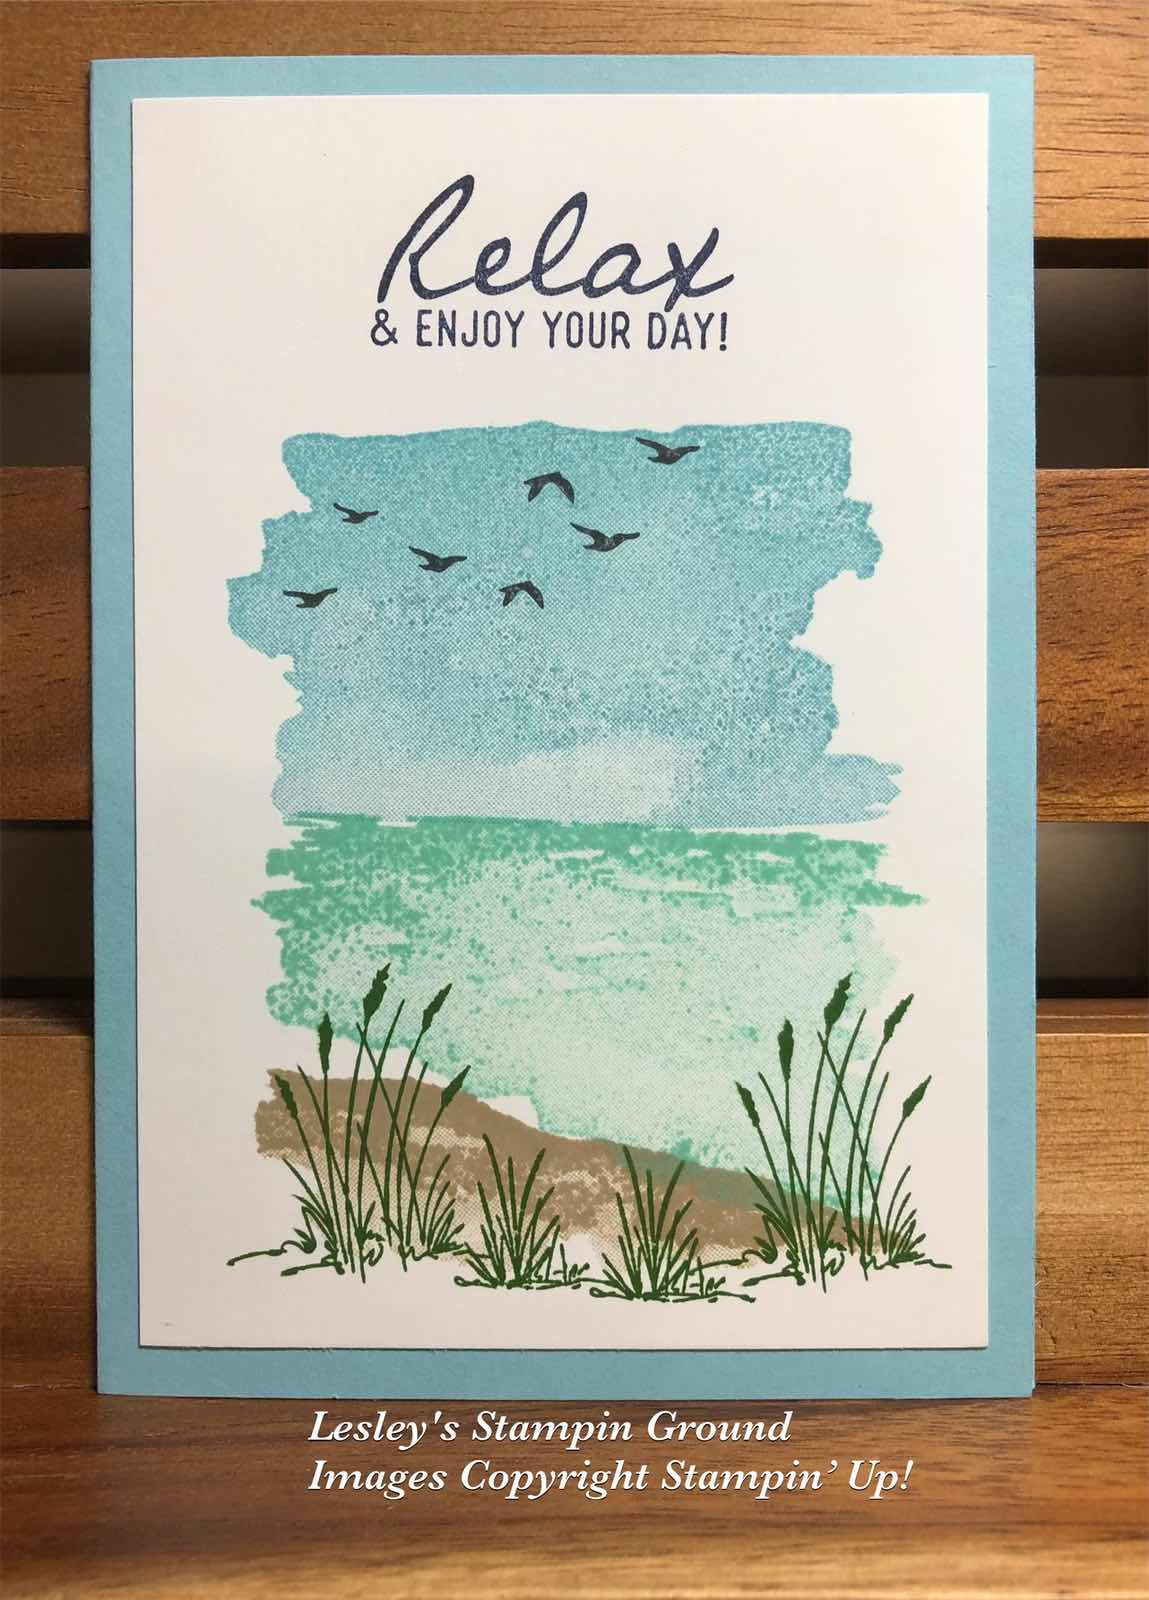
It isn’t very often that I just stamp on a card, (as I am sure you know I love dies and embossing), but I have just stamped on this card using the Oceanfront stamp set (#157862).


I stamped the foreground with Crumb Cake ink (#147116) onto Basic White card (#159228). The sea was stamped with Pool party ink (#147105), then the sky with Balmy Blue ink (#147105). I used Garden Green ink (#147089) for the grass. The birds are from the On The Horizon stamp set (#157770) and stamped with Tuxedo Black Memento ink (#132708). The sentiment also from On the Horizons stamp set was stamped with Night Of Navy ink (#147110). The card front was attached to the Balmy Blue card (#147007). So this is a quick & easy card with simple stamping.

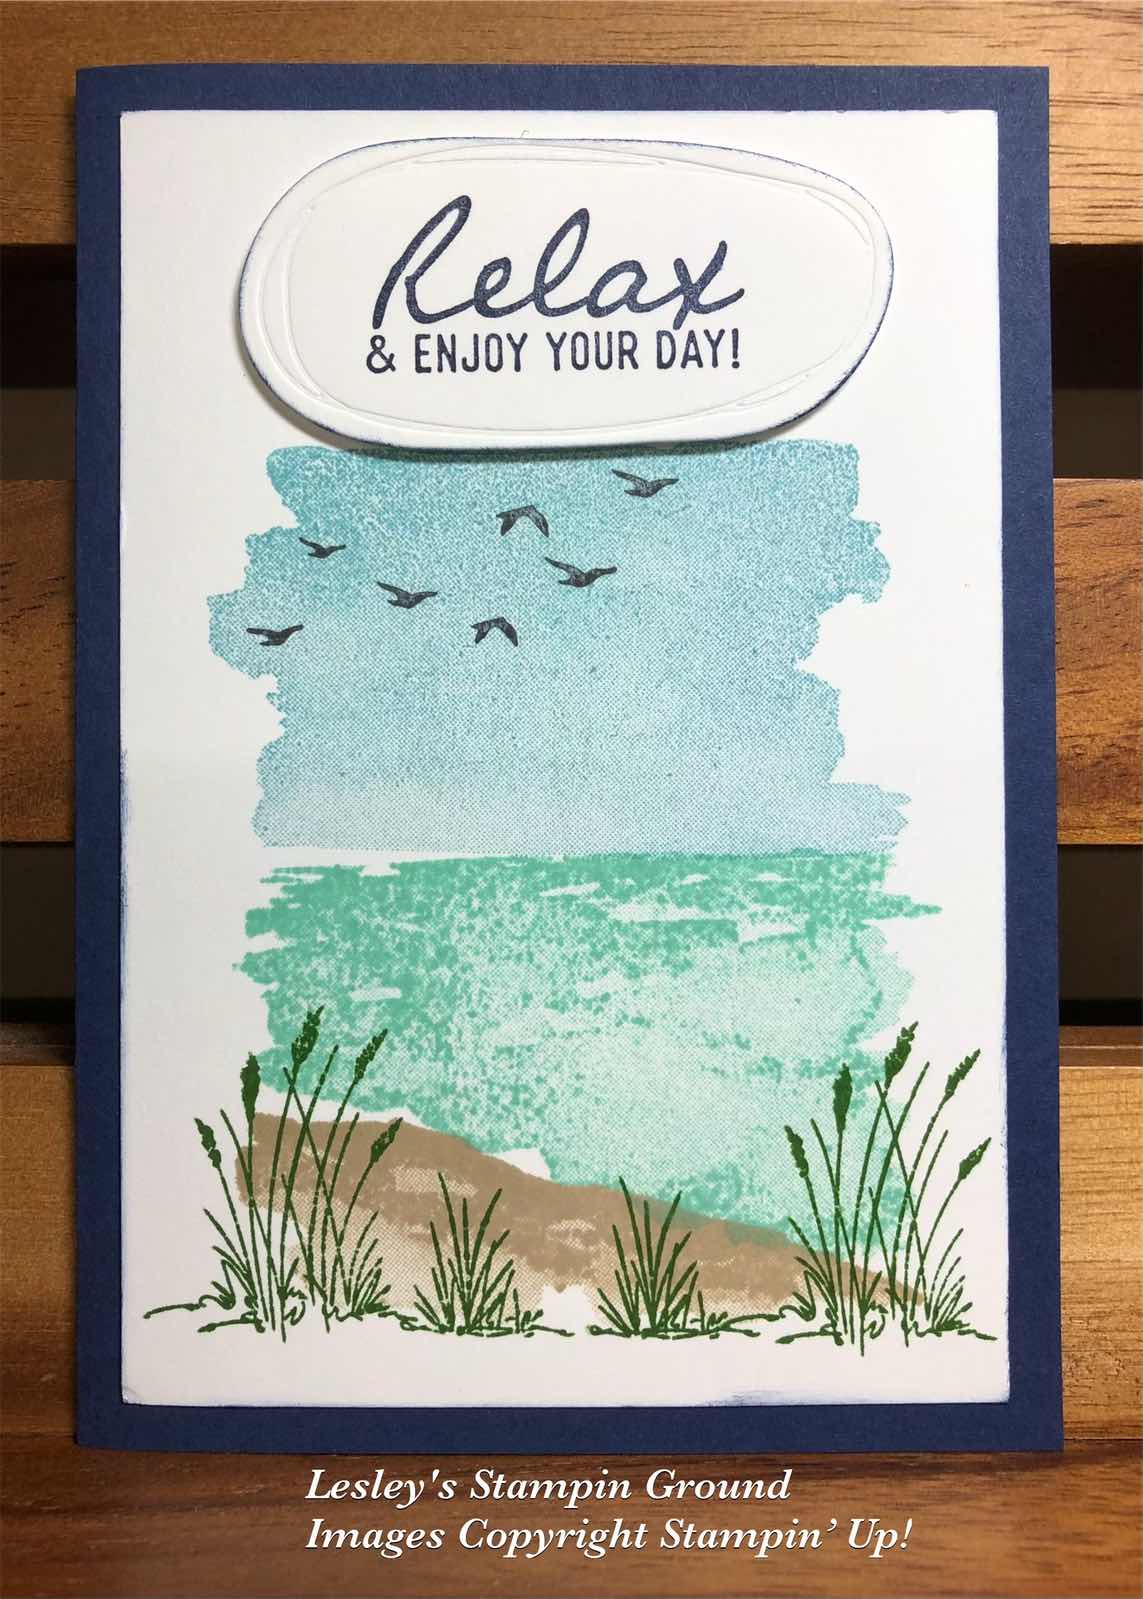
Then I couldn’t resist and add some extra elements to step it up a bit. Below is the next card which is stamped exactly the same except I stamped the sentiment on a separate piece of card and cut it with one of the Beautiful Shapes Dies (#158046) and attached it to the card with Stampin’ Dimensionals (#104430). I chose Night Of Navy card (#106577) for the base card.


Then the next card had another element added which is the boat from Sailing Home stamp set (#149457). The boat was stamped with Night Of Navy ink, cut with a Smooth Sailing Die (#149576) and attached to the card with Mini Stampin’ Dimensionals (#144108). The card front was matted with Night Of Navy card and attached to the Balmy Blue base card.


I hope this has shown how easy it is to just stamp a simple card or you can add a couple of extra elements to step it up and they are all great masculine cards.


“Love what you do and share what you love.”


Wednesday, 2 February 2022

Celebrate Today Magnet Board Kit

Hello friends,

There are a variety of kits available through Stampin’ Up! One now available is the Celebrate Today Magnet Board Kit (#159335).


This kit, shown below, includes a framed magnetic board, sticker sheets, double sided cards and 2 sheets of double sided 12”x12” designer paper to decorate the background. There are also 6 magnetic clips and 2 pocket envelopes.


There are instructions on how to decorate the board or you can be as creative as you would like.

The range of kits currently available can be viewed here- http://www.lesleyjendra.stampinup.net/

The kits come with everything you need to get started with step by step instructions, pre-cut pieces and more. Choose the kit from the assortment available but check back regularly for new kits being added. All kits are available while stocks last.

“Love what you do and share what you love.”
Tuesday, 1 February 2022

New Horizons Designer Series Paper

Hello crafty friends,

I have just received 2 products which I have been looking forward to using - the New Horizons 6”x6” Designer Series Paper (#157768) and the Driving By stamp set (#158099), so I have used them together on today’s cards.


The New Horizons DSP has a beautiful range of designs of watercolour “scenes”. I stamped the birds from the On The Horizon stamp set (#157770) using Tuxedo Black Memento ink (#132708) onto one of the designs. The sentiment was also stamped with the same ink and cut with the Messages Die (#154422).

I used the Heart & Home 12”x12” DSP (#157928) for the fence which was cut with the Horizon Dies (#157778). There are 2 pieces for this fence and I used both. I attached these to the card with Mini Stampin’ Dimensionals (#144108). 

The car is from the Driving By stamp set (#158099) which is a Sale-a-bration product. This was stamped with Tuxedo Black Memento ink then fussy cut. It was coloured with Balmy Blue Stampin’ Blends (#154830) and Smoky Slate Stampin’ Blends (#154904). Stampin’ Dimensionals (#104430) were used to attach the car to the card.

The DSP was matted with Basic Black card (#121688), then attached to the Basic White card base (#159228).

TIP: I cut narrow pieces of the Mini Stampin Dimensionals along the edge of the sheet of Dimensionals to attach to the fence. An alternative is to use the Foam Adhesive sheets (#152815). Just attach the DSP to one side of the Foam Adhesive sheet, then cut with the dies as normal and attach to the your project. 


“Love what you do and share what you love.”