Showing posts with label #stitchedsosweetlydies. Show all posts

Saturday, 26 March 2022

Pansy Petals Designer Series Paper

Hi stamping friends,

All of the designer papers are retiring from this current Stampin’ Up! annual catalogue, making room for a great range of new papers. I have chosen the beautiful Pansy Petals Designer Series Paper (#155807) for this card.
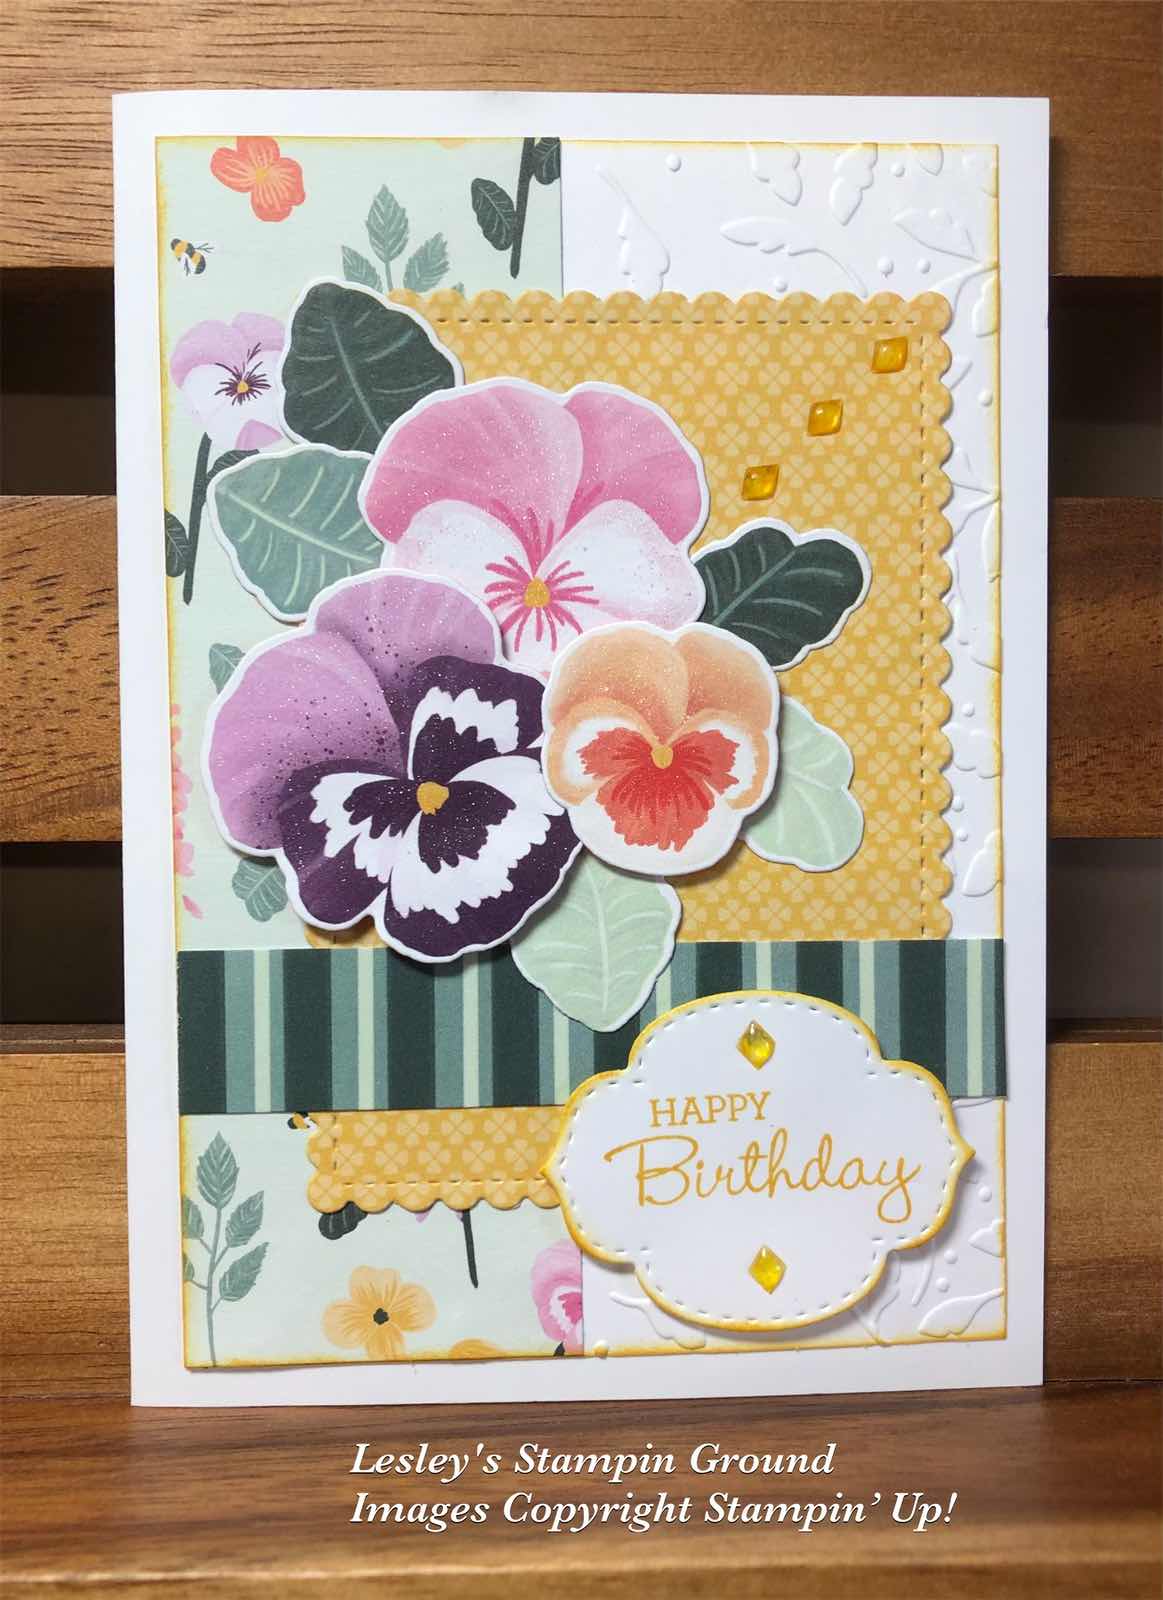


Some of the designs in this pack co-ordinate with the dies from the Pansy dies (#155680), so the flowers and leaves from the DSP have been cut with these dies.

I dry embossed the Basic White card front (#159228) with one of the Meadow Moments Embossing Folders (#153126), then attached another piece of the DSP to the left side of the card front. I also cut one of the pieces of DSP with a rectangle from the Stitched So Sweetly Dies (#151690). I attached another strip of DSP across the card front. I daubered the edges of the card with Bumble Bee ink and attached the card front to the Basic White base card. 

The leaves and pink pansy were taped in place and I used Stampin’ Dimensionals (#104430) & Mini Stampin’ Dimensionals (#144108) to attach the other flowers.

“Happy Birthday” from the Pansy Patch stamp set (#154999) was stamped with Bumble Bee ink (#153116). This was cut with a Stitched So Sweetly die and attached with Stampin’ Dimensionals. 

I coloured the embellishments from the Silver & Clear Epoxy Essentials (#155567) with the dark Daffodil Delight Stampin’ Blends (#154883) before attaching to the card. 

The Pansy Patch stamp set & Pansy dies will still be available in the next catalogue. The retiring products used here are - Pansy Petals Designer Series Paper, Bumble Bee ink, Stitched So Sweetly dies, Meadow Moments Embossing Folder, and the Silver & Clear Epoxy Essentials.

“Love what you do and share what you love.”


Saturday, 5 February 2022

Sentimental Swirls

Hi friends,

The stamping on this card is all from the Sentimental Swirls stamp set (#157996).


I set up the swirl stamp on the Stamparatus (#148187) and stamped the swirl with Pear Pizzaz ink (#147104) on Basic White card (#159228). Then I positioned the scalloped rectangle which was cut with a Stitched So sweetly die (#151690) onto the Stamparatus so when this was stamped it would match the image on the card front, but only seeing part of the image. The stitching on the card front was achieved with the Stitched Greenery die (#155451). The Pale Papaya Open Weave Ribbon (#155672) was wrapped around the card front, then it was matted with the Pale Papaya card (#155669). The small rectangle was attached to the card with Stampin’ Dimensionals (#104430).

I stamped the flowers with Pale Papaya ink (#155670) - one on Basic White card and the other on Pale Papaya card (#155669) and these were punched with the Flowers & Leaves Punch (#155373). The small leaves were stamped with Soft Sea Foam ink (#147102). The bird and sentiment were also stamped with Pale Papaya ink. “Hello” was cut with a Stitched So Sweetly die. 

I added sparkle to the flowers & bird with the Clear Wink Of Stella Brush (#141897) and added the Genial Gems (#155500) to the flower centres and the card.

The flowers and sentiment were attached to the card with Stampin’ Dimensionals.


“Love what you do and share what you love.”


Monday, 10 January 2022

Friendly Hello Stamp Set & Designer Series Paper

Hi friends,

The Friendly Hello stamp set and Designer Series Paper (#159990) is a free product from Sale-a-bration with a $180 order in Australia. These co-ordinate beautifully together. Some of the stamp images match with the images on the designer paper so a very versatile set.


I stamped the flowers with Tuxedo Black Memento ink (#132708) onto the Petal Pink DSP. I cut the other piece of DSP with the bird and the Basic Black card (#121688) with the Stitched So sweetly Dies (#151690). These were attached to the card with Stampin’ Dimensionals (#104430). The base card is Basic White (#159228).

The sentiment is from the Friendly Hello stamp set and stamped with Petal Pink ink (#147108) and cut with an Ornate Frames Die (#159664). The edges of the sentiment were daubered with Petal Pink ink and then I added the Clear diamond shapes from the Silver & Clear Epoxy Essentials (#155567) to finish the card.

Another easy card so great when you don’t have a lot of time.

TIP: Sale-a-bration continues till 28th February and there is a range of free products to choose from with every $90 or $180 order of Stampin’ Up! products from the new mini catalogue and/or the Annual catalogue.

“Love what you do and share what you love.”


lesleyjendra.stampinup.net


lesley.j.jendra@gmail.com

Tuesday, 14 December 2021

Shaded Summer

Hello crafty friends,


The White Stampin’ Emboss Powder (#155554) works well on darker coloured card like I have done here.


The floral image from Shaded Summer stamp set (#155783) was stamped with VersaMark (#102283) onto the Night Of Navy card (#106577), then sprinkled with the White Embossing Powder. This was set with the Heat Tool (#129056). I then dry embossed this card with the Timber 3D Embossing Folder (#156406). The Harvest Meadow Designer Series Paper (#156494) was attached to the card front.

“Happy Birthday” is also from the Shaded Summer stamp set and stamped with Real Red ink (#147084). This Basic White card (#159228) and the Real Red card (#106578) under the sentiment were cut with Stitched So Sweetly dies (#151690). I used Stampin’ Dimensionals (#104430) to attach the sentiment to the card. The white leaves under the sentiment were cut with the Summer Shadows Dies (which were from the last Sale-a-bration). These were glued to the card with the Fine-Tip Glue Pen (#138309). I added the Red Rhinestone Basic Jewels (#146924) to the flower centre and sentiment.

“Love what you do and share what you love.”

Thursday, 2 September 2021

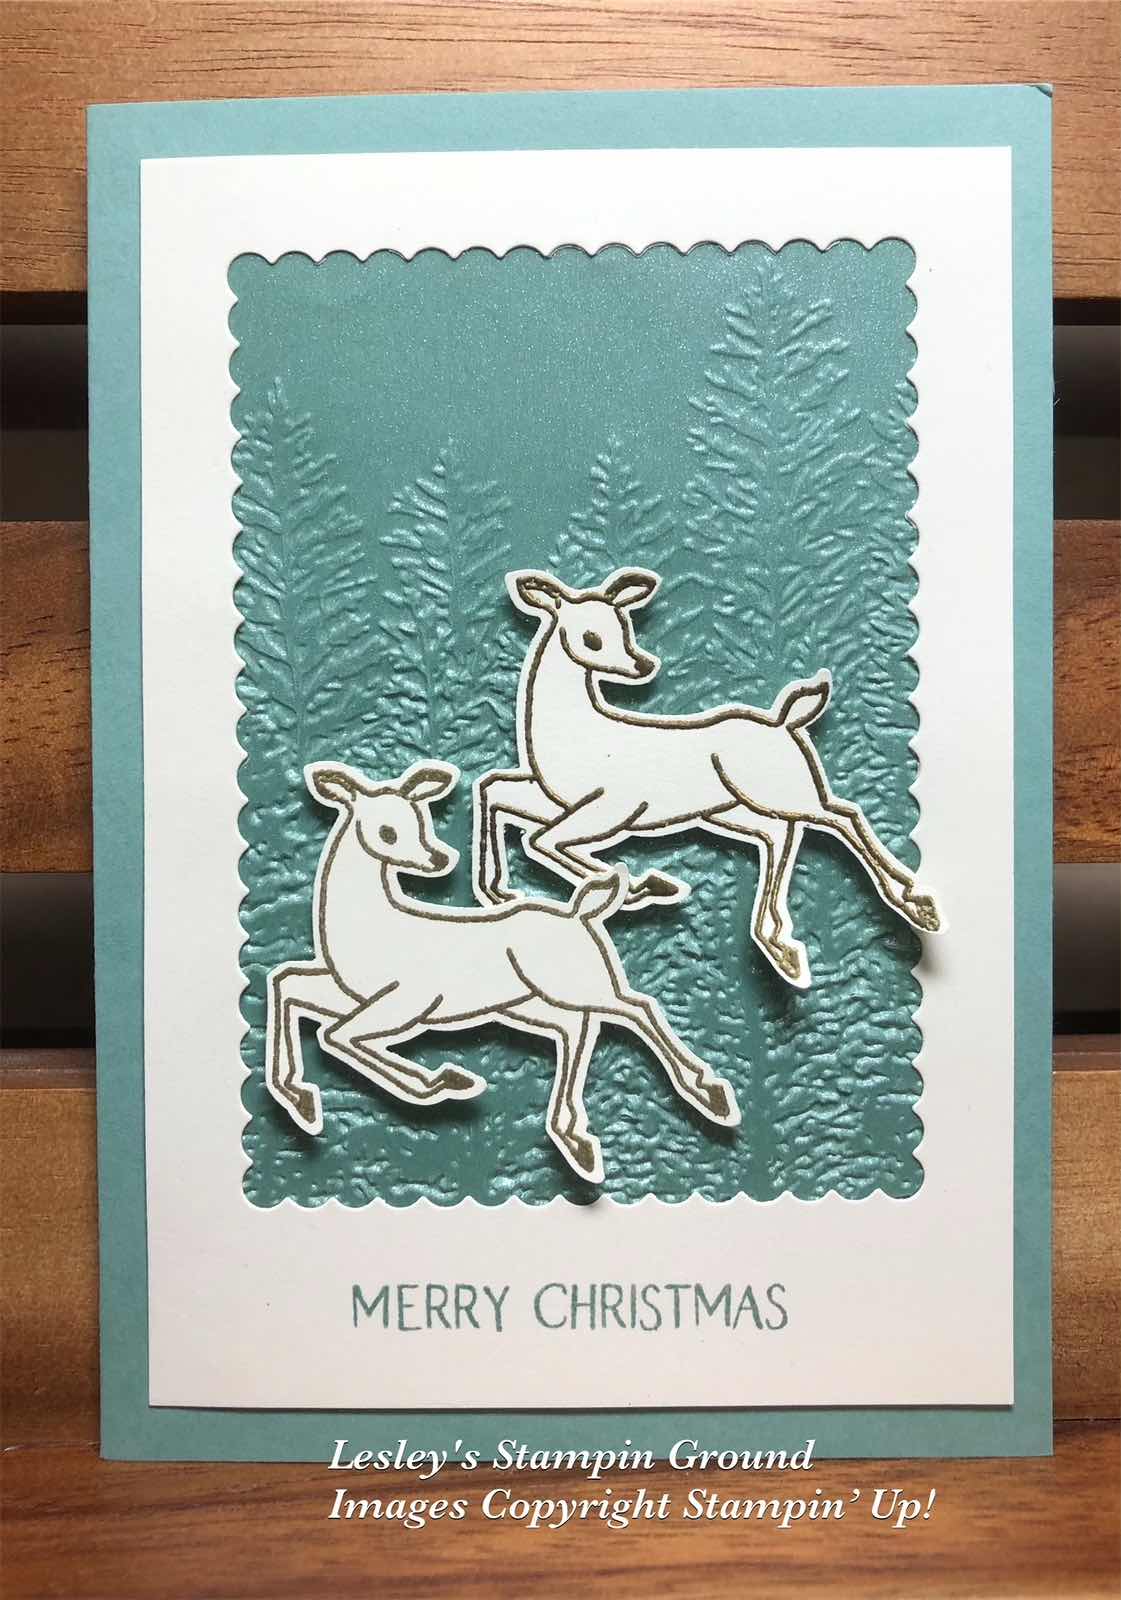
Peaceful Deer Bundle

Hi & welcome,

A simple card today using the cute deer from the Peaceful Deer Bundle (#156391).


I dry embossed the Soft Succulent Vellum from the 2021-2023 In Color Shimmer Vellum (#155616) with the Evergreen Forest 3D Embossing Folder (#153576). 
The sentiment from the Peaceful Deer stamp set (#156891) was stamped with Soft Succulent ink (#155778). I cut the Very Vanilla card (#106550) with a Stitched So Sweetly Die (#151690), then I taped the vellum to the back of the “frame”. This was then attached to the Soft Succulent base card (#155777).

I stamped the deers with VersaMark (#102283) and heat embossed with Gold Stampin’ Emboss Powder (#155555), then set with the Heat Tool (#129056). These were punched with the Deer Builder Punch (#156390). The 2 deer were attached to the card with Mini Stampin’ Dimensionals (#144108).

“Love what you do and share what you love.”

Stay safe & keep crafting!!


Friday, 13 August 2021

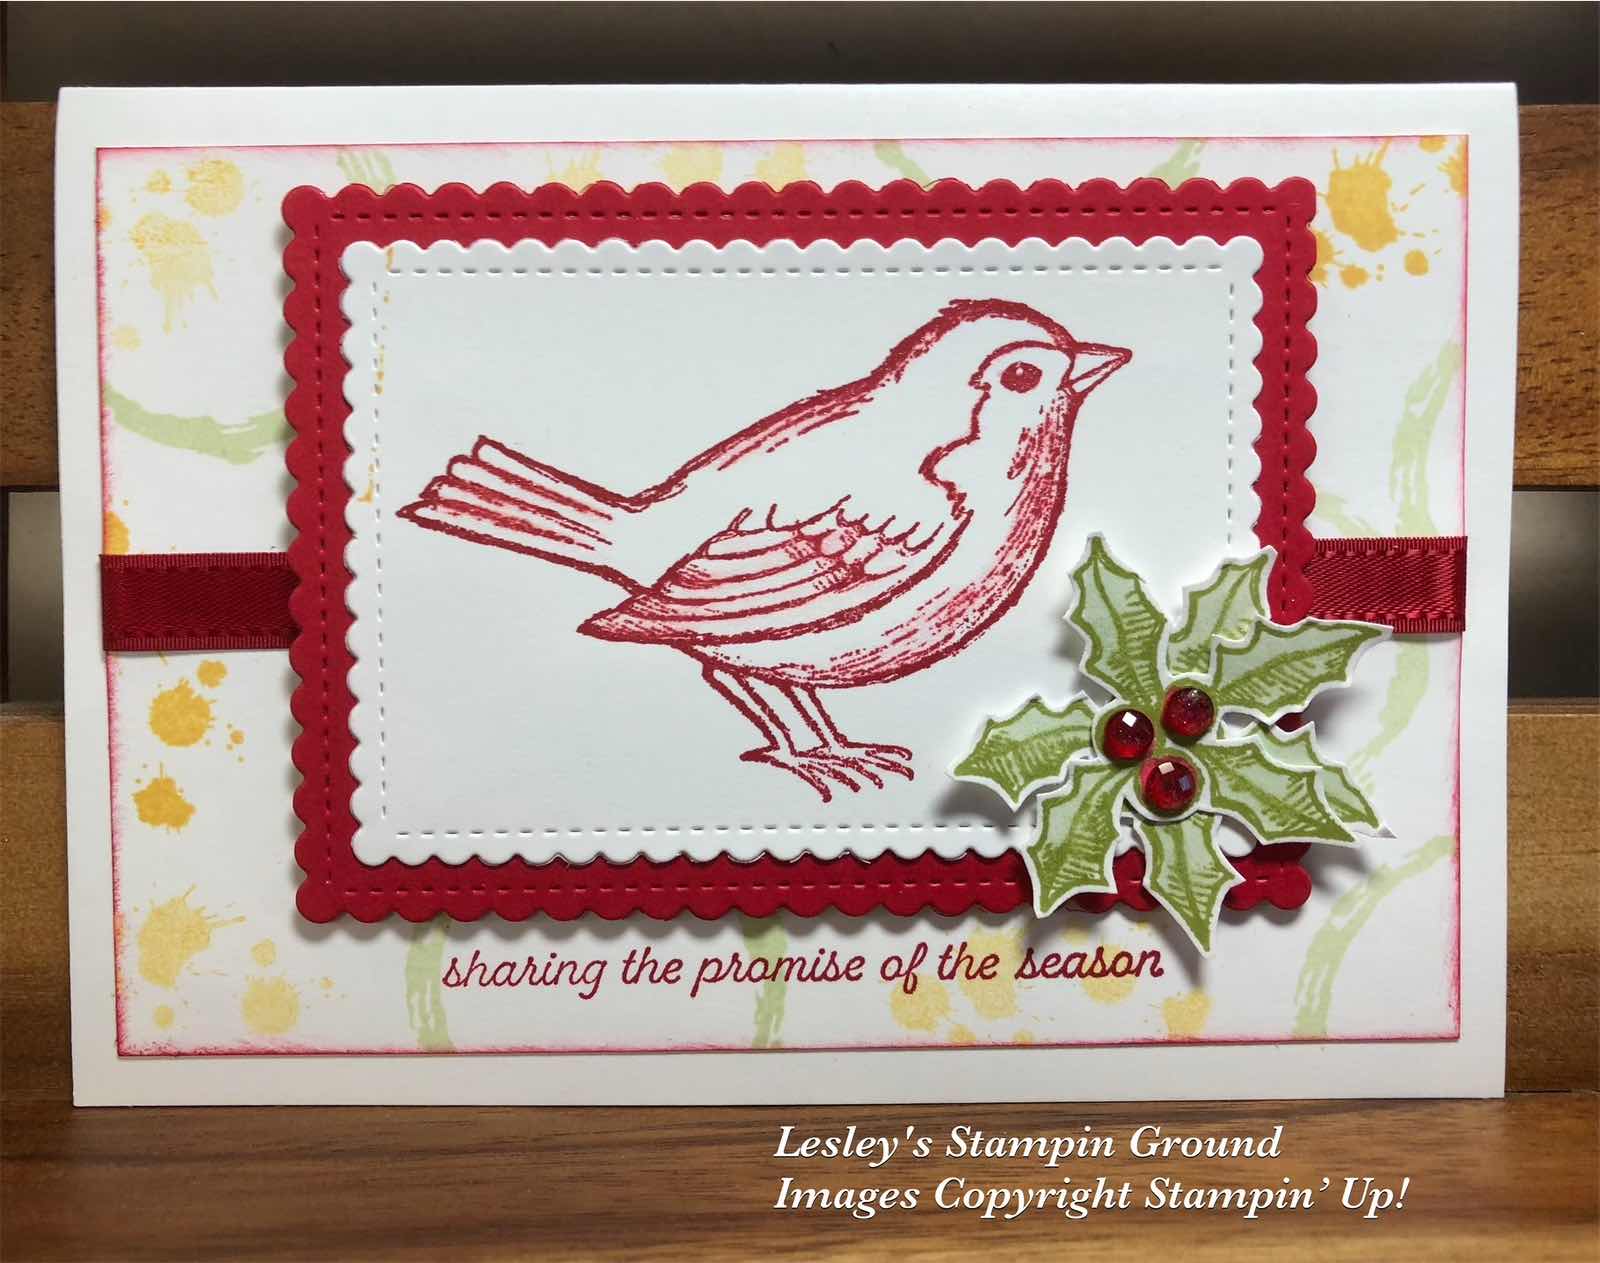
Happy Holly-Days

Hello friends,

I do love this bird from the Happy Holly-Days stamp set (#156342). As mentioned in an earlier post, it can be used for Christmas or any occasion card.


The bird was stamped with Real Red ink (#147084) onto Basic White card (#159228). This and the Real Red card (#106578) were cut with the Stitched So Sweetly dies (#151690).

The card front was stamped with images from the Textures & Frames stamp set (#156616) - a Sale-a-bration product. I used So Saffron ink (#147109) and Pear Pizzaz ink (#147104). The sentiment from the Happy Holly-Days stamp set (#156342) was stamped with Real Red ink.

 I wrapped the Real Red Double-Stitched Satin Ribbon (#151155) around the card front, then attached it to the base card. I used Stampin’ Dimensionals (#104430) to attach the scalloped rectangles to the card.

I stamped 2 images of holly with Old Olive ink (#147090) and coloured with Light Granny Apple Green Stampin’ Blends (#154885). These were fussy cut and attached together with Mini Glue Dots (#103683). Red Wonderful Gems (#153536) were attached to the holly for the berries.

I used the Clear Wink Of Stella (#141897) on parts of the bird where there is shading. Be aware that some bleeding can occur on some colours.


“Love what you do and share what you love.”


Stay safe & keep crafting!!


Tuesday, 3 August 2021

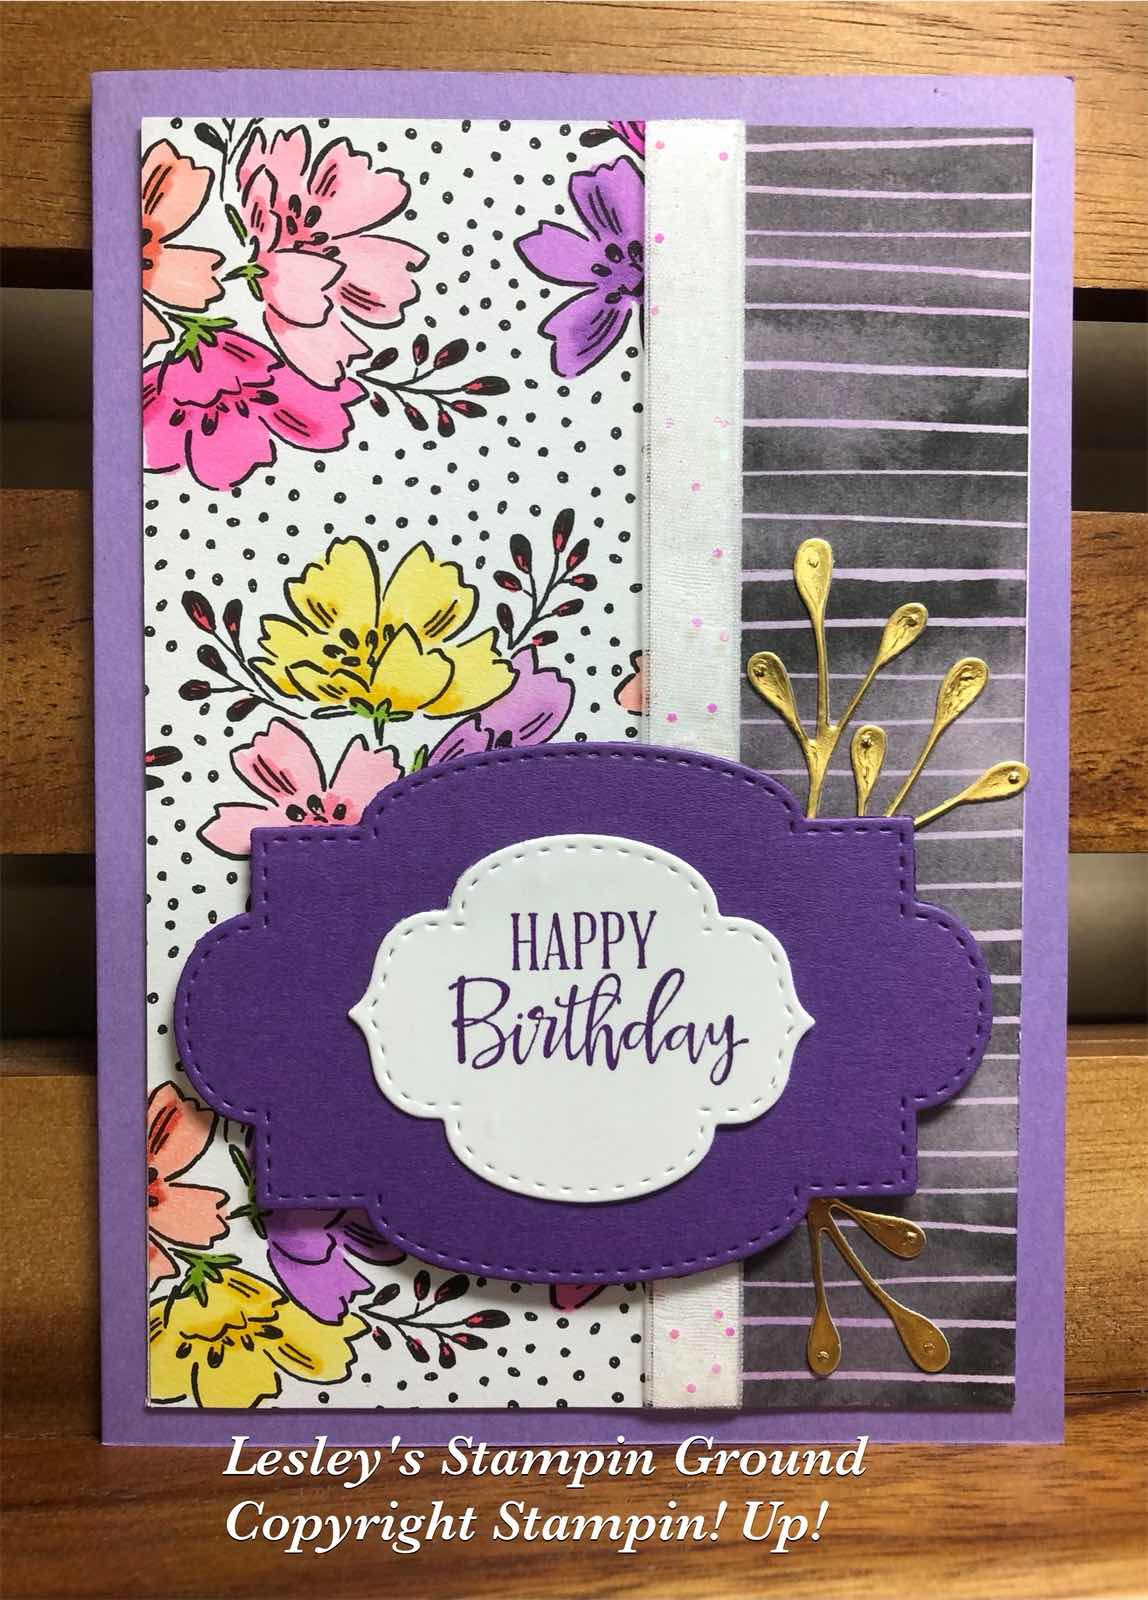
Beautifully Penned Designer Series Paper

Hello,

Today the new Mini catalogue and Sale-a-bration began which means that for each $90 you spend you can choose a free Sale-a-bration product. The Beautifully Penned 12”x12” Designer Series Paper (#156630) is one of the free products and I have used it on todays card.


This DSP pack has 3 doubled sided designs, all in black & white, which gives you the opportunity to colour it or leave as is. I coloured the flowers with a variety of Stampin’ Blends - Highland Heather (#154887), Fresh Freesia (#155518), Daffodil Delight (#154883), Flirty Flamingo (#154884), Poppy Parade (#154958), Calypso Coral (#154881), Polished Pink (#155520) and Granny Apple Green (#154885).

I also coloured the black & white stripe using a Blending Brush (#153611) and Highland Heather ink (#147103). I attached the pieces of DSP to Basic White card (#159228) but it isn’t seen. This made it easier to wrap the ribbon around the card front. I cut another piece of Basic White card 1cm wide and attached this to the card, then added the White Glittered Organdy Ribbon (#156408). I did this was so you could see the ribbon better.

The sentiment is from the Peaceful Moments stamp set (#151595) and stamped with Gorgeous Grape ink (#147099). This and the Gorgeous Grape card (#147011) were cut with the Stitched So Sweetly dies (#151690). This was then attached to the card with Stampin’ Dimensionals (#104430). The Gold Foil (#132622) leaves were cut with a die from Cherry Blossoms (#151456). I had Adhesive Sheet (#152334) on the back of the Gold Foil to make it easy to attach the leaves to the card.

“Love what you do and share what you love.”

Stay safe & keep crafting.


Sunday, 25 July 2021

Shaker Card

Hello again,

I always seem to have excess sequins, so have found a great use of some with this shaker card.


I cut the top Basic White card (#159228) with 2 of the Stitched So sweetly dies (#151690) to make a “frame”. I then attached a piece of Window Sheet (#142314) to the back of this card. Then I attached Foam Adhesive Strips (#141825) around the outside of the “frame”. I put some of the Sequins For Everything (#153556) onto the middle of the Daffodil Delight card (#121680) then attached the “frame” to the card. 

The next layer is from the Pattern Party Designer Series Paper (#155426) and this was attached to another piece of Daffodil Delight card, then to the Basic White base card. 

I stamped the daisy from Daisy Lane stamp set (#149325). This was stamped with VersaMark (#102283) and heat embossed with White Stampin’ Emboss Powder (#155554) and set with the Heat Tool (#129056). The Medium Daisy punch (#149517) was used to punch the daisies and they were attached together with Mini Glue Dots (#103683). The small leaves are cut with the Forever Flourishing Dies (#152714) and I used Soft Sea Foam card (#147012).

“Happy Birthday” is from the Artistically Inked stamp set (#154542) and stamped with Daffodil Delight ink (#147094) and cut with a die from the Bloom Dies (#155989). Stampin’ Dimensionals (#104430) were used to attach this to the card. A gold sequin from the Sequins For Everything was glued to the flower centre with the Fine-Tip Glue Pen (#138309).


“Love what you do and share what you love.”

Wednesday, 14 April 2021

A Little Lace

Hello friends,

The Little Lace stamp set (#149364) and the co-ordinating Stitched Lace dies (#149625) are retiring to make way for more exciting products.


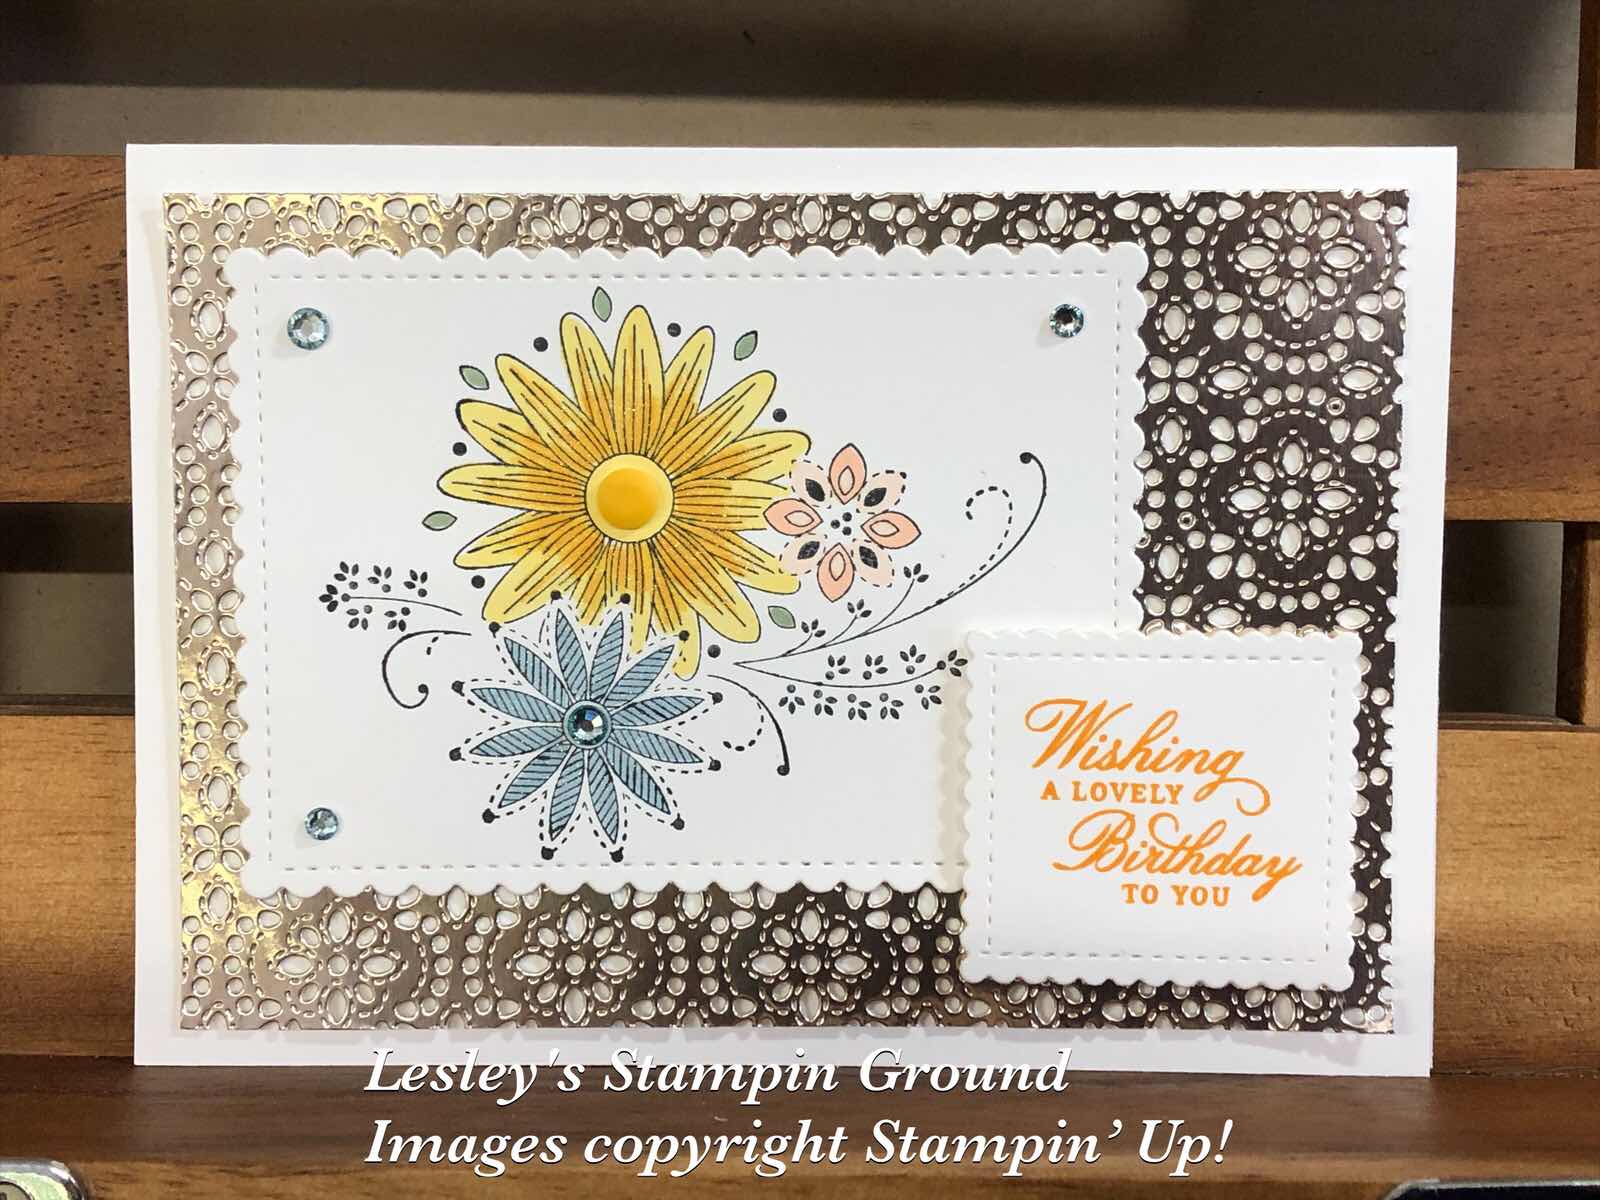
I stamped the floral image using Tuxedo Black Memento ink (#132708) onto Basic White card (#159228). I coloured this with Daffodil Delight Stampin’ Blends (#154883), Petal Pink Stampin’ Blends (#154893) and Balmy Blue Stampin’ Blends (#154830). The sentiment is from the Delicate Petals stamp set (#154475) using Mango Melody ink (#147093). These 2 pieces of Basic White card were cut with Stitched So Sweetly dies (#151690). To get the right size for the sentiment I cut it with a die, then repositioned it (as shown below) to cut it to the size I required.


The Champagne Foil sheet (#144748) was cut with the Stitched Lace die, then attached to the Basic White base card using Tear & Tape Adhesive (#138995) and Mini Glue Dots (#103683).

The embellishment for the centre of the yellow flower is from the Playing With Patterns Resin Dots (#152467). I coloured the Rhinestone Basic Jewels (#144220) using the Dark Balmy Blue Stampin’ Blend before attaching them to the card.


The retiring products here are-
A Little Lace stamp set
Stitched Lace die
Champagne Foil Sheets


Have a great day.

“Love what you do and share what you love.”

Thursday, 4 March 2021

Stitched Triangles Dies

Hello again,

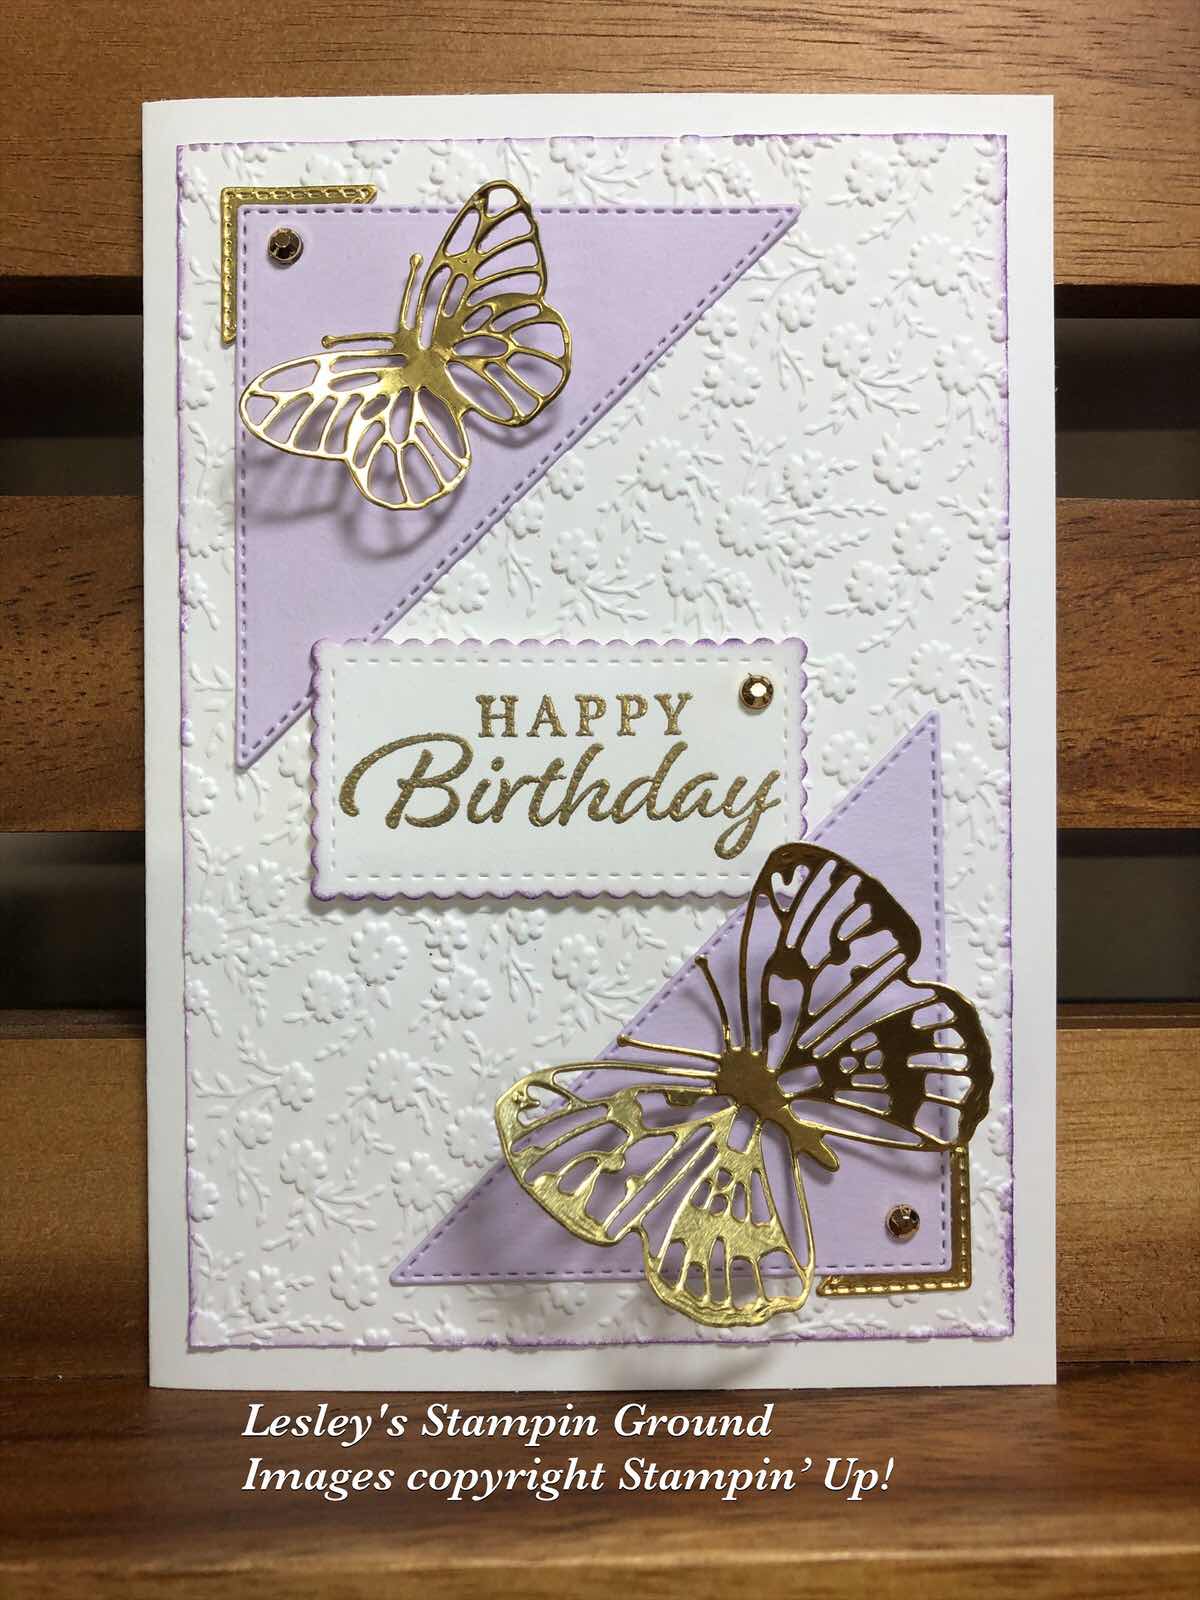
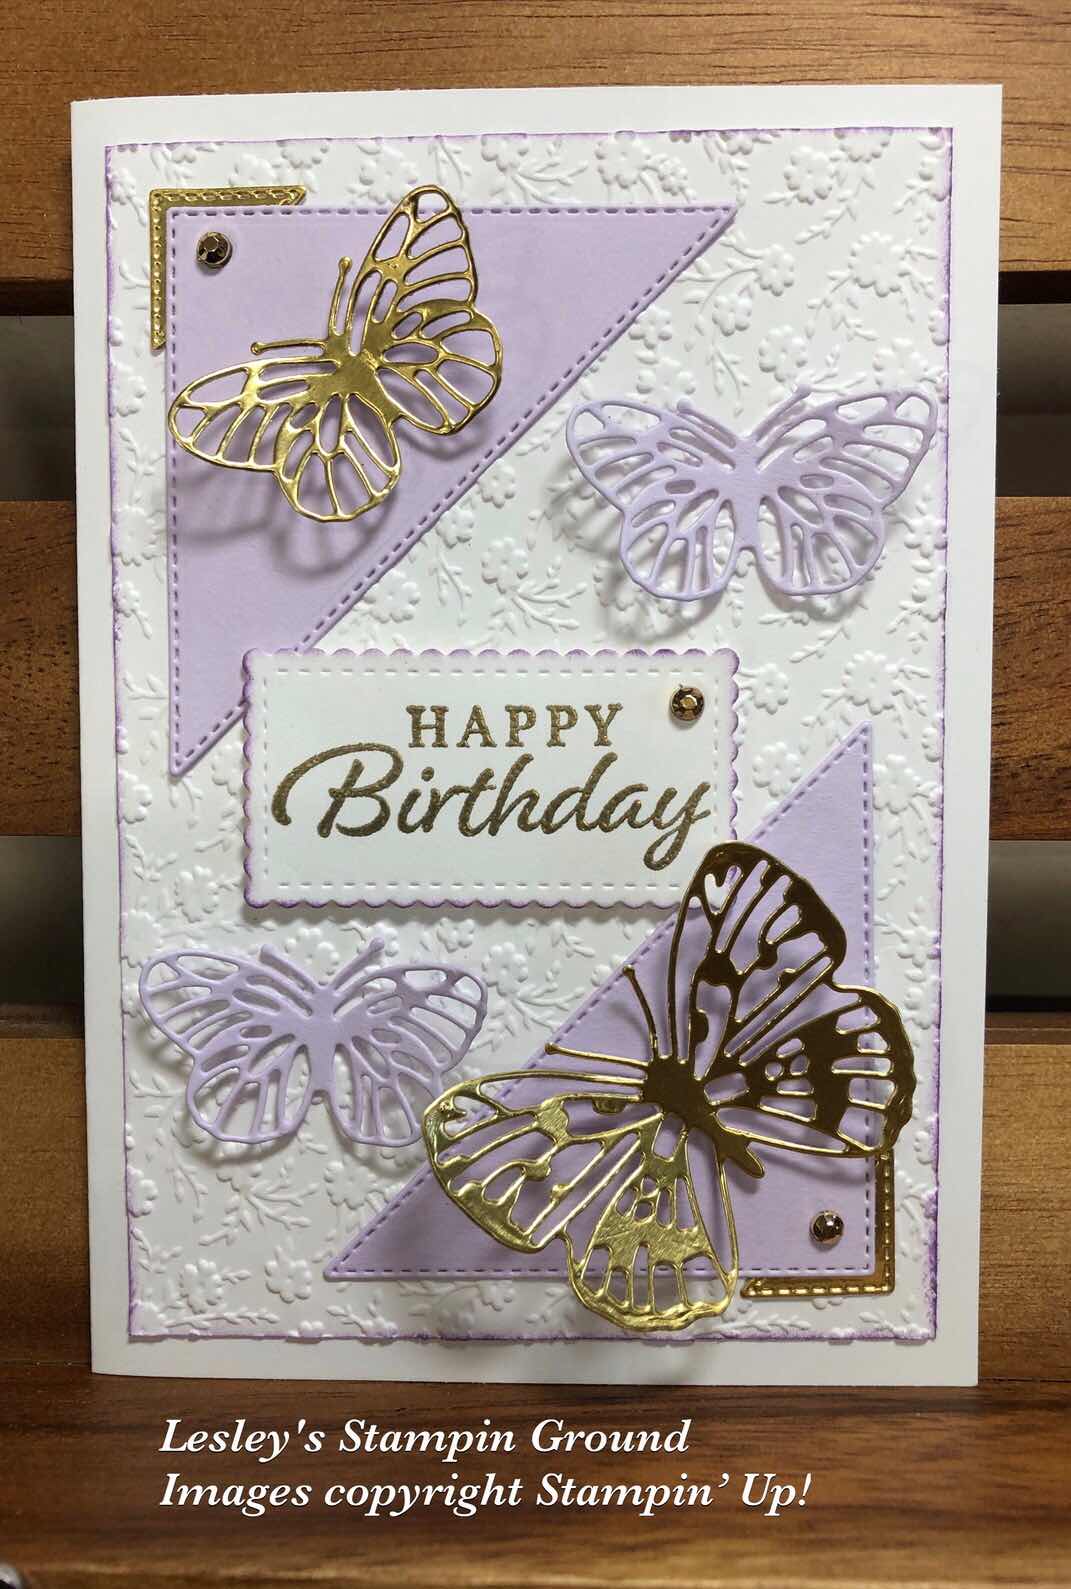
I am still trying to decide if I like the card with 2 butterflies or with 4 butterflies. What do you think?


The cardstock is Basic White (#159228) and Purple Posy (#150887). Two butterflies and the small triangles are Gold Foil Sheets (#132622). I dry embossed the card front with the Ornate Floral 3D Embossing Folder (#152725) and daubered the edge with Highland Heather ink (#147103). The triangles were cut with the Stitched Triangles Dies (#152710).
“Happy Birthday” from Happy Thoughts stamp set (#154507) was stamped with VersaMark (#102283) and heat embossed with Gold Stampin’ Emboss Powder (#109129) and set with the Heat Tool (#129056). A Stitched So Sweetly Die (#151690) was used to cut the sentiment then it was attached to the card with Stampin’ Dimensionals (#104430). The butterflies were cut with the Brilliant Wings Dies (#155523). The gold butterflies were attached with Mini Stampin’ Dimensionals (#144108) and the Purple Posy butterflies were attached with Mini Glue Dots (#103683). Gilded Gems (#152478) were added to finish the card.

Have a great day!!

“Love what you do and share what you love.”


Friday, 22 January 2021

True Love Designer Series Paper

Hi Ladies & Guys,

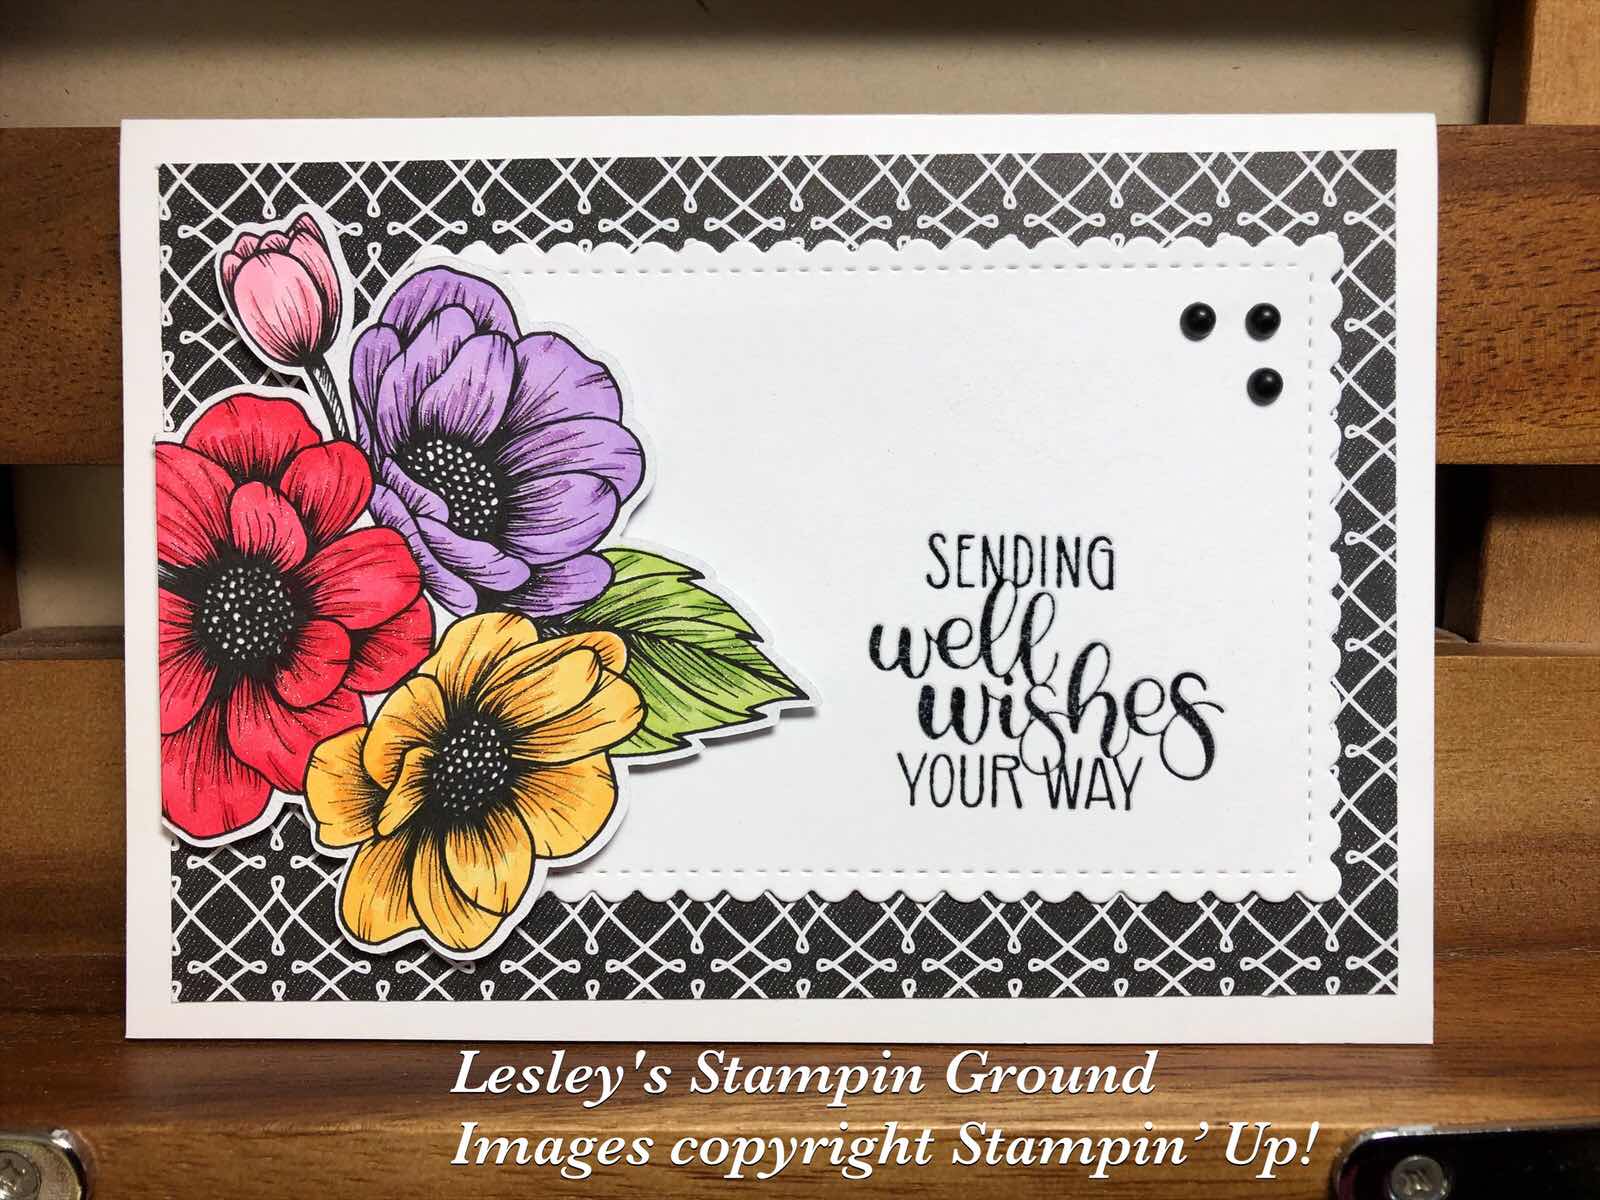
The True Love Designer Series Paper (#154281) has beautiful floral & geometric designs in black & white but you can add your own colour which I have done with Stampin’ Blends.


The base card is Basic White (#159228). The background and the flowers are from the True Love DSP. I fussy cut the flowers and coloured them with the following Stampin’ Blends - Poppy Parade (#154958), Mango Melody (#154888), Highland Heather (#154887), Flirty Flamingo (#154884) and Granny Apple Green (#154885).
I stamped the sentiment from the Dandelion Wishes stamp set (#151345) using Tuxedo Black Memento ink (#132708) onto Basic White card. I did this using the Stamparatus (#148187) as I wanted to clear emboss the sentiment. Once I stamped the black ink, I cleaned the stamp then re-stamped with VersaMark (#102283), then added the Clear Stampin’ Emboss Powder (#109130) and set it with the Heat Tool (#129056). This gives a shine to the ink, and can be done in any colour ink to co-ordinate with your card.
I then cut this with a Stitched So Sweetly Die (#151690) and attached it to the DSP. The flowers were attached with Stampin’ Dimensionals (#104430) and the trio of Matt Black Dots (#154284) were attached to the card.

Enjoy your weekend!!

“Love what you do and share what you love.”

Thursday, 21 January 2021

Kangaroo & Company

Hi & Welcome,

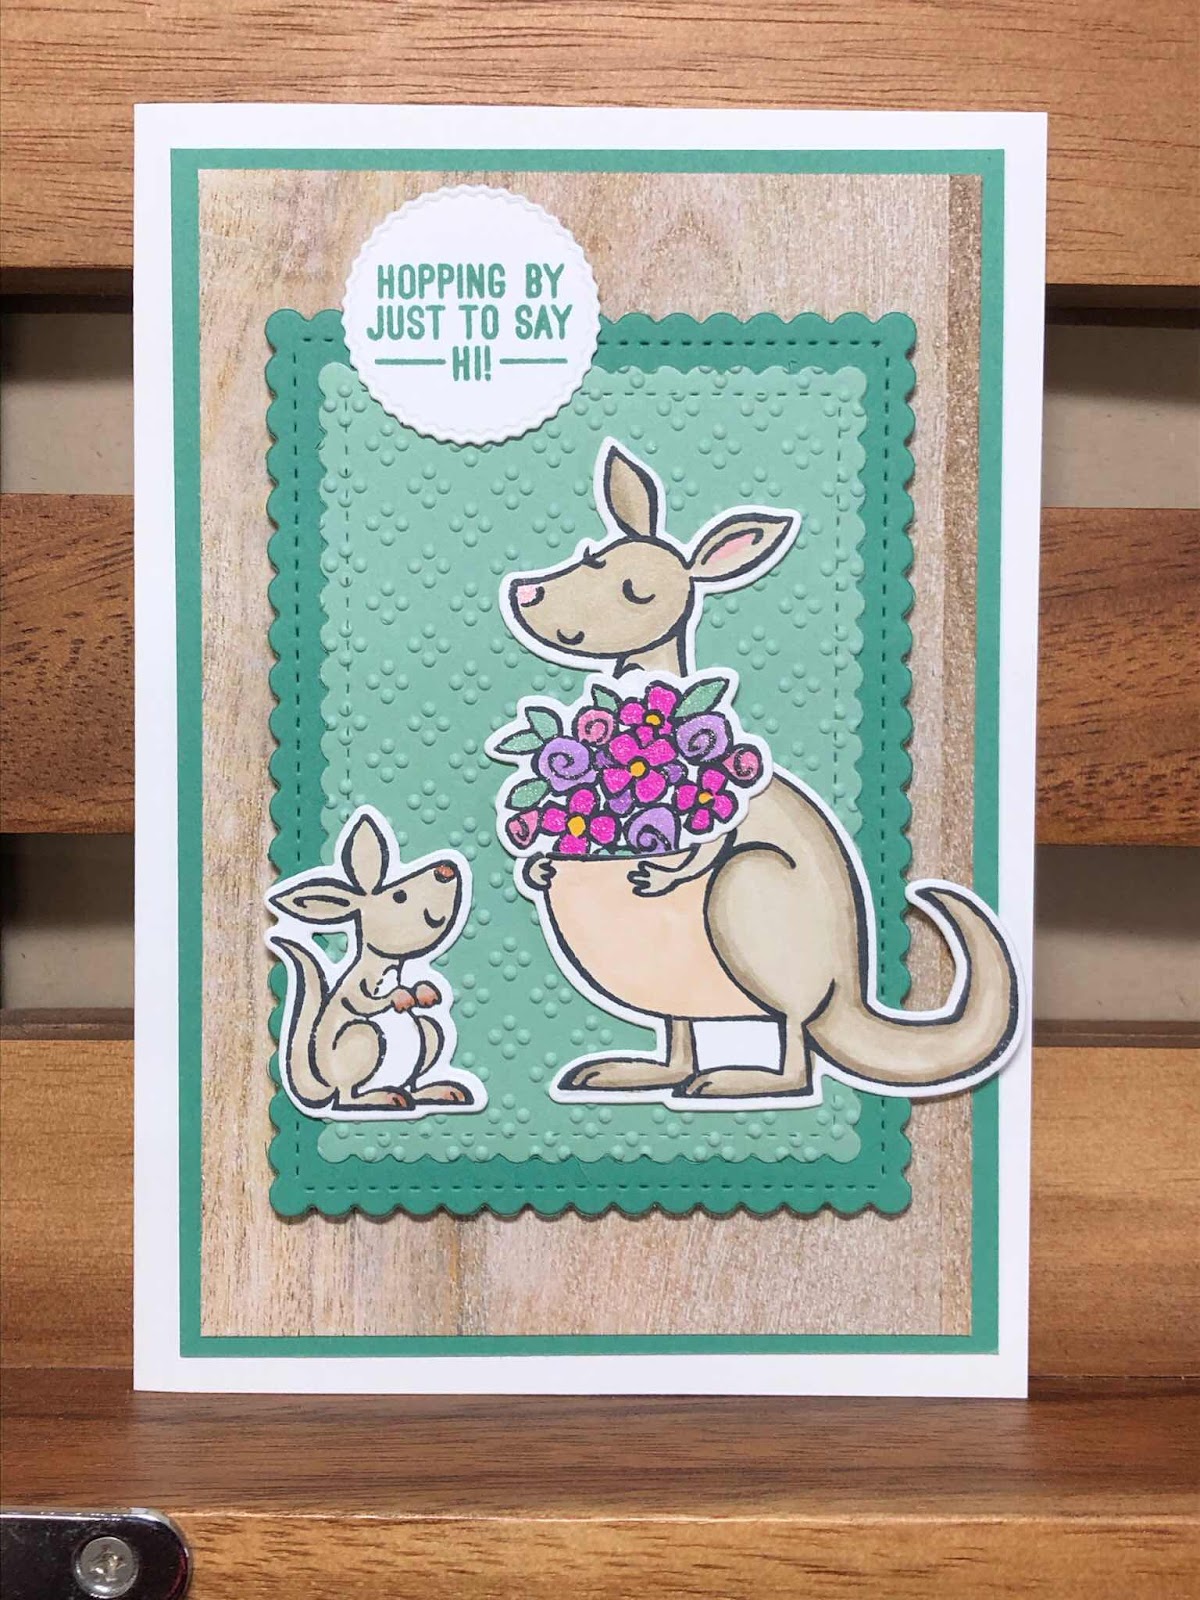
These cute kangaroos are from the Kangaroo & Company stamp set (#p154502). They are available as the Kangaroo & Company Bundle (#156269) which includes the stamp set and Kangaroo dies (#154502).


I stamped the kangaroos and flowers with Tuxedo Black Memento Ink (#132708) onto Basic White card (#159228). The kangaroos were coloured with Crumb Cake Stampin’ Blends (#154882), Ivory Stampin’ Blends (#154922), Flirty Flamingo (#154884) and Soft Suede154906). The flowers were coloured with Magenta Madness (#153106), Highland Heather (#154887), Just Jade (#153107), Daffodil Delight (#154883) and Flirty Flamingo. These were cut with the Kangaroo dies. There is a slot for the kangaroos pouch to insert the flowers or other images in the set.
The base card is Basic White, then the next layer is Just Jade card (#153084) followed by In Good Taste Designer Series Paper (#152494). The next 2 layers - Just Jade card and Mint Macaron card (#138344) - were cut with the Stitched So Sweetly Dies (#151690). I dry embossed the Mint Macaron card with the (retired) Wrapped In Texture embossing folder. I used Stampin’ Dimensionals (#104430) to attach the Just Jade card to the DSP. The kangaroos were attached to the card with Mini Glue Dots (#103683).
The sentiment is from the Kangaroo & Company stamp set and stamped with Just Jade ink (#153115) and cut with a die from the Tasteful Labels (#152886).


Have a great day!!

“Love what you do and share what you love.”


Thursday, 26 November 2020

In The Pines Bundle

Hi everyone,

Have you finished making your Christmas cards yet? Or perhaps haven’t started!! All I have to do is write on all mine so had better get that done soon and get them posted so I don't leave it till the last minute. Here’s another Christmas card for some inspiration if needed and easy to make.


The base card is Real Red (#106578). I attached the Plush Poinsettia Specialty Paper (#153486) to the same size Whisper White card (#106549), then attached this to the Granny Apple Green card (#147014). The Real Red Sheer Ribbon (#153535) was wrapped around the card front. The pine tree from In The Pines stamp set (#p153448) was stamped with VersaMark (#102283) and heat embossed with Gold Stampin’ Emboss Powder (#109129). The Heat Tool (#129056) was used to set the powder. The 2 trees were cut with dies from Pine Woods dies (#153563). The star and unstamped tree were cut from Gold Foil Sheets (#132622). The die for the star is from the Stitched Stars Dies (#150653). I used Adhesive Sheets (#152334) on the back of the Gold Foil before cutting with the dies.
The sentiment is from the Itty Bitty Christmas stamp set (#c150513) and stamped with Real Red ink (#147084), then cut with a Stitched So Sweetly Die (#151690). I coloured the stamped tree using Granny Apple Green Stampin’ Blends (#154885) and attached this and the sentiment to the card with Stampin’ Dimensionals (#104430). The embellishments are from the Wonderful Gems (#153536).


I hope your day has been fantastic!!

“Love what you do and share what you love.”

Friday, 20 November 2020

Snowflake Wishes Bundle

Hello again my friends,

I think you all know by now that I like some sparkle on my cards, so of course I love the Balmy Blue Glimmer Paper (#153513) and is perfect for the snowflakes.


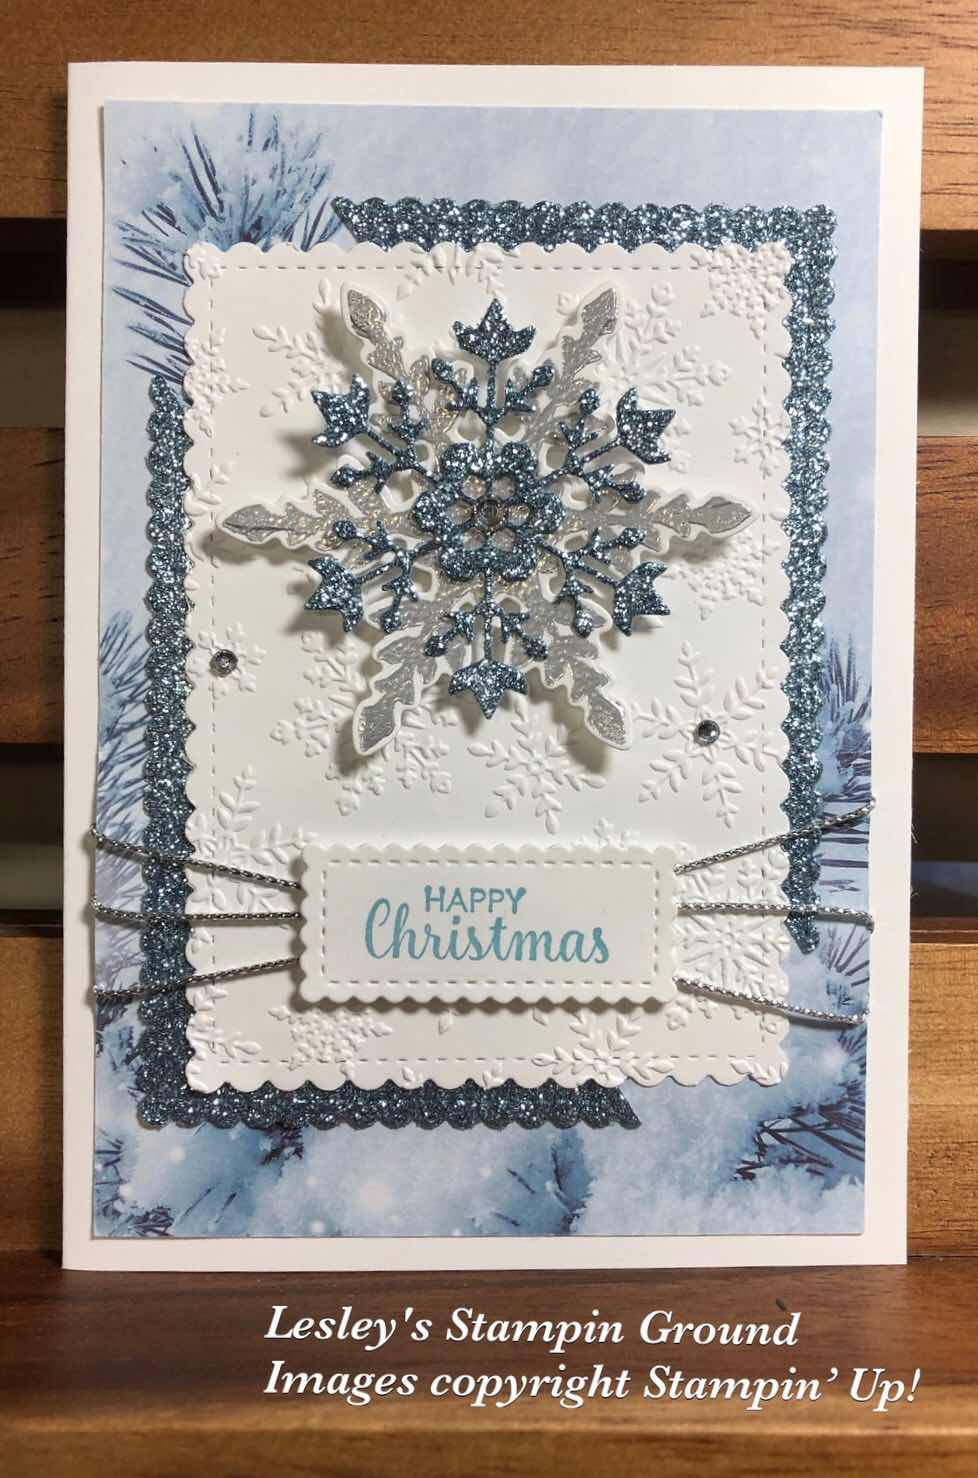
I cut a piece of Whisper White card (#106549) as well the Balmy Blue Glimmer Paper (#153513) using the Stitched So Sweetly Dies (#151690). The white card was dry embossed with the Winter Snow Embossing Folder (#153577). I cut the Balmy Blue Glimmer Paper diagonally and attached the pieces to the white card. This was then attached to the Feels Like Frost 6”x6” Specialty Designer Series Paper (#150444). I wrapped the (retired) silver trim around the card front, then attached the card front to Whisper White base card. 
The snowflakes are from the Snowflake Wishes Bundle (#p155172). I stamped one of the snowflakes using VersaMark (#102283) and heat embossed with Silver Stampin’ Emboss Powder (#109131) which was set with the Heat Tool (#129056). I cut this snowflake and the one from the Balmy Blue Glimmer Paper with dies from the So Many Snowflakes Dies (#153560). I attached the silver snowflake to the card using Stampin’ Dimensionals (#104430) and the blue snowflake on top with Mini Glue Dots (#103683).
The sentiment is from the Itty Bitty Christmas stamp set (#c150513) and I stamped this with Balmy Blue ink (#147105). This was also cut with a Stitched So Sweetly die, then it was attached to the card with Mini Stampin’ Dimensionals (#144108). The Rhinestone Basic Jewels (#144220) were added to the card and centre of the snowflakes.

Enjoy your weekend!!

“Love what you do and share what you love.”


Thursday, 29 October 2020

Flowers for Every Season Designer Series Paper

Hello friends,

Don’t forget the Designer Series Paper Sale is almost at an end, so if you would still like to take advantage of 15% off selected DSP click here  Only available till 31 October so don’t delay.

I have used the Flowers For Every Season 6”x6” Designer Series Paper (#152486) on today’s card. This isn’t included in the sale but you could easily substitute many of the designer papers of your choice.


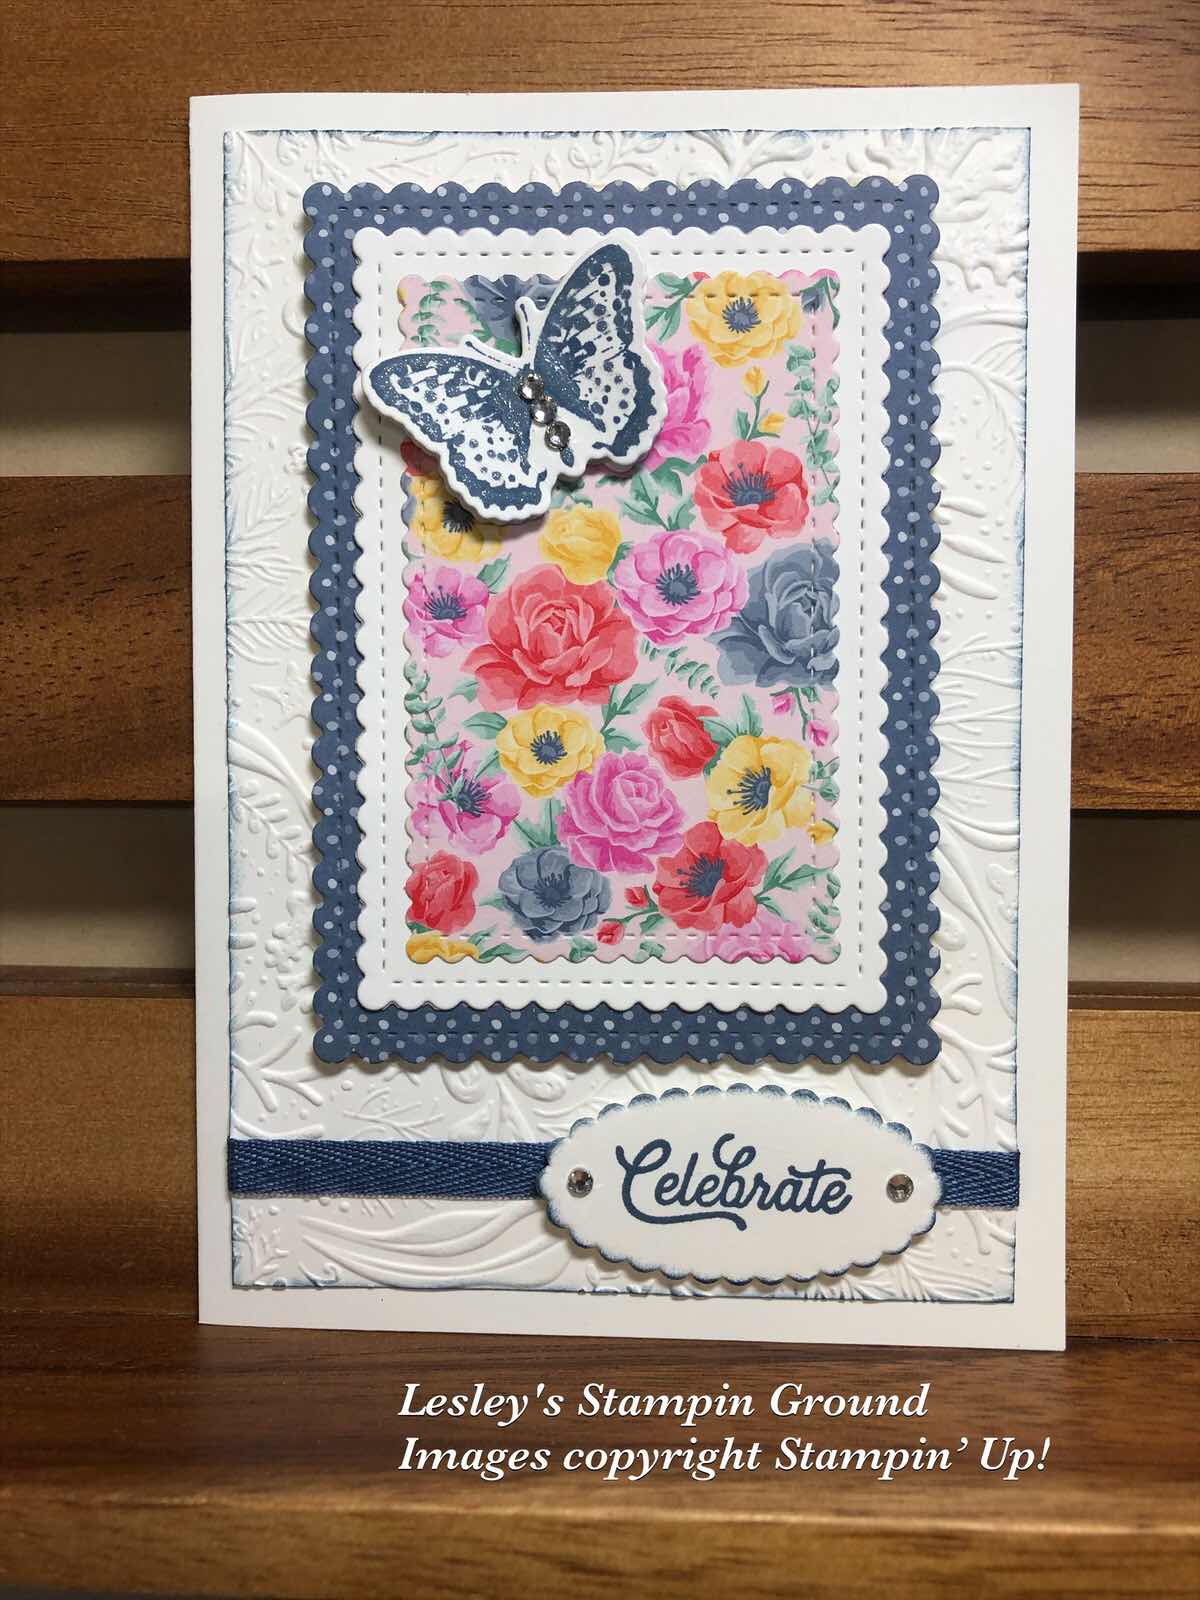
The cardstock is Whisper White (#106549). I dry embossed the card front with the Seabed 3D embossing folder (#152700). The edges were daubered with Misty Moonlight ink (#153118), then I wrapped the Misty Moonlight 2020-2022 In Colour 1/4” Ribbon (#153624) around the cardfront. The Designer Series Paper and Whisper White card were cut with Stitched So Sweetly Dies (#151690). The bottom layer was attached to the card with Stampin’ Dimensionals (#104430). The butterfly from Positive Thoughts stamp set (#151490) and the greeting from Many Mates stamp set (#152633) were stamped with Misty Moonlight ink. I stamped 2 butterflies and attached one on top of the other using a Mini Stampin’ Dimensional (#144108). The butterflies were cut with a co-ordinating die from the Nature’s Thoughts Dies (#153586). “Celebrate” was cut with a Layering Ovals Dies (#151771) and also attached to the card with Stampin’ Dimensionals. The Rhinestone Basic Jewels (#144220) were added to the sentiment and butterfly. 

“Love what you do and share what you love.”

Have a great day. 


Friday, 28 August 2020

A Little Lace

Welcome again friends,

The stamped image and sentiment are both from A Little Lace stamp set (#149364).


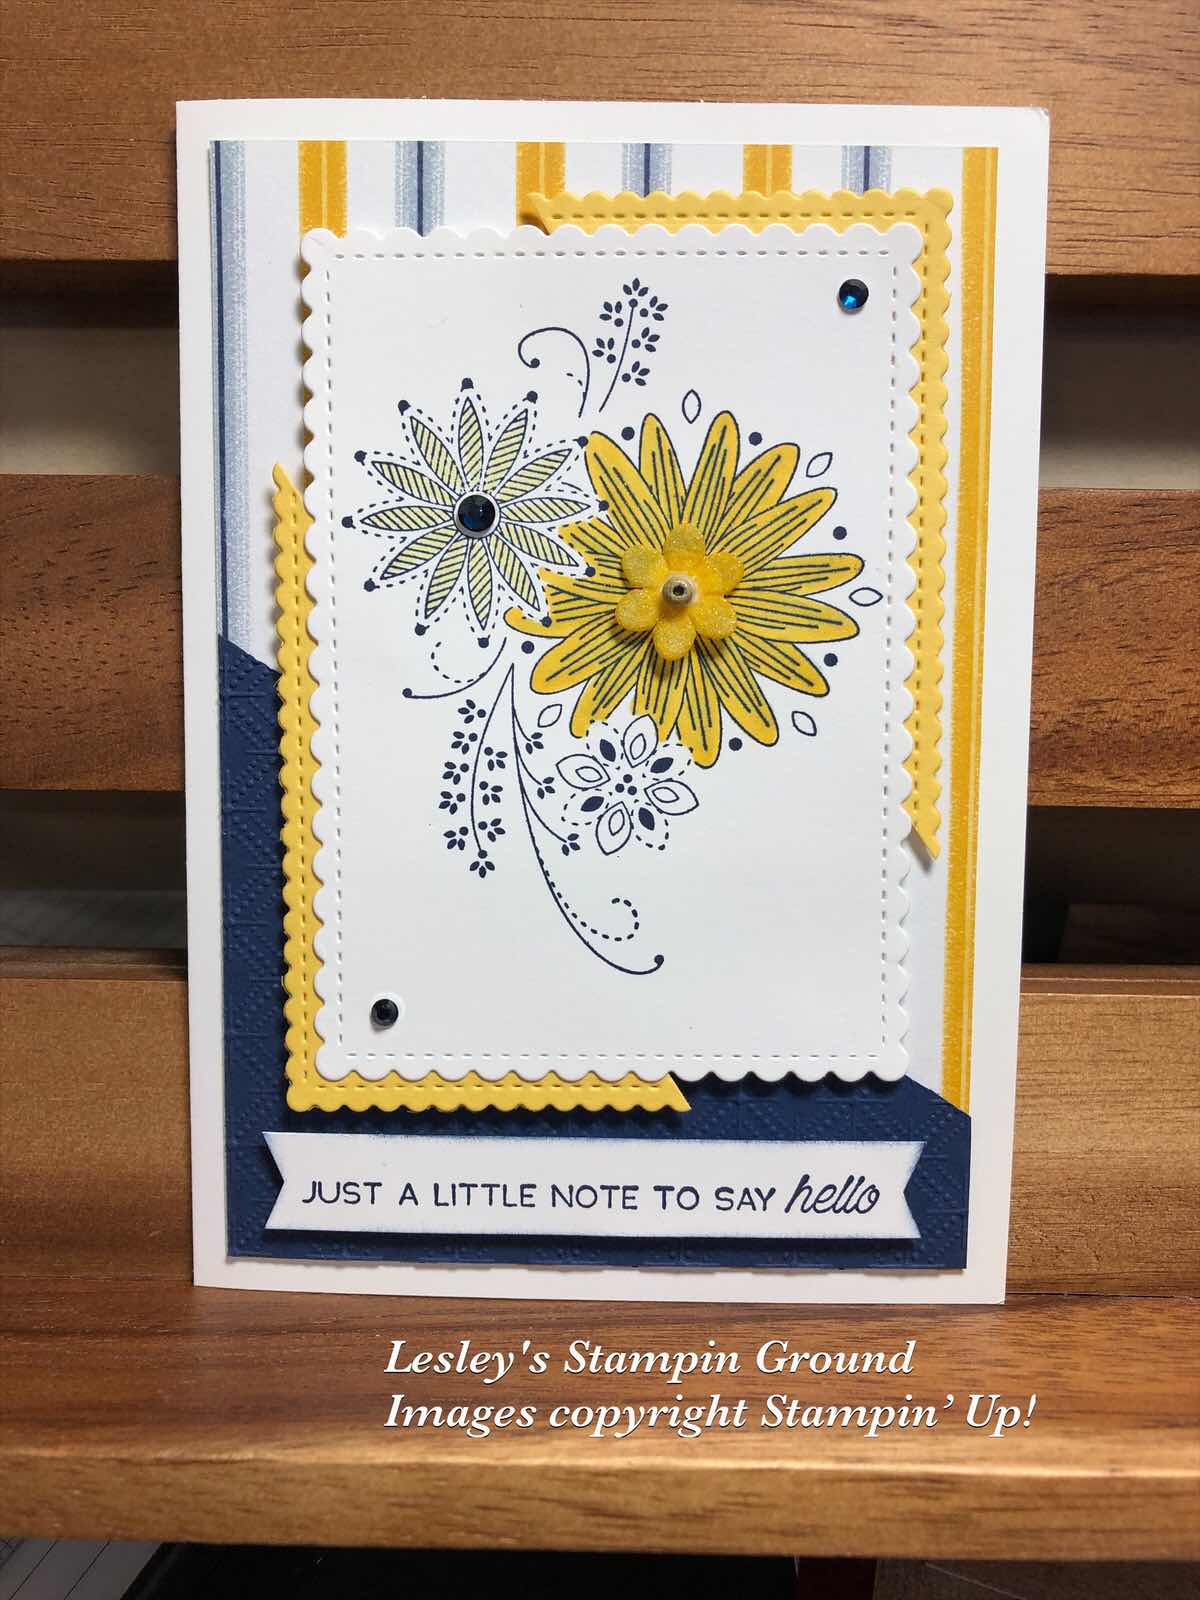
The image and sentiment were stamped with Night Of Navy ink (#147110). I cut this Whisper White card (#106549) and the Daffodil Delight card (#121680) with Stitched So Sweetly Dies (#151690). I cut the Daffodil Delight card diagonally and attached this to 2 corners of the White die cut card. I embossed the Night of Navy card  (#106577) with the Dainty Diamonds 3D Embossing Folder (#152702) and attached it to the Playing With Patterns 6”x6” Designer Series Paper (#152489).
 I coloured the flowers with Dark & Light Daffodil Delight Stampin’ Blends (#154883). I also coloured the flower embellishment which is from the Boho Indigo Product Medley (#153132), with Dark Daffodil Delight Stampin’ Blends and added some glitter using the Clear Wink Of Stella Glitter Brush (#141897). This was attached to the card with a Mini Glue Dot (#103683). I also attached the embellishments from the Holiday Rhinestone Basic Jewels (#150457) to the card. Stampin Dimensionals (#104430) were used to attach the rectangles and sentiment to the card.

The weekend is here again, so enjoy it and stay safe.


Monday, 17 August 2020

‘Tis The Season Designer Series Paper

Hi,

Here’s a very easy card after a very busy day. You don’t need a lot of stamping when you have designer paper.


I attached the smaller piece of DSP to the larger piece of DSP. Both these papers are from the ‘Tis the Season 6”x6” Designer Series Paper (#153489). The ribbon is from the Boho Indigo Product Medley (#153132) and I wrapped 2 pieces around the Designer Paper, before attaching this to the Whisper White card base (#106549). I stamped the sentiment from the Dove Of Hope stamp set (#153406) onto Whisper White card with Real Red ink (#147084), and cut it with a Painted Labels Die (#151605). The Garden Green card (#108605) was cut with a Stitched So Sweetly die (#151690). I punched a hole with the Detailed Trio punch (#146320) at the top of the green card to thread the Gold trim through. This trim is part of the Forever Greenery Trim Combo pack (#152475). Then I used Stampin’ Dimensionals (#104430) to attach the green die cut piece to the card. The Wonderful Gems (#153536) were added to the sentiment.

Have a great day!!


Thursday, 2 July 2020

Game On

Hi,

Here’s another card using the Game On stamp set (#15246), and great for the card enthusiasts. The card and dice images are both from this set.


The base card is Whisper White (#106549) and the DSP is from the In Good Taste Designer Series Paper (#152494). I stamped the cards with Real Red ink (#147084), using the Stamparatus (#148187). I then re-stamped with VersaMark (#102283) and added Clear Embossing Powder (#109130) and set this with the Heat Tool (#129056). This Whisper White card and the Real Red card were both cut with dies from the Stitched So Sweetly dies (#151690). “It’s Your Day” is from the Many Mates stamp set (#152633) and also stamped with Real Red ink. The die to cut this is from the Tasteful Labels Dies (#152886). The dice were stamped with VersaMark and Silver Stampin’ Emboss Powder (#109131), then fussy cut and attached to the card with Mini Stampin’ Dimensionals (#144108).

Enjoy your day!

Wednesday, 29 April 2020

Painted Poppies

Hello,

A simple card, but I thought was very pretty just in red, black and white.


The cardstock is Whisper White (#106549) and Basic Black (#121688). I embossed the cardfront with the Ornate Floral Embossing Folder (#152725), then wrapped the Real Red 3/8” Double-Stitched Satin Ribbon (#151155) around the card. I stamped the poppies from the Painted Poppies stamp set (#151599) using Tuxedo Black Memento ink (#132708). I coloured the poppies with Stampin’ Blends - Real Red combo (#147935) and Poppy Parade combo (#147275). This was cut with a Stitched So Sweetly Die (#151690), then attached to the Basic Black card. This was attached to the card with Stampin’ Dimensionals (#104430). “Sent with love” is from the Itty Bitty Greetings stamp set (#146667) and stamped with Real Red ink (#147084), then cut with a die from the Ornate Frames (#150664). The Red Rhinestones Basic Jewels (#146924) were added to the sentiment and card.

Stay safe & keep stamping!

Tuesday, 14 April 2020

Stitched So Sweetly Dies

Welcome friends,

I have stamped the leaves on the Soft Sea Foam card (#147012) to create my own DSP. If you can’t find the right Designer Series Paper for your project you can easily make your own.


The leaves from the Free As A Bird stamp set (#149468) were stamped with Soft Sea Foam ink (#147102) onto the Soft Sea Foam card. The flowers are from the Forever Blossoms stamp set (#151457) and I used Merry Merlot ink (#147112). These were cut with the co-ordinating die from the Cherry Blossoms Dies (#151456). When putting the card together, the Garden Lane Designer Series Paper (#149488) was attached to the Whisper White card (#106549). The next layer is Mossy Meadow card (#133683), then the stamped Soft Sea Foam card. The sentiment from By The Dock stamp set (#151622) was stamped with Mossy Meadow ink (#147111) and this and the Mossy Meadow card were cut with the Stitched So Sweetly Dies (#151690). The Mossy Meadow card was attached with Stampin’ Dimensionals (#104430). Mossy Meadow Linen Thread from the Magnolia Lane Ribbon Combo Pack (#149485) was attached behind the flowers and Stampin’ Dimensionals also attached the flowers to the card. Rhinestone Basic Jewels (#144220) were added to the centre of the flowers.


There are new products in the Clearance rack, while stocks last, so check them out and let me know if you want any of these great buys.

Click here


Stay safe & keep crafting.