Showing posts with label #daisylanestampset. Show all posts

Friday, 25 March 2022

Daisy Lane stamp set

Hi & welcome,

I have used more retiring products on this card and also have used a couple of colouring techniques.
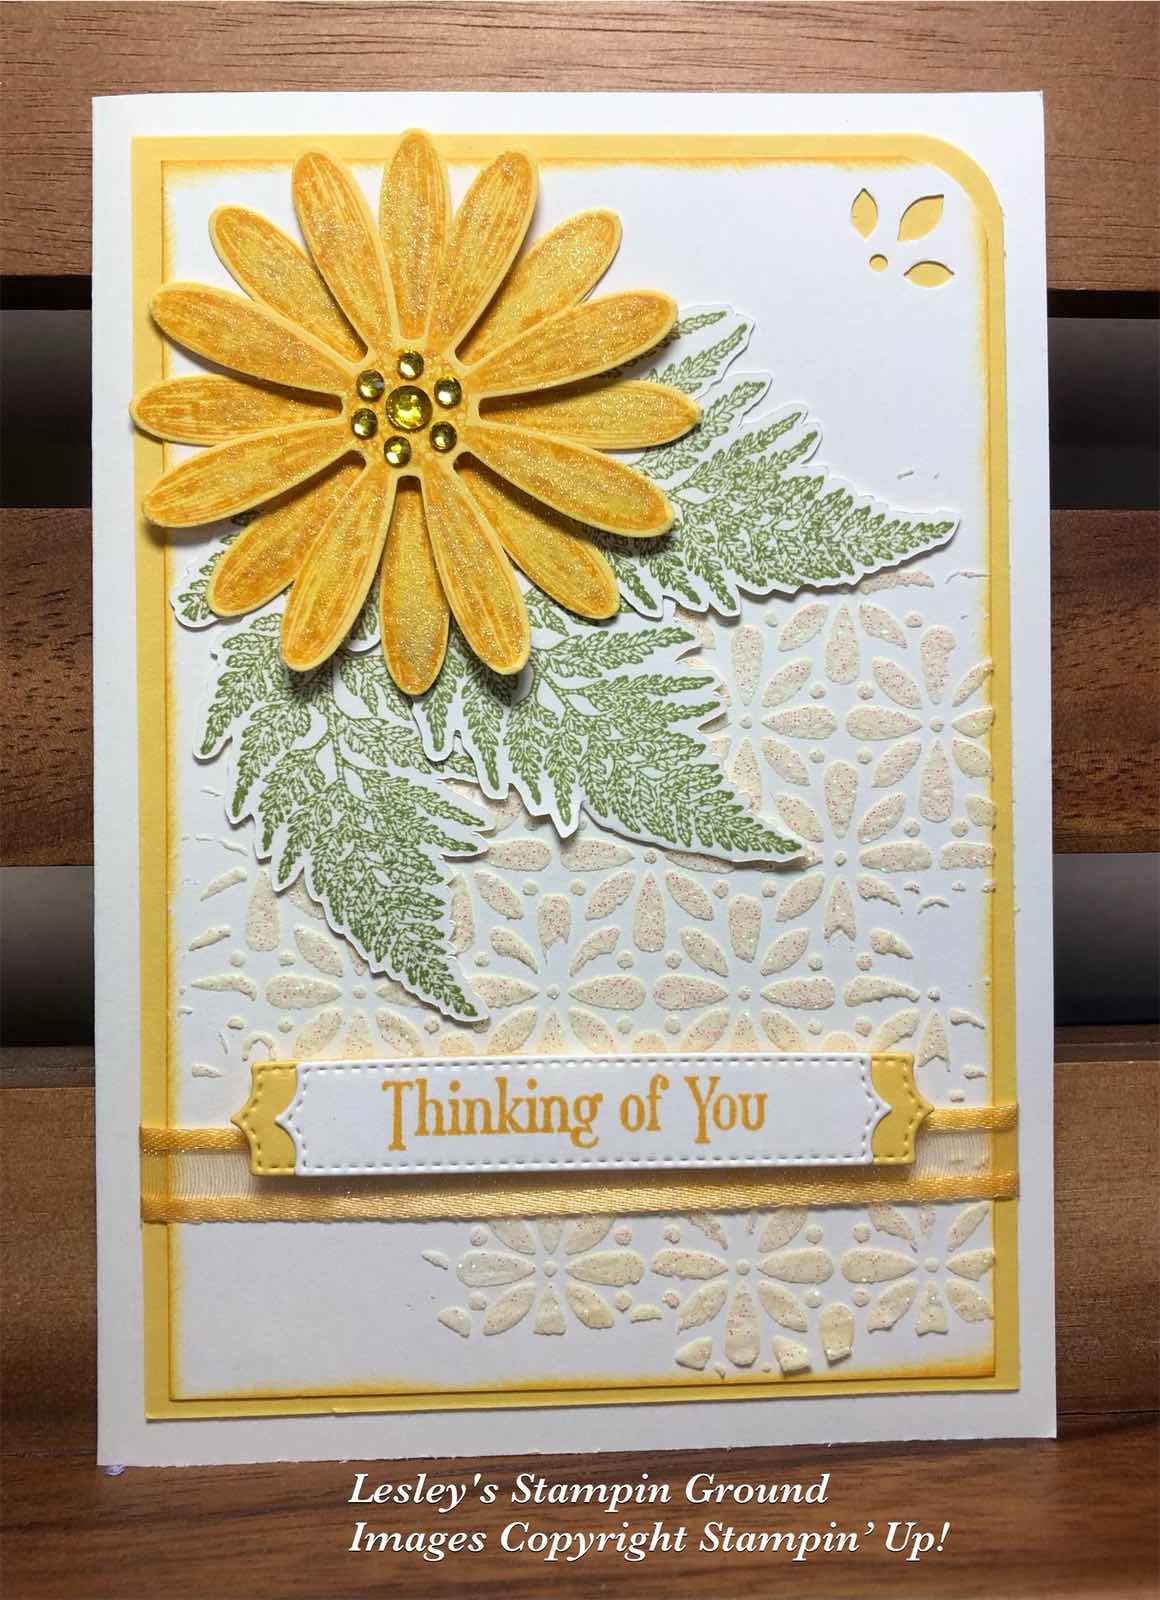


I coloured the Shimmery White Embossing Paste (#145645) with a very small amount of So Saffron ink refill (#105225). A small amount goes a long wag. To mix this I put a small amount of the embossing paste onto a Silicone Craft Sheet (#127853) and gradually added the ink refill till it was the coloured I wanted. Using one of the Butterflies & Flowers Layering Decorative Masks (#158142), I applied the embossing paste with a Palette Knife (#142808) onto the Very Vanilla card (#106550). I didn't want this perfectly embossed.

The daisy and leaves are from the Daisy Lane stamp set (#149325). The flower was stamped twice onto Daffodil Delight card (#121680) with Daffodil Delight ink (#147094). Clear Wink Of Stella (#141897) was added to the petals. These were punched with the Daisy Punch (#143713) and attached with a Stampin’ Dimensional (#104430), offsetting the petals. The leaves were stamped with Pear Pizzaz ink (#147104) and fussy cut. 

I punched the corner with the Detailed Trio Punch (#146320), then attached the Very Vanilla card to the Daffodil Delight card. Before wrapping the ribbon around the card, I also coloured this as I didn't have the colour I wanted. I used the Pale Papaya Open Weave Ribbon (#155672) and coloured it with Daffodil Delight ink and a Blending Brush (#153611).

“Thinking Of You” from Quiet Meadow stamp set (#155082) was stamped with Daffodil Delight ink, then cut with a Potted Succulents Die (#154330). I cut the Daffodil Delight card also with the same die, cut it in half then attached it to the back of the sentiment. This was attached with Stampin’ Dimensionals. 

The leaves and daisy were attached to the card with Mini Glue Dots (#103683). Before adding the embellishments to the flower centre I also coloured these using the Dark Daffodil Delight Stampin’ Blend (#154883), colouring the Rhinestone Basic Jewels (#144220). 

The retiring products used here are the Daisy Lane stamp set, Daisy Punch and the Detailed Trio punch.

Don’t forget to check the retiring list on the following link-

TIP: (1)When colouring ribbons I would usually use white or very vanilla ribbons but this worked with the Pale Papaya being a light colour. 
(2)When using coloured embossing paste I usually have extra card ready to use any excess paste, so as not to waste it. If it is used without adding colour it can be returned to the jar.
(3) The embossing paste will set very quickly, so work quickly and wash the mask, palette knife and silicon mat as soon as finished.

“Love what you do and share what you love.”


Tuesday, 22 February 2022

Daisy Lane

Hello again my friends,

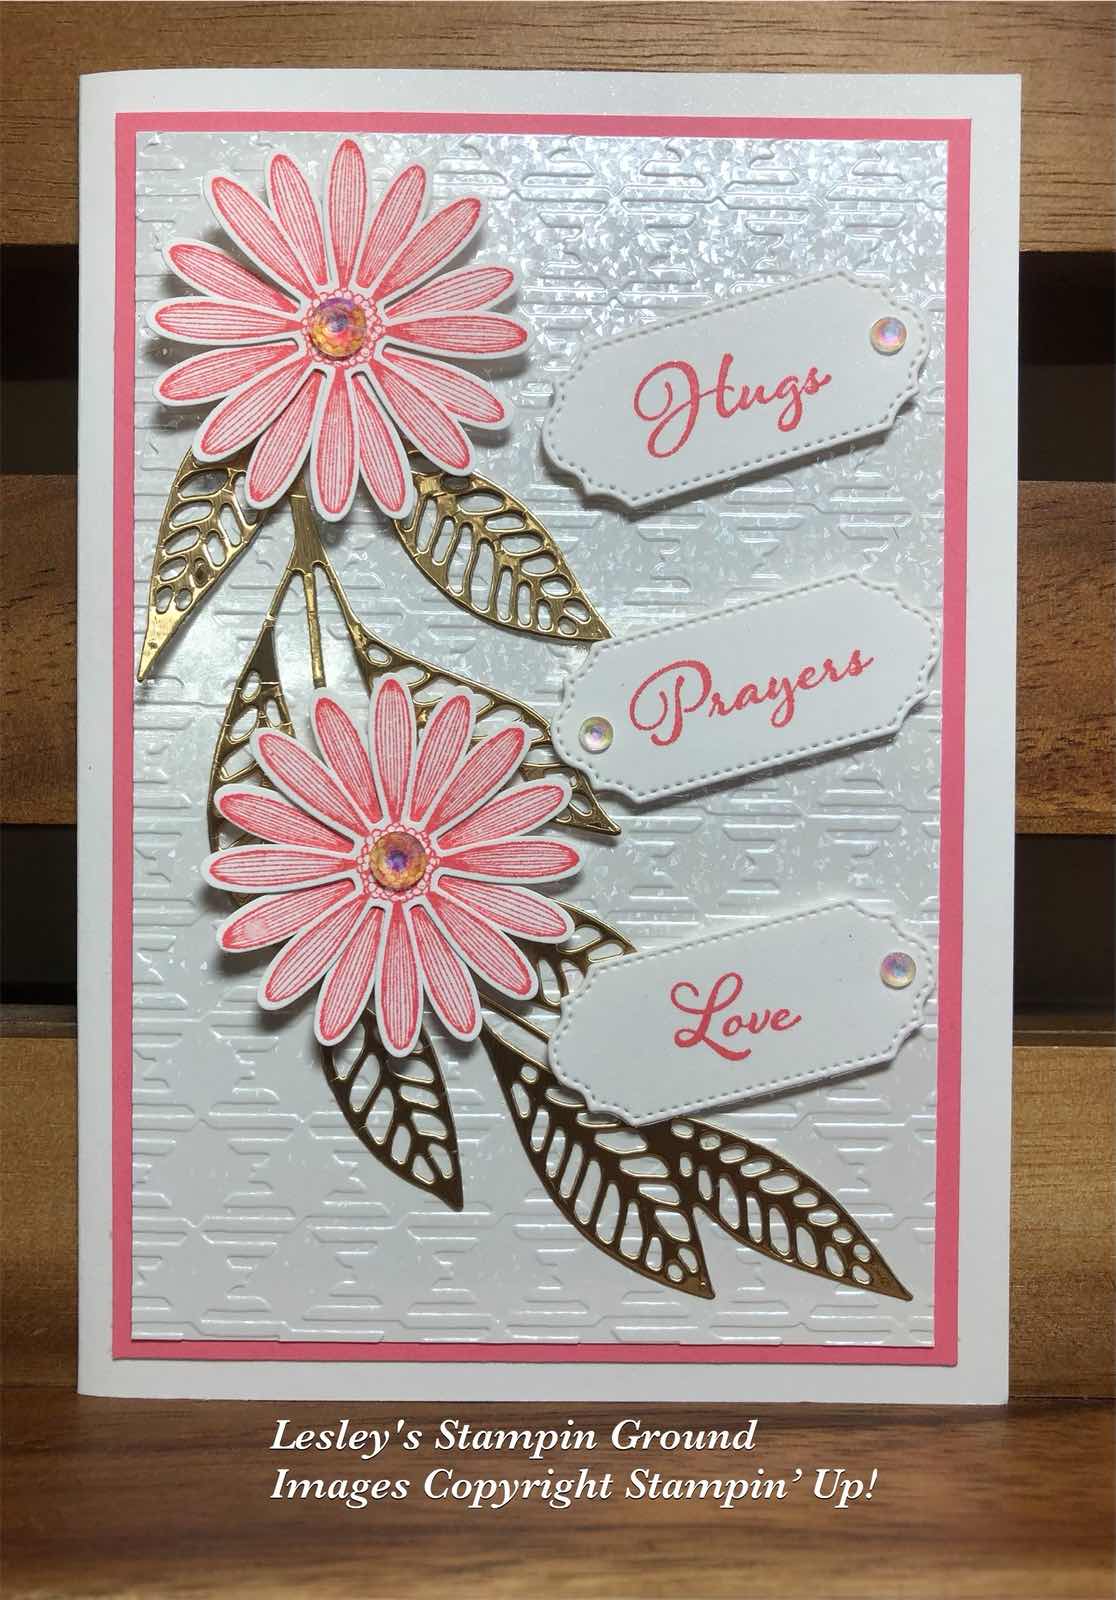
These daisies are stamped from the Daisy Lane stamp set (#149325). I stamp 2 images for each flower and offset them for a lovely flower.


The flowers were stamped with Flirty Flamingo ink (#147052) and punched with the Medium Daisy punch (#149517). The flowers were assembled using Mini Glue Dots (#103683) at the centre of the daisy.

The Mother Of Pearl 12”x12” Specialty Paper (#157666) was embossed with the Gingham Embossing Folder (#157627), then matted with Flirty Flamingo card (#141421). The base card is Shimmery White cardstock (#121717).

The leaves are cut with a die from the Artistic Dies (#155371). I backed the Gold Foil sheet (#132622) with Adhesive Sheets (#152334) before cutting with the die, then the leaves were adhered to the Mother Of Pearl card. The daisies were attached with Stampin’ Dimensionals (#104430).

“Hugs, Prayers & Love” is from the Positive Thoughts stamp set (#151490). Those 3 words are on one stamp. I wanted individual words, so I masked 2 of the words with a post it note, inked the other word, removed the post it note, then stamped the word on Shimmery White card. I did this with each word, then cut the words individually with an Ornate Frames die (#150664). These were then attached to the card with Mini Stampin’ Dimensionals (#144108). I added the Iridescent Rhinestone Basic Jewels (#158130) to each of the labels and the centre of the flowers.


“Love what you do and share what you love.”


Sunday, 25 July 2021

Shaker Card

Hello again,

I always seem to have excess sequins, so have found a great use of some with this shaker card.


I cut the top Basic White card (#159228) with 2 of the Stitched So sweetly dies (#151690) to make a “frame”. I then attached a piece of Window Sheet (#142314) to the back of this card. Then I attached Foam Adhesive Strips (#141825) around the outside of the “frame”. I put some of the Sequins For Everything (#153556) onto the middle of the Daffodil Delight card (#121680) then attached the “frame” to the card. 

The next layer is from the Pattern Party Designer Series Paper (#155426) and this was attached to another piece of Daffodil Delight card, then to the Basic White base card. 

I stamped the daisy from Daisy Lane stamp set (#149325). This was stamped with VersaMark (#102283) and heat embossed with White Stampin’ Emboss Powder (#155554) and set with the Heat Tool (#129056). The Medium Daisy punch (#149517) was used to punch the daisies and they were attached together with Mini Glue Dots (#103683). The small leaves are cut with the Forever Flourishing Dies (#152714) and I used Soft Sea Foam card (#147012).

“Happy Birthday” is from the Artistically Inked stamp set (#154542) and stamped with Daffodil Delight ink (#147094) and cut with a die from the Bloom Dies (#155989). Stampin’ Dimensionals (#104430) were used to attach this to the card. A gold sequin from the Sequins For Everything was glued to the flower centre with the Fine-Tip Glue Pen (#138309).


“Love what you do and share what you love.”

Sunday, 11 April 2021

True Love Designer Series Paper

Hi,

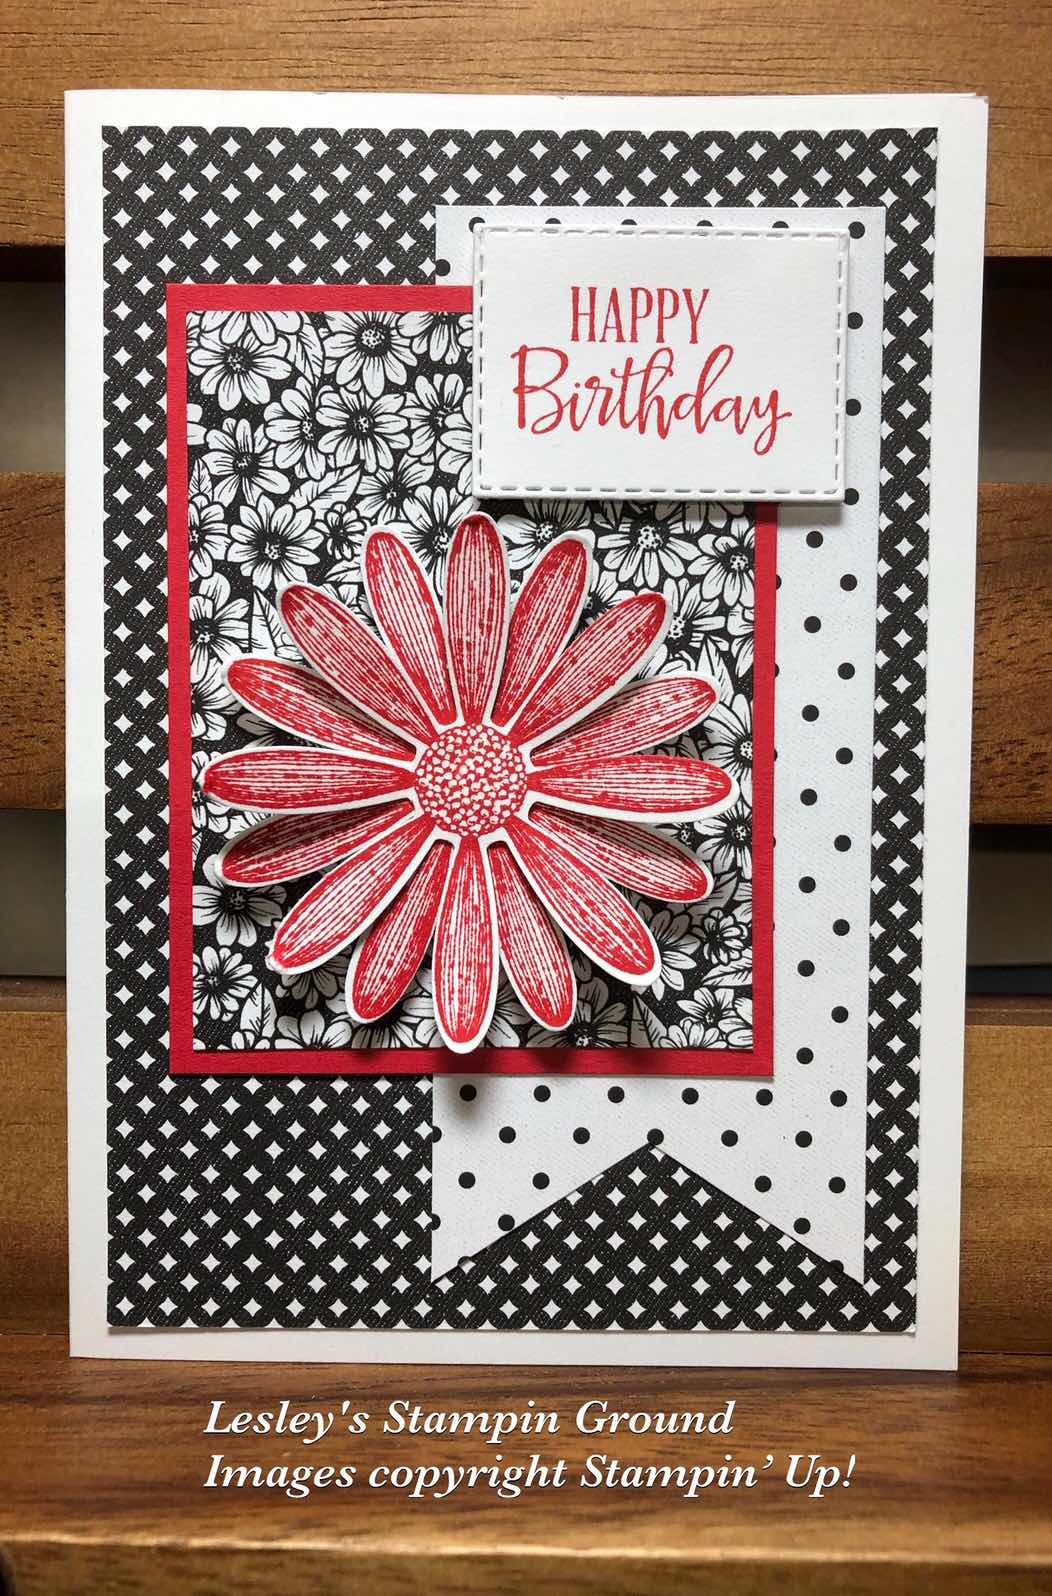
I made a similar designed card to this recently using the World Of Good Specialty DSP so here is one using True Love Designer Series Paper (#154281). It’s easy to make and a great way to use some leftover DSP.


The base card is Basic White (#159228). The spotted DSP was punched with the Banner Triple punch (#138292). The floral DSP was matted with Poppy Parade card (#121694).

I stamped the daisy from the Daisy Lane stamp set (#149325) with Poppy Parade ink (#147050). I stamped 2 images and punched them with the Daisy Punch (#143713) and put them together with Mini Glue Dots (#103683), offsetting the petals. The daisy was then attached to the card with Stampin’ Dimensionals (#104430).

The sentiment is from Peaceful Moments stamp set (#151595) and also stamped with Poppy Parade ink. I cut it with a Stitched Rectangles Die (#151820). Mini Stampin’ Dimensionals (#144108) were used to attach the sentiment.

There are no retiring products on today’s card.

Have a great day.

“Love what you do and share what you love.”


Tuesday, 29 September 2020

Daisy Lane

Hi & welcome,

These daisies are from the Daisy Lane stamp set (#149325).


I stamped 2 of the larger daisies and 2 of the smaller daisies, and when assembling them I offset each to make the daisy. The larger daisy was stamped with So Saffron ink (#147109) onto So Saffron card (#108611). I stamped the smaller daisy with So Saffron ink onto Whisper White card (#106549). They were punched with the Daisy Punch (#143713) and Medium Daisy Punch (#149517). I used Mini Glue Dots (#103683) to assemble the flower. The flower centre was cut with a die from the Poinsettia Dies (#153522). The flower centre and sentiment were cut from the Rainbow Glimmer Paper (#153056) which had Adhesive Sheets (#152334) adhered to the back. The Whisper White card front was dry embossed with the Dainty Diamonds 3D Embossing Folder (#152702), then attached to the So Saffron card (#108611). The Square Vellum Doily (# 152484) was attached to the card front then the daisy was attached on top with a Stampin’ Dimensional (#104430). The leaves from the Forever Fern stamp set (#152559) were stamped with attached and cut with Forever Flourishing Dies (#154094). Happy & Birthday are cut with the Well Written Dies (#151816). The embellishments are from the Sequins For Everything (#153556) and attached with the Fine Tip Glue Pen (#138309). I added glimmer to the petals using the Clear Wink Of Stella Brush (#141897).

Have a fantastic day.


Sunday, 13 September 2020

Daisy Lane

Hi,

I love the simplicity of the silver and white on this card.


The cardstock I have used is Whisper White (#106549) and Silver Foil Sheets (#132178). I dry embossed the Whisper White cardfront with one of the Wrapped In Texture Embossing Folders (#153574). This was attached to a piece of Silver Foil Sheet. I attached a smaller piece of Silver Foil to the cardfront, then wrapped the 1/2” Metallic Mesh Ribbon (#153550) around this, then attached the whole piece to the Whisper White base card.
I stamped 2 of each of the large and small daisies from the Daisy Lane stamp set (#c149325). These were stamped with VersaMark (#102283) and heat embossed with Silver Stampin’ Emboss Powder (#109131) and set with the Heat Tool (#129056). The large daisies were punched with the Daisy Punch (#143713) and the smaller daisies with the Medium Daisy Punch (#149517). These were all assembled using Mini Glue Dots (#103683) then attached to the card with Stampin’ Dimensionals (#104430). 
I adhered the Adhesive Sheets (#152334) to the back of the Silver Foil Sheet and cut the leaves and flourishes with dies from the Butterfly Beauty Dies (#151819) and adhered these to the card. “Happy Anniversary” from the Many Mates stamp set (#c152633) was also silver embossed and was cut with a Stitched So Sweetly Die (#151690) and attached with Stampin’ Dimensionals. The Clear embellishments from the Frosted & Clear Epoxy Droplets (#147801) were added to the flower, sentiment and card to finish the card.

Have a great day, hopefully with some crafting time.


Thursday, 30 July 2020

Box card

Welcome friends,

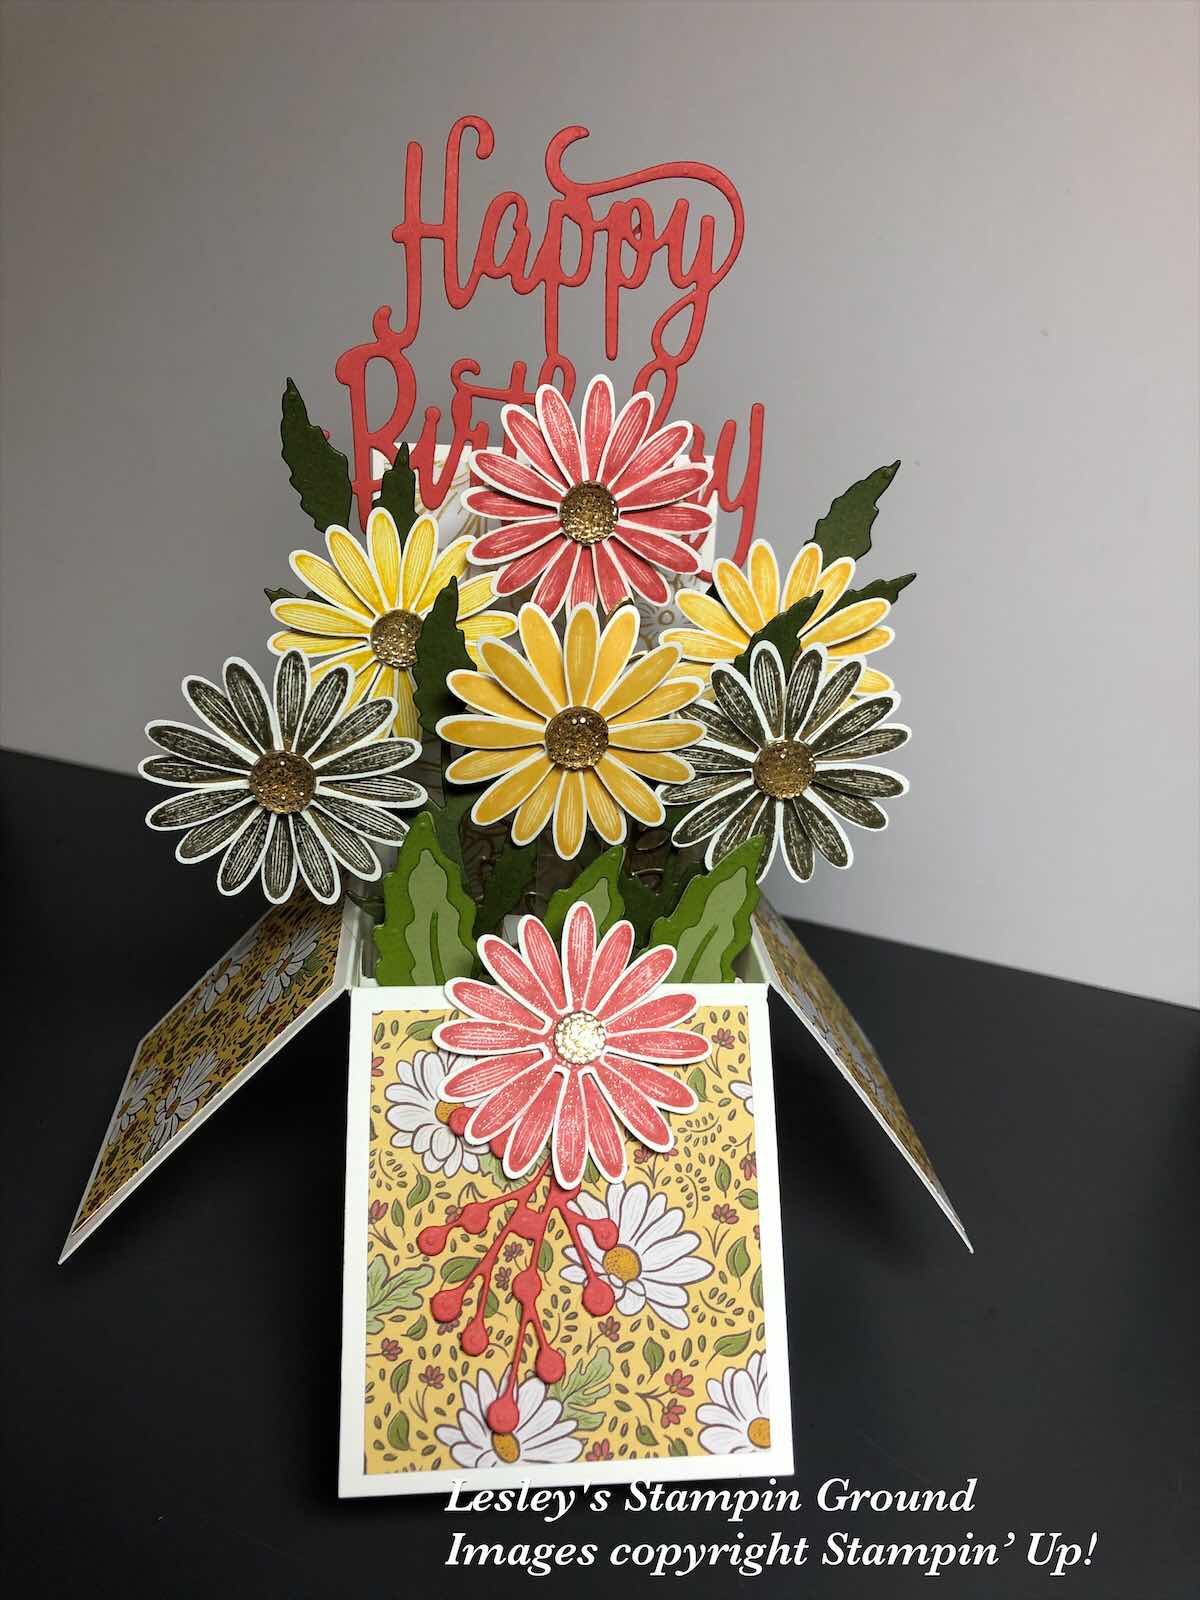
If you like fancy fold cards here is a Box card, and it’s not too hard to make but looks impressive.


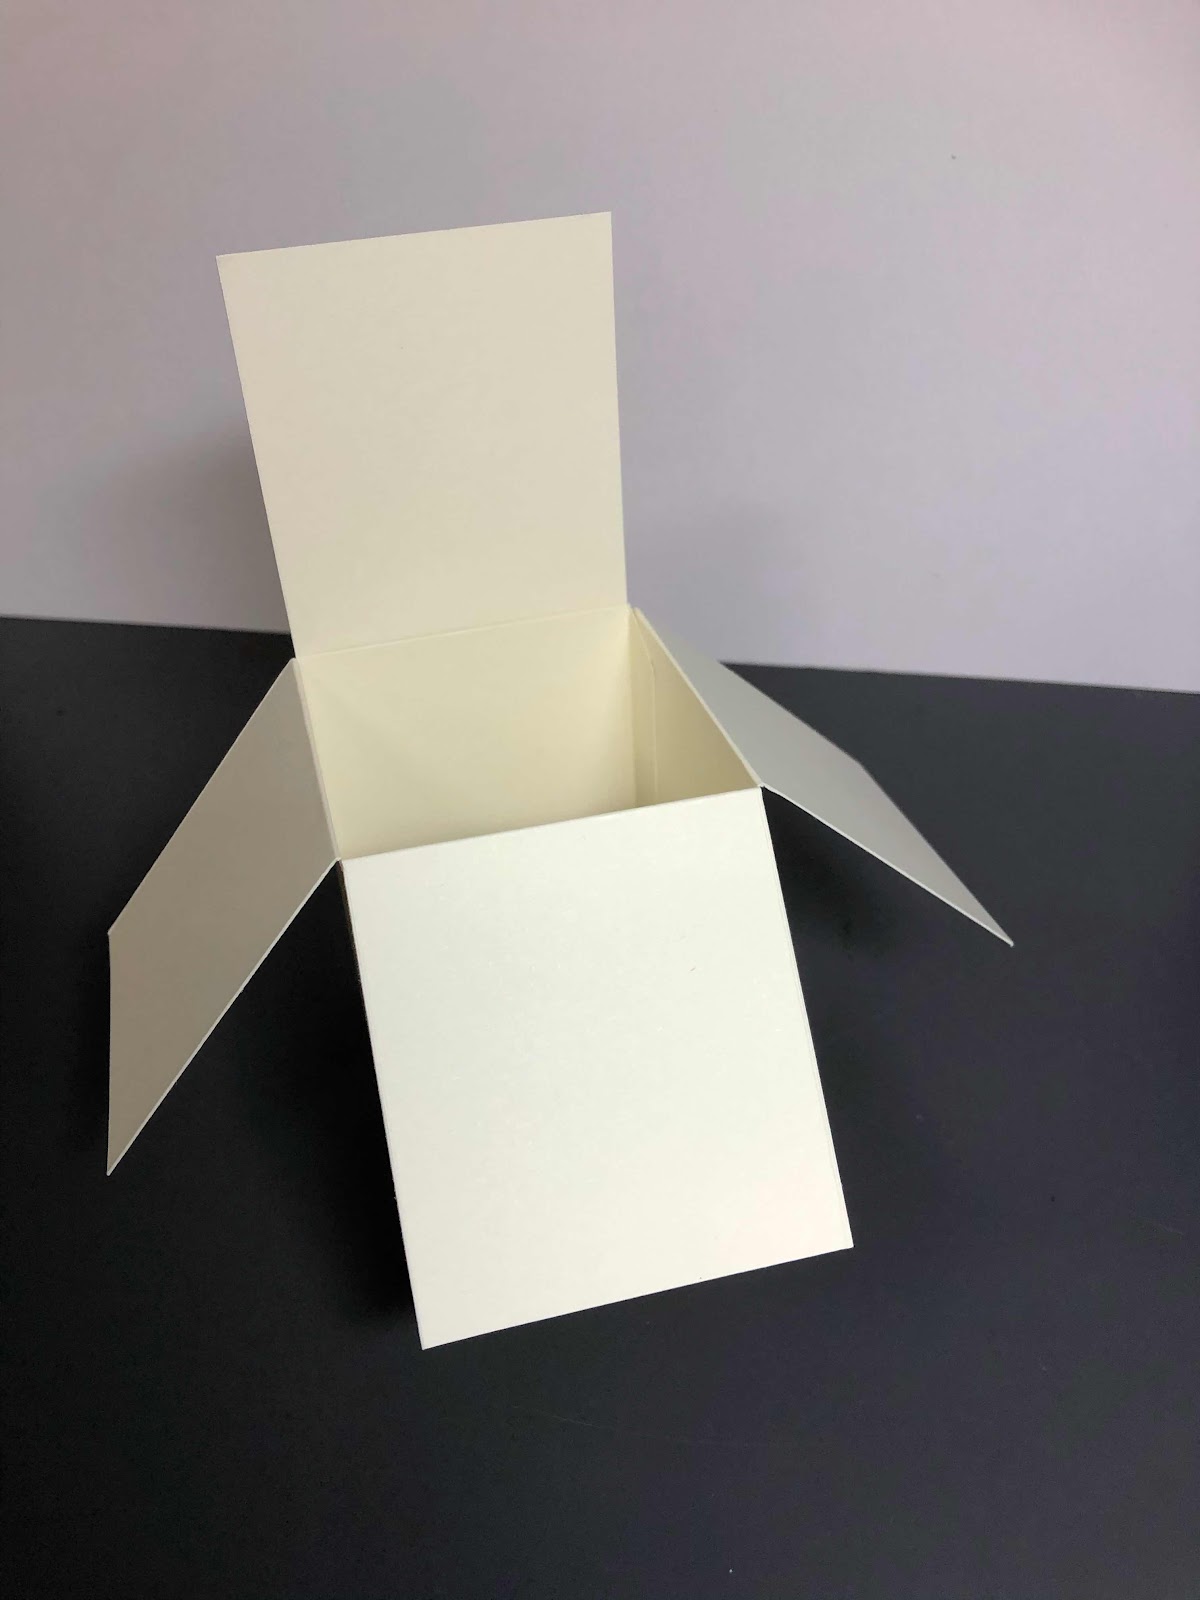
I cut the Whisper White card (#106549) 6” x10-1/2” to make the box. This was scored on the long side at 2-1/2”, 5”, 7-1/2” and 10”. I then scored on the short side at 3-1/4”. See diagram below.


You need 2 pieces of Whisper White card cut at 3-1/2” x 1/2” and scored at 1/2” at each end. These are for inside the box to attach the flowers etc to.

Assemble the box so that the front and sides fold down and the back piece stands up.. 


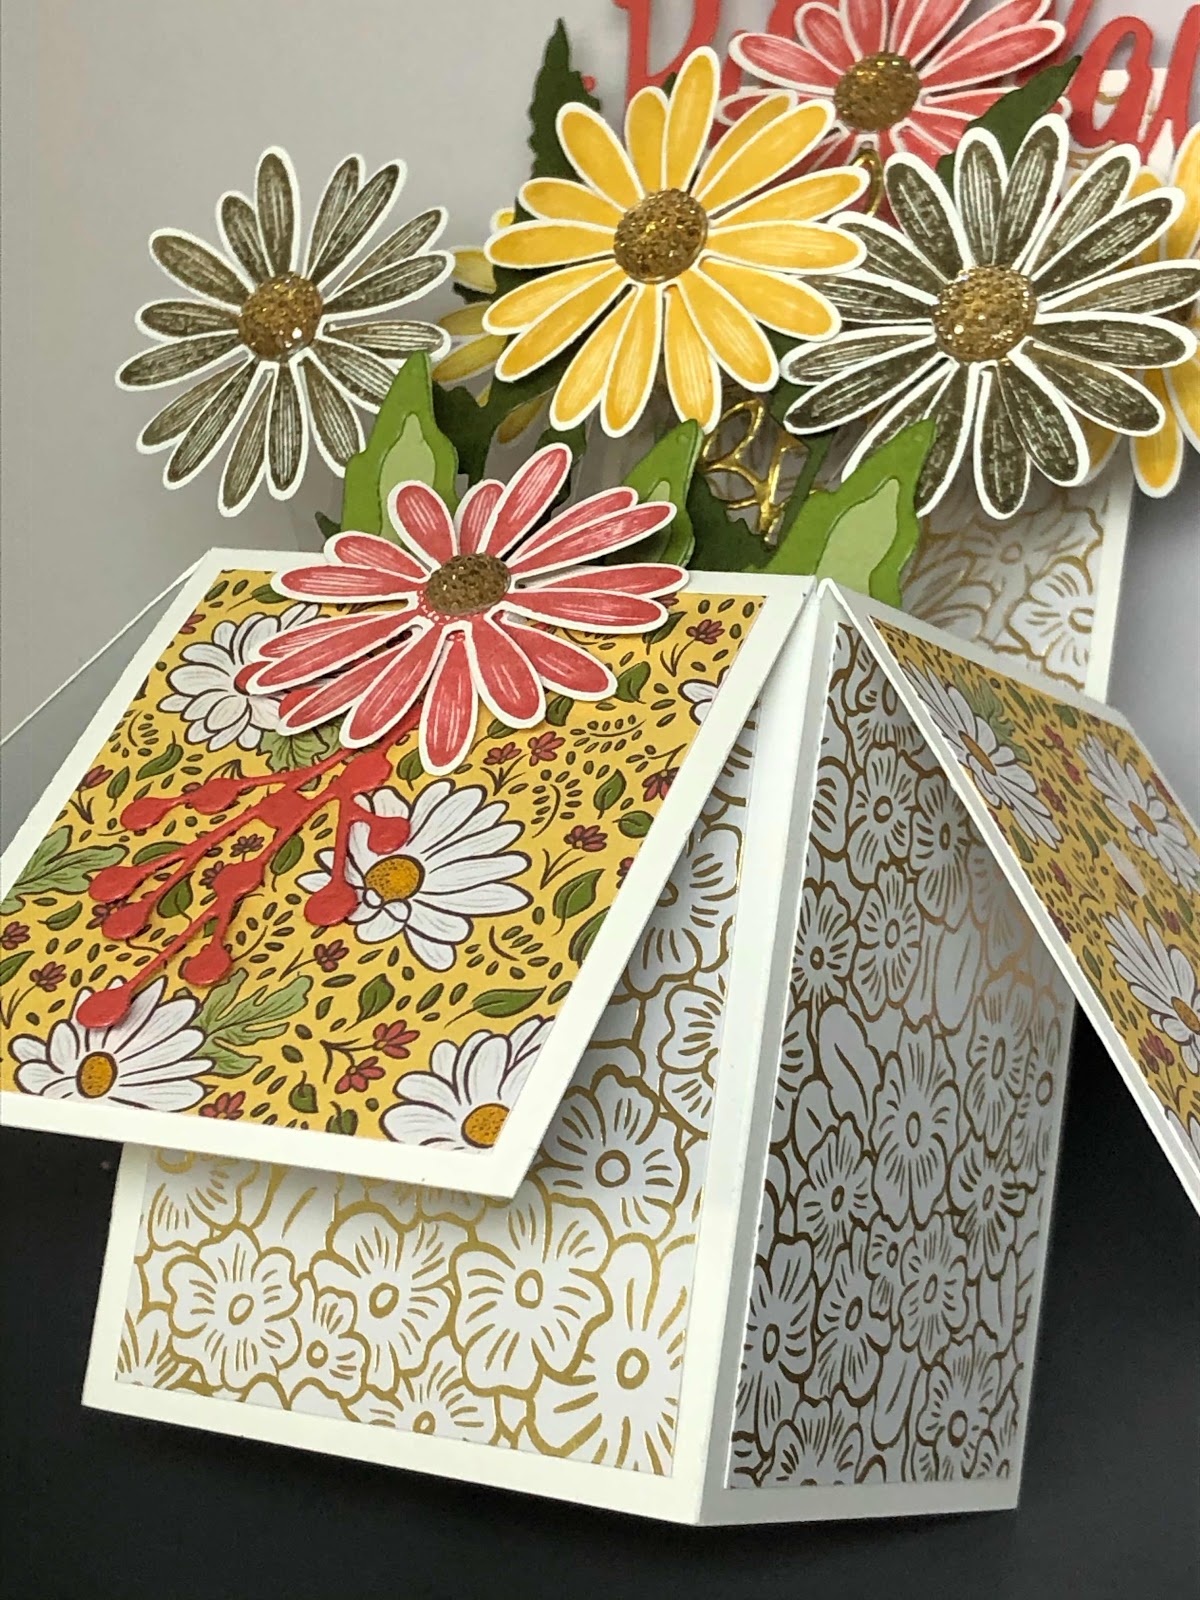
I then attached pieces of Ornate Garden Designer Series Paper to the inside of the back, the flaps and under the flaps.


I stamped the small daisies from the Daisy Lane stamp set (#c149325) using Daffodil Delight ink (#147094), Terracotta Tile ink (#150086) and Gold Embossing Powder. These were punched with the Medium Daisy Punch (#149517) and I used 2 flowers to assemble each daisy. I attached each daisy to a small strip of Window Sheet (#142314) and attached them to the pieces of card inside the box. I cut the leaves using the dies from the Poppy Moments (#151594) using Mossy Meadow card (#133683), Old Olive (#106576) and Pear Pizzaz (#131290). “Happy Birthday” is cut with the retired Happy Birthday die from Terracotta Tile card (#150890) and glued this to the back of the card with Multipurpose Liquid Glue (#110755). I added retired Gold Faceted Gems to the centre of the daisies.

Have a great day.

Thursday, 18 June 2020

Fancy Fold card

Hello again friends,

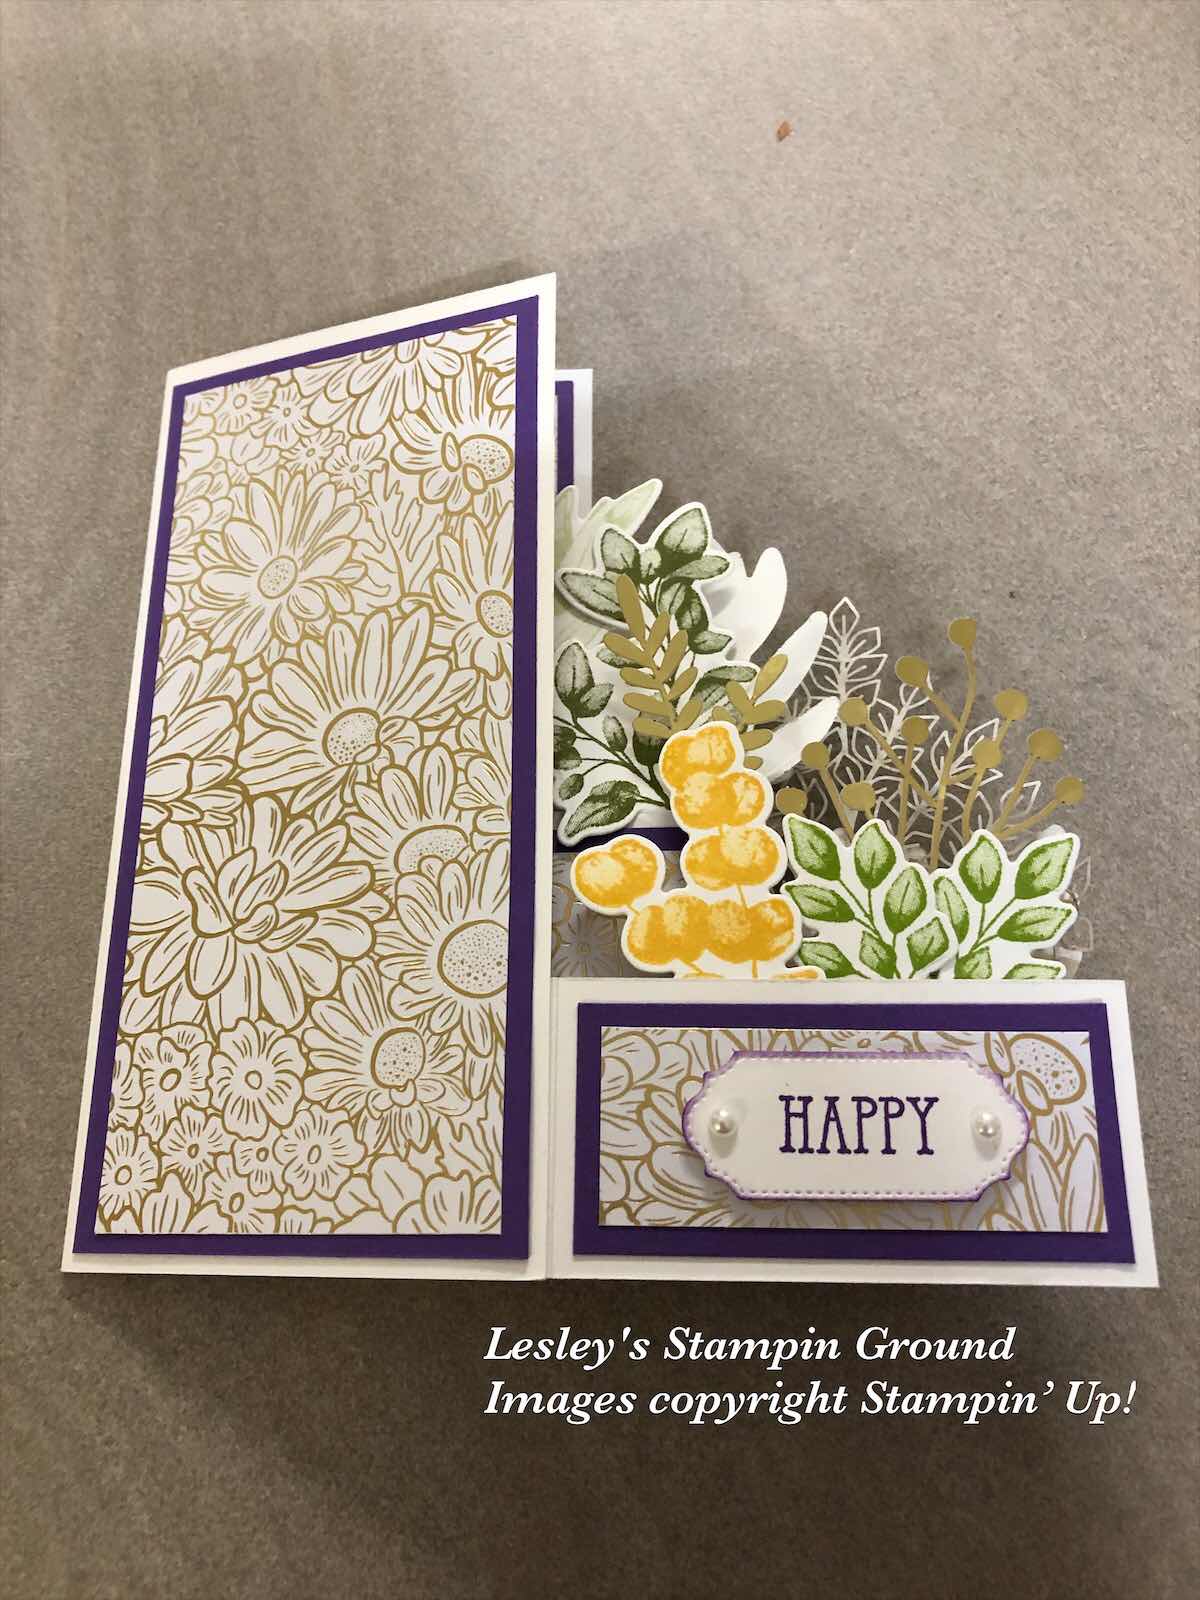
I have been playing today with this fancy fold card, called a balcony fold card.


Below is the card when folded


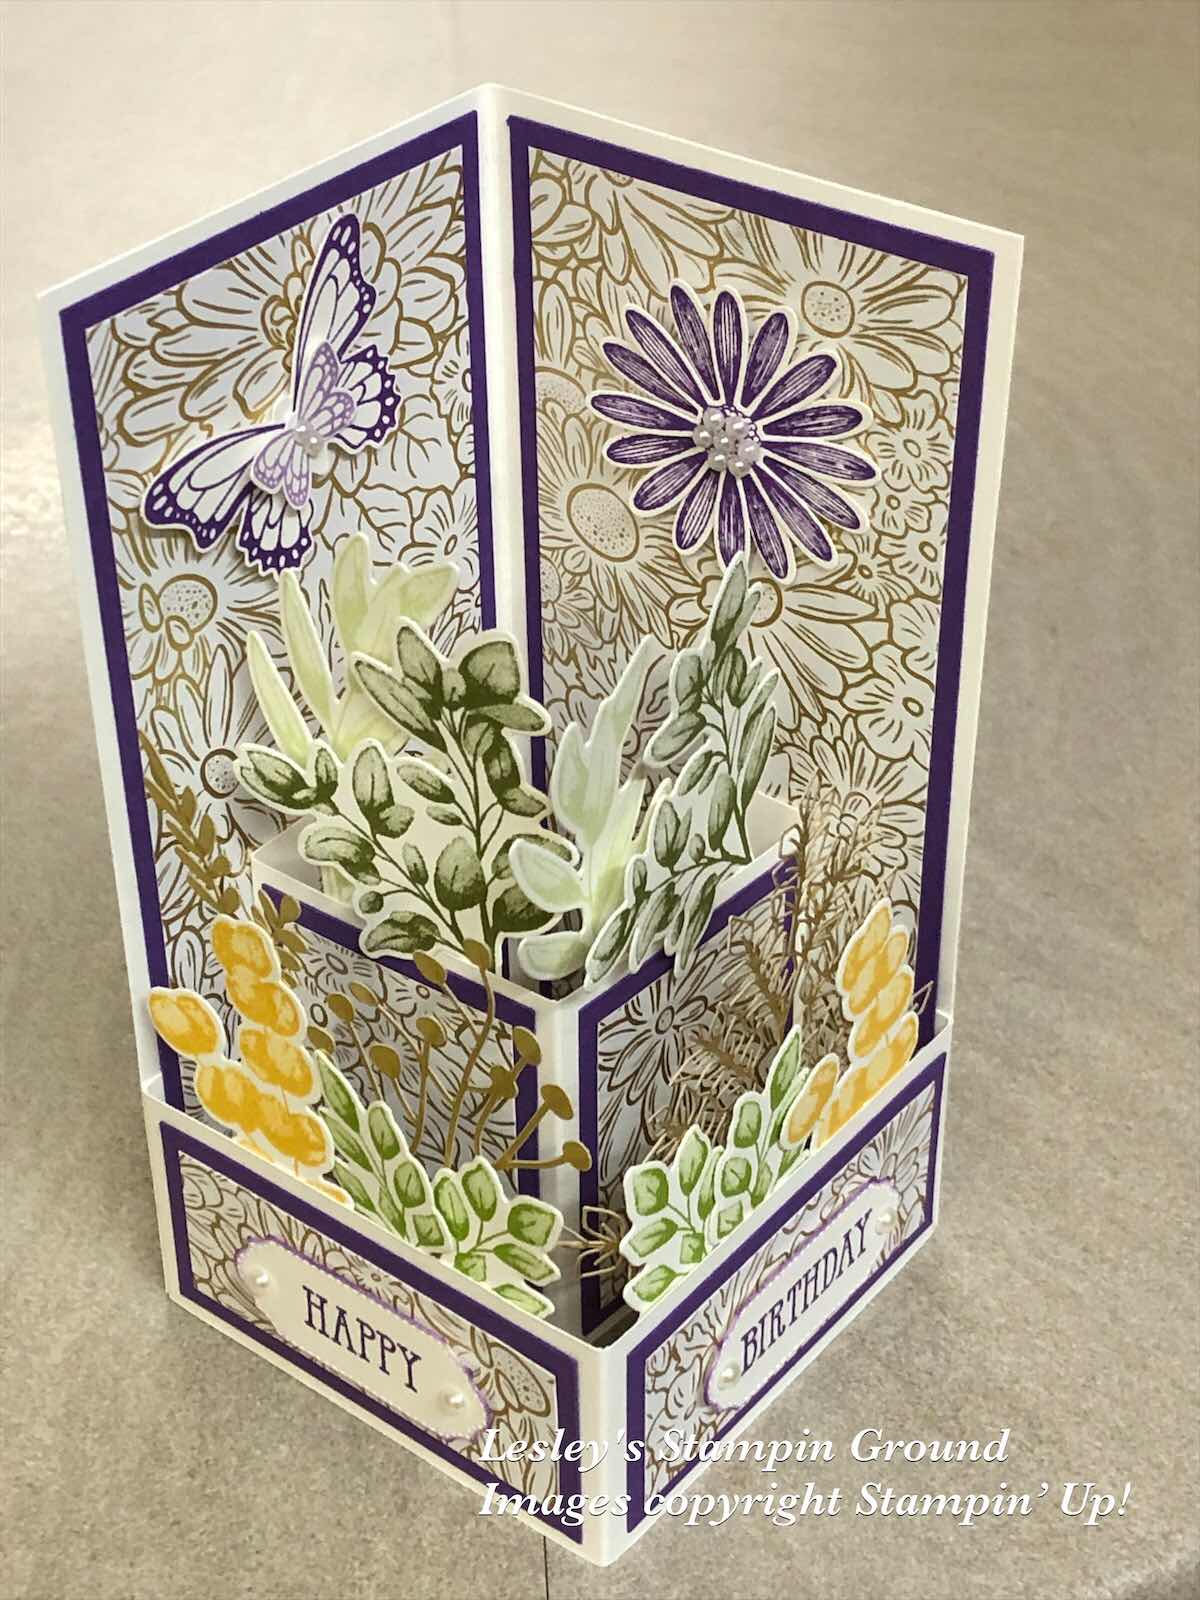
I have used Whisper White card (#106549), Gorgeous Grape card (#147011) and Ornate Garden Specialty Designer Series Paper (#152488). The base card is 6”x6” and scored in half. The front piece is 7”x1-1/2” and scored at 1/2”, 3-1/2” and 6-1/2”. The inside piece is 5”x2-1/2” and scored at 1/2”, 2-1/2” and 4-1/2”, then I layered the coloured card and DSP. I stamped the leaves from the Forever Fern stamp set (#152559) and they were cut with the Forever Flourishing Dies (#152714). The inks used for the leaves were Soft Sea Foam (#147102), Old Olive (#147090), Granny Apple Green (#147095) and Daffodil Delight (#147094). I also added some of the leaves from the Forever Gold Laser-Cut Specialty Paper (#152493). “Happy” & “Birthday” are from the Well Said stamp set (#148796) and stamped with Gorgeous Grape ink (#147099) and cut with an Ornate Frames Die (#150664). The daisy is from Daisy Lane stamp set (#149325) and punched with the Medium Daisy Punch (#149517). The butterflies are from the Butterfly Gala stamp set (#148580) and punched with the Butterfly Duet punch (#148523). The Pearl Basic Jewels (#144219) were added to the butterfly, daisy and sentiment.

Have a great day & keep crafting!!


Thursday, 11 June 2020

Flowers For Every Season Designer Series Paper

Hello,

The Flowers For Every Season 6”x6” Designer Series Paper (#152486) have a variety of flowers for the 4 seasons, so is a versatile pack for the whole year. All the new In colours are included plus Poppy Parade.


The 2 pieces of DSP are from this pack and attached to the Whisper White base card (#106549). The ribbon is Whisper White 1/4” Crinkled Seam Binding (#151326) and I coloured this by sponging with Poppy Parade ink (#147050). I stamped the daisies from Daisy Lane stamp set (#c149325), onto Poppy Parade card (#121694). I used VersaMark (#102283) and White Stampin’ Emboss Powder (#109132) which was heat set with the Heat Tool (#129056). These were punched with the Medium Daisy punch (#149517). The 2 daisies were assembled together with Mini Glue Dots (#103683) and attached to the card with Stampin’ Dimensionals (#104430). The greeting is from the Last A Lifetime stamp set (#151479) and stamped with Poppy Parade ink. The greeting and the Poppy Parade card were both cut with the Tasteful Labels Dies (#152886) and attached to the card with Dimensionals. The Red Rhinestone Basic Jewels (#146924) were added to the flower centre and the sentiment.

Enjoy your day, stay safe & keep crafting!!


Sunday, 7 June 2020

Forever Fern Bundle with Daisy Lane

Hello friends,

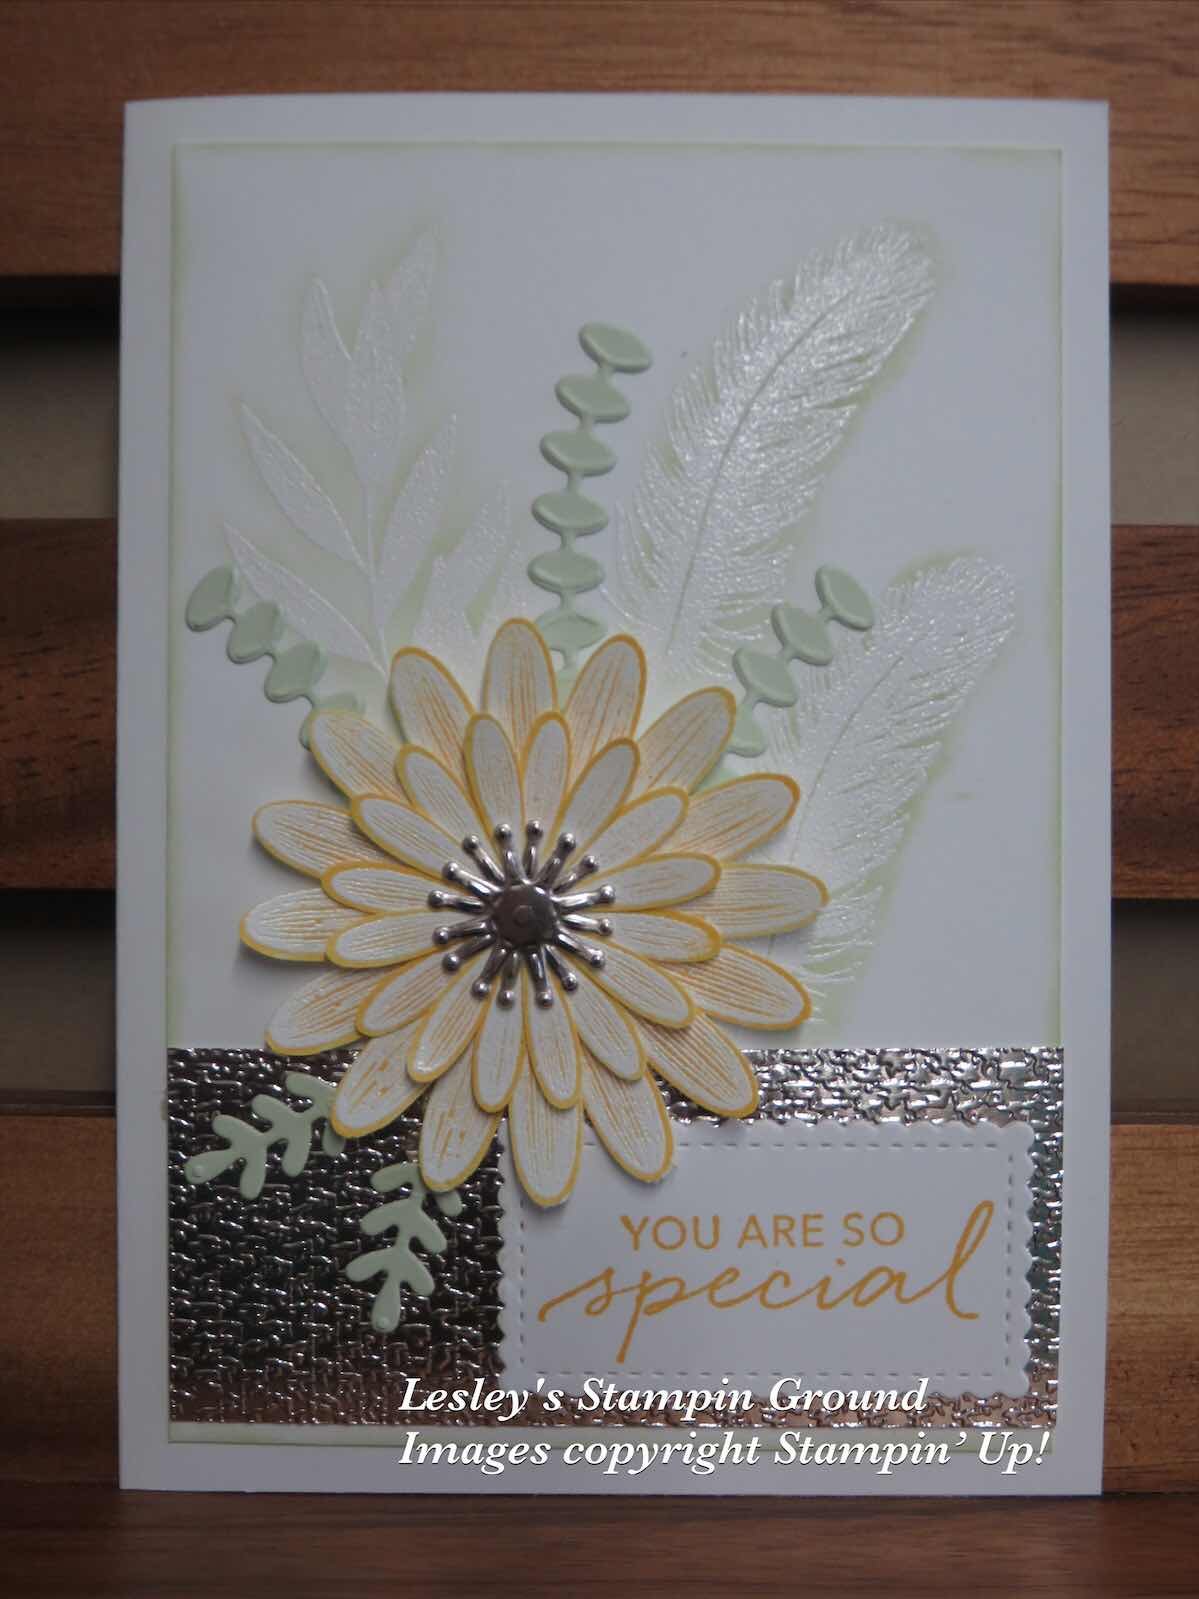
I was so pleased with the finished result of this card, very subtle but gorgeous (even if I do say so myself). As usual it looks so much better in real life.


I stamped the leaf from the Forever Fern stamp set (#c152559) onto the Whisper White card front (#106549) using VersaMark (#102283). This was then embossed with White Stampin’ Emboss Powder (#109132) and set with the Heat Tool (#129056). I did the same with the feathers from the Tasteful Touches stamp set (#152562). Then I lightly daubered the leaf and feathers with Soft Sea Foam ink (#147102). I stamped 2 of each of the daisy images from the Daisy Lane stamp set (#c149325). Again these were stamped with VersaMark and White Emboss Powder on Whisper White card and I daubered the images with Daffodil Delight ink (#147094). The daisies were punched with the Daisy punch (#143713) for the larger daisy and the Medium Daisy Punch (#149517) for the smaller daisies. For the centre of the daisies I used a die from the Magnolia Memory Dies (#149578) and Champagne Foil Sheet (#144748). The daisy was assembled using Mini Glue Dots (#103683) and the whole daisy was attached to the card with Stampin’ Dimensionals (#104430). I used the Forever Flourishing Dies (#152714) to cut the leaves from the Soft Sea Foam card (#147012). The Champagne Foil Sheet was embossed with the Tasteful Textile 3D Embossing Folder (#152718). “You are so Special” is from the Tasteful Touches stamp set and I stamped this with Daffodil Delight ink. A die from the Stitched So Sweetly Dies (#151690) cut the sentiment.

Enjoy whatever you are doing today and keep crafting!!


Wednesday, 3 June 2020

Scrapbook page with Forever Flourishing Dies

Welcome friends,

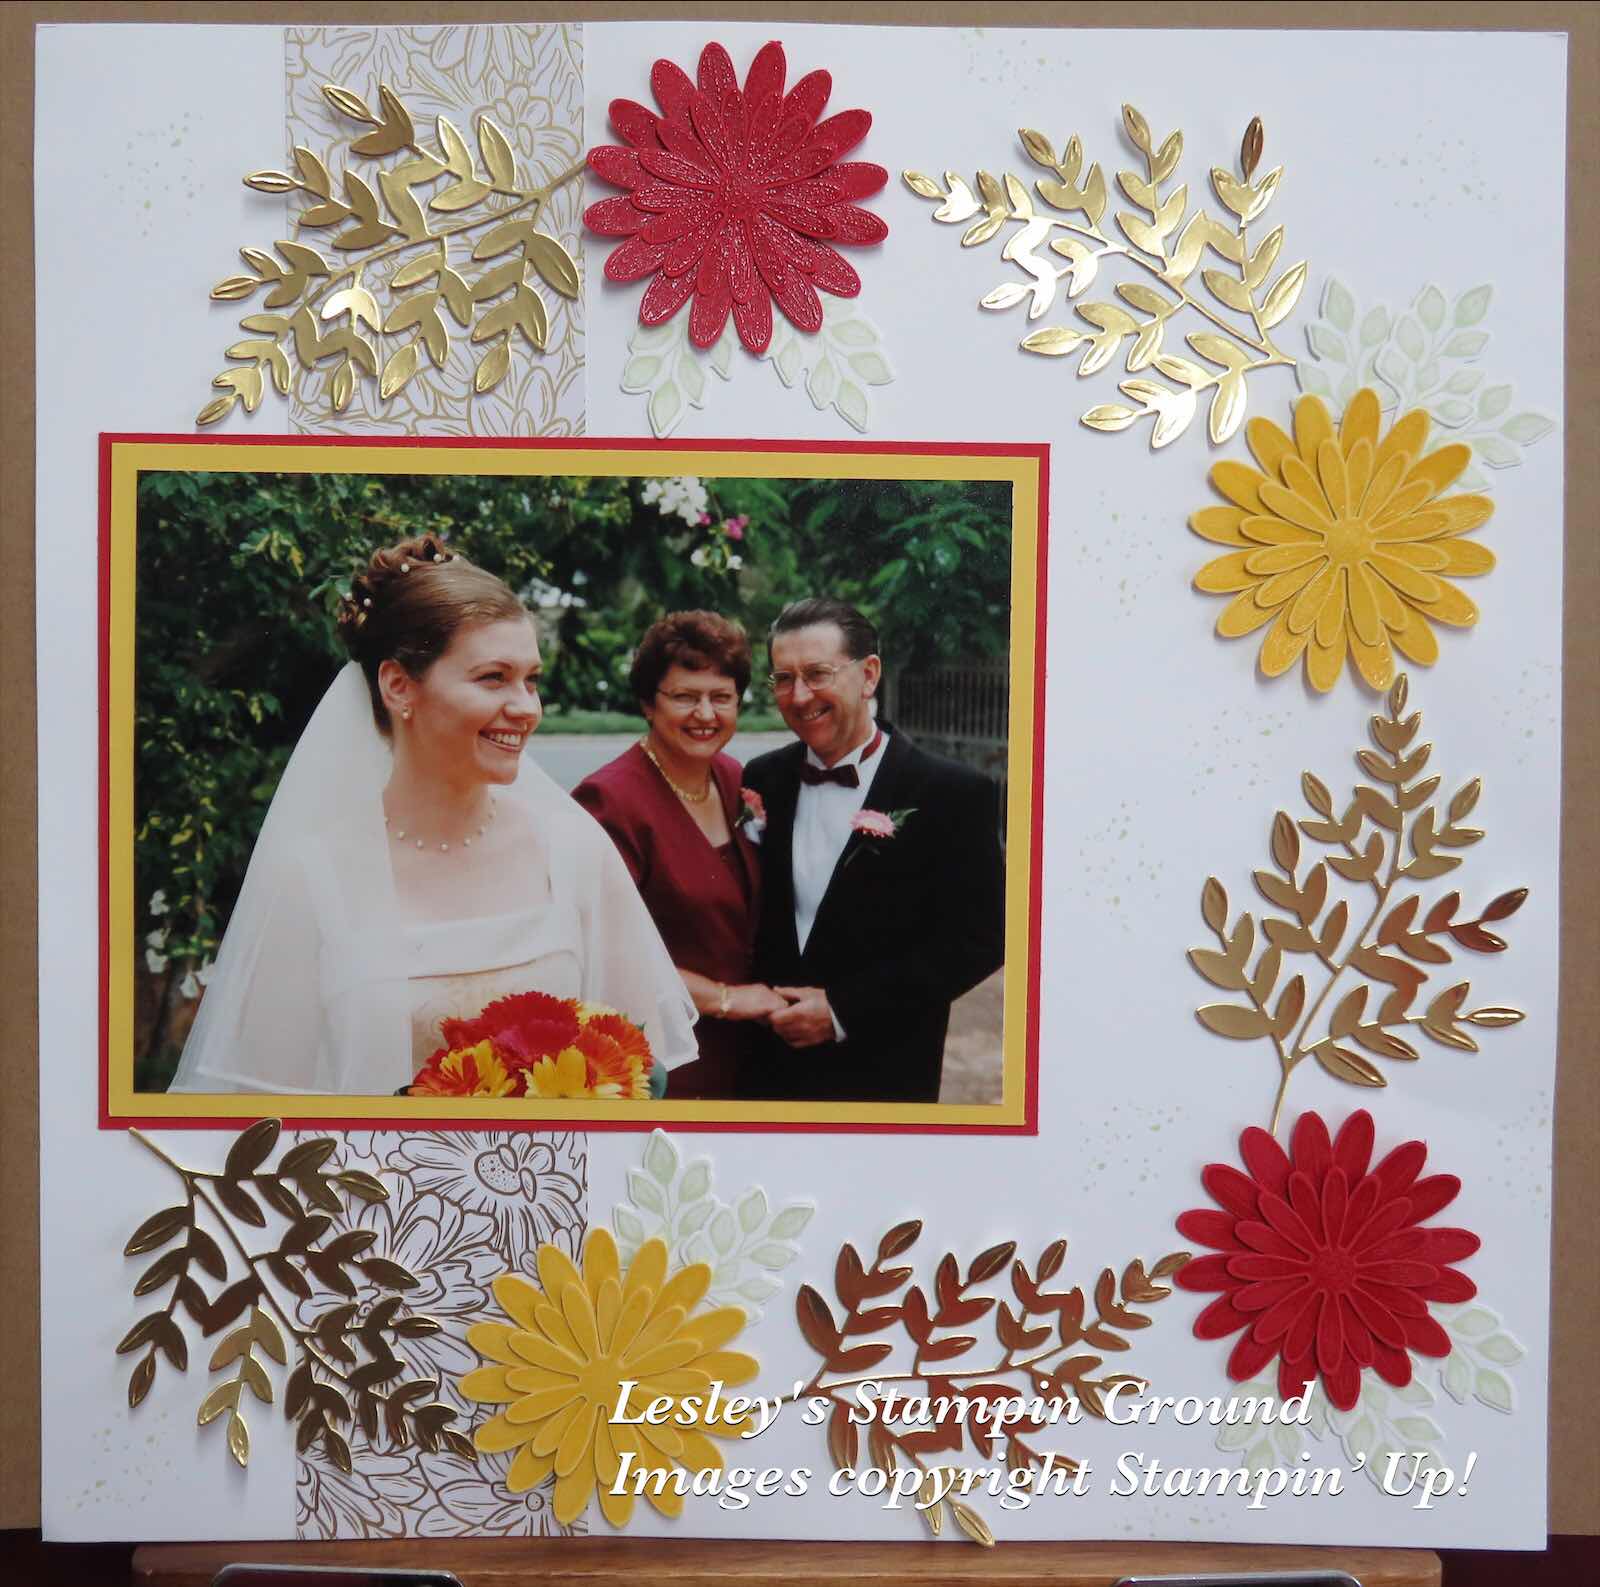
A beautiful scrapbook page using the Forever Flourishing Dies (#152714) which co-ordinate with the Forever Fern Stamp set (#c152559). These are available together in the Forever Fern bundle (#154094) which gives you a 10% discount.


I attached a piece of the Ornate Garden Specialty Designer Series Paper (#152488) to the 12”x12” Whisper White card (#124302). I cut the Gold Foil Sheet (#132622) with a die from the Forever Flourishing Dies (#152714). I also stamped some leaves from the Forever Fern stamp set (#c152559) with Soft Sea Foam ink (#147102) and these were also cut with the Forever Flourishing Dies. I stamped the large and medium daisies from Daisy Lane stamp set (#c149325) using VersaMark (#102283) onto Real Red card (#106578) and Daffodil Delight card (#121680). I then sprinkled the images with Clear Stampin’ Emboss Powder (#109130) and set with the Heat Tool (#129056). Each of these flowers were then punched with the Daisy punch (#143713) for the larger flower and the Medium Punch (#149517) for the smaller flower. I used 2 of each flower image to make each individual flower and assembled them with Mini Glue Dots (#103683). The flowers and leaves were also attached to the page with Mini Glue dots. I then stamped the splotches of dots from the Forever Fern stamp set to the background using Soft Sea Foam ink.

I hope you have had a chance to check out the new catalogue which is now available for ordering. If not you can check it out here

Monday, 27 April 2020

Daisy Lane stamp set

Hello everyone,

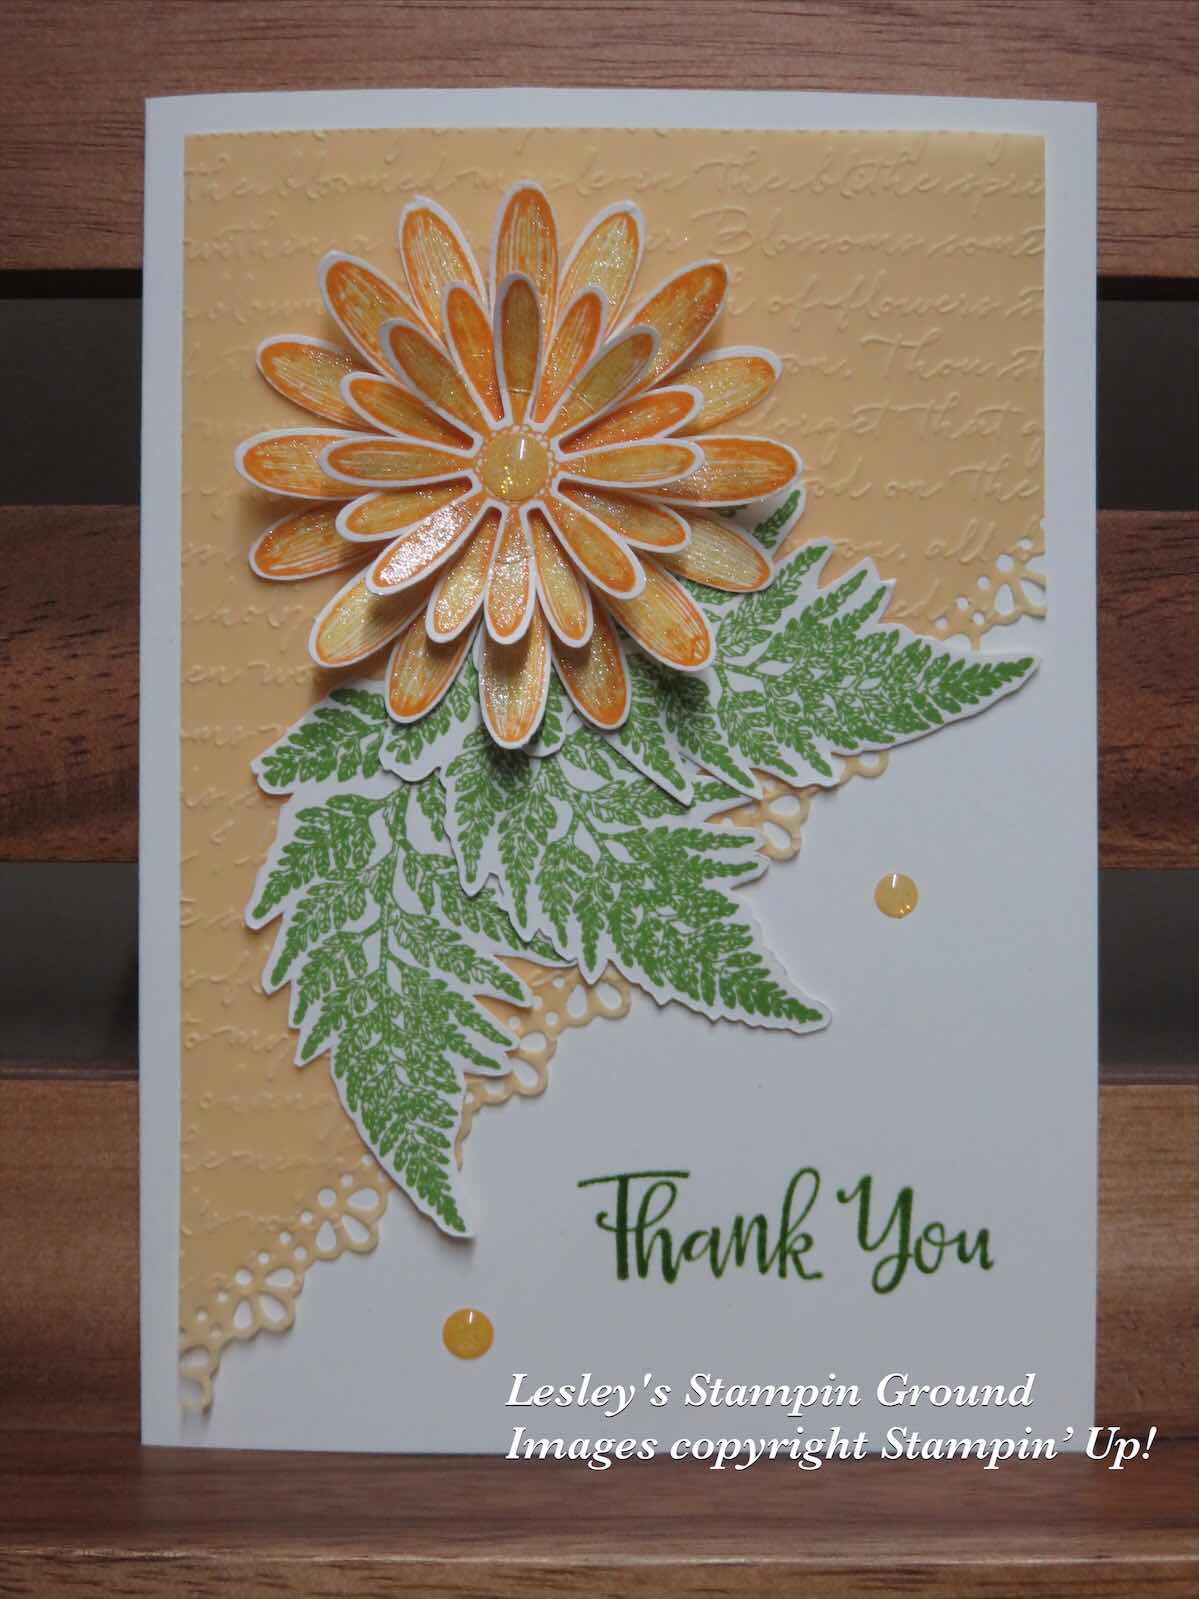
This is a lovely bright and cheerful card which is just what we need at this time. I have used the daisies from the Daisy Lane stamp set (#c149325).


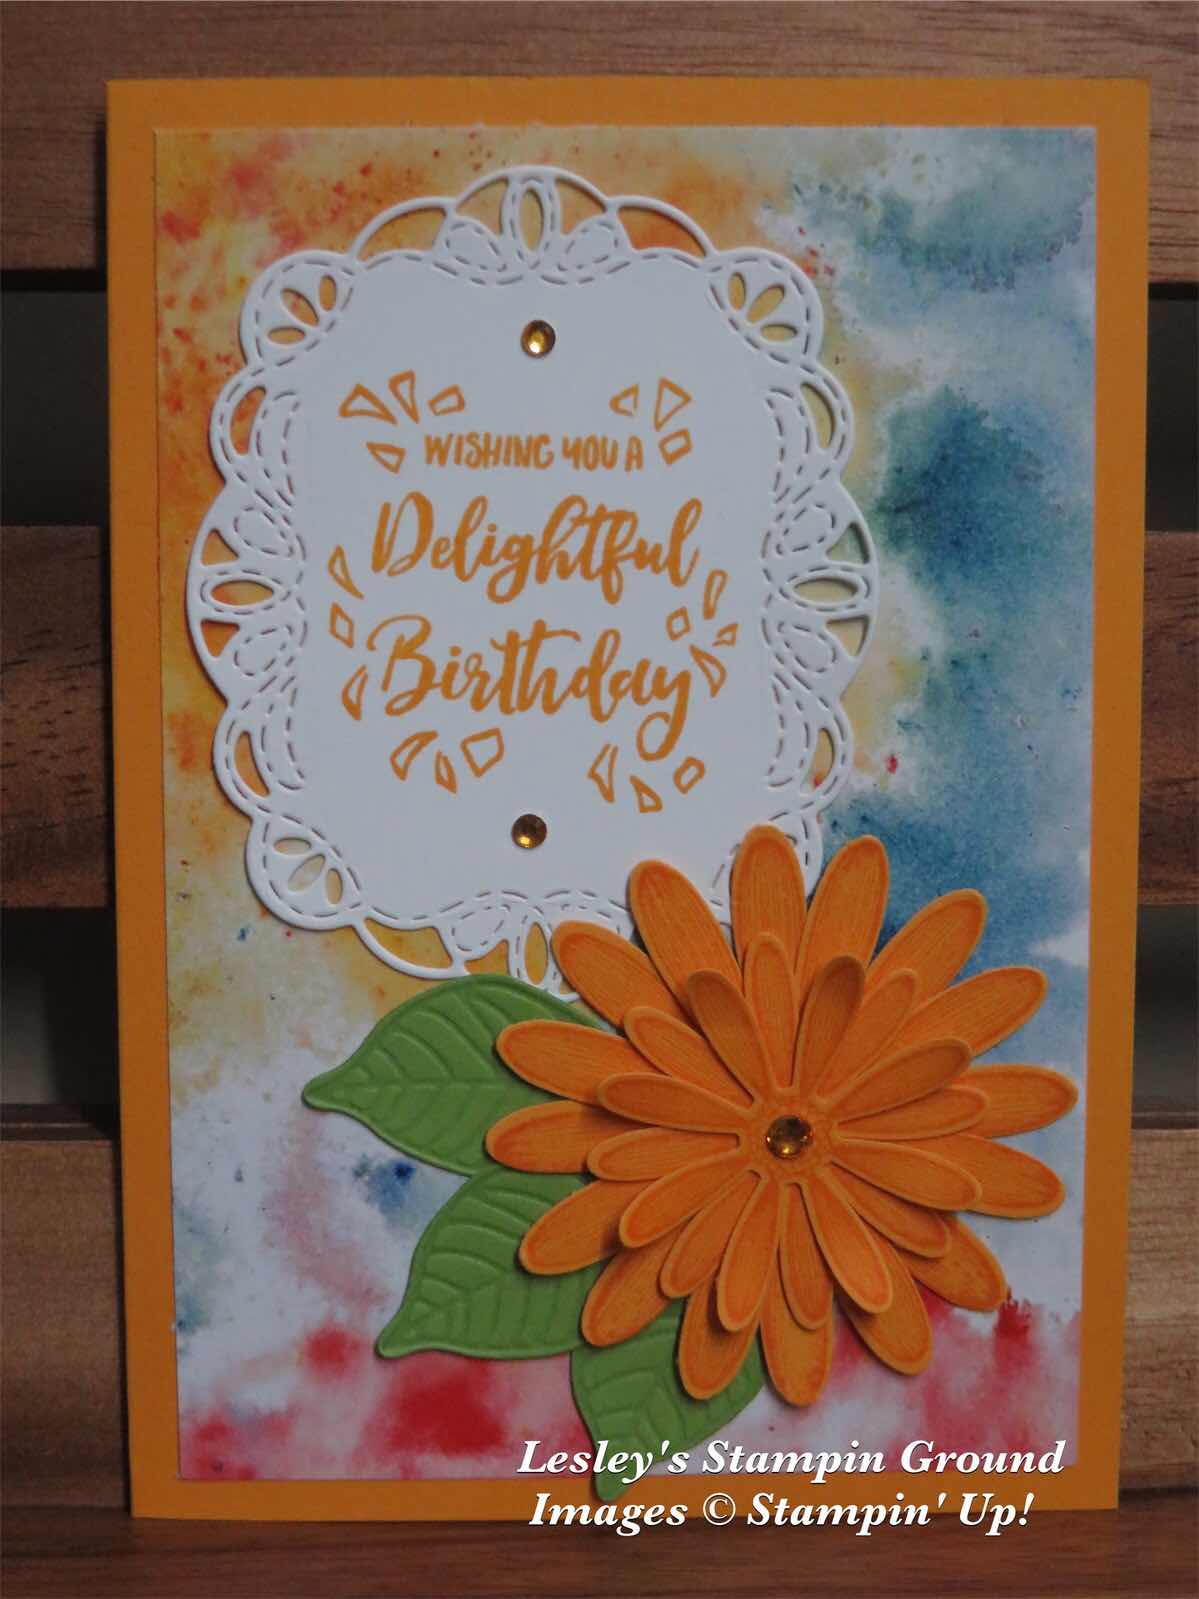
The cardstock for the base card, the flowers and the leaves is Very Vanilla (#106550). I used the So Saffron vellum from the Periannial Essence 12”x12” Vellum cardstock (#149101). I cut the edge of the velum with the Ornate Borders Dies (#152724), then embossed it with the Scripty 3D Embossing Folder (#149634). I  stamped each daisy twice with Mango Melody ink (#147093) and punched them with the Daisy Punch (#143713) and the Medium Daisy punch (#149517). These were assembled using Stampin’ Dimensionals (#104430) and Mini Glue Dots (#103683). The leaves were stamped with Granny Apple Green ink (#147095), then fussy cut. These leaves are also from the Daisy Lane stamp set. “Thank You” is from Peaceful Moments stamp set (#c151595). I stamped this using the Stamparatus (#148187), and Granny Apple Green ink. Then I re-stamped the sentiment with VersaMark (#102283) and added Clear Stampin’ Emboss Powder (#109130) which was heat set with the Heat Tool (#129056). This is a way of embossing any colour ink but you must not move your card in between stamping. I added some shimmer to the daisies using the Clear Wink Of Stella Brush (#141897) and added the Glitter Enamel Dots (#146934) to the flower centre and card.


Stay safe and keep stamping!!

Wednesday, 1 April 2020

Daisy Lane

Hello everyone,

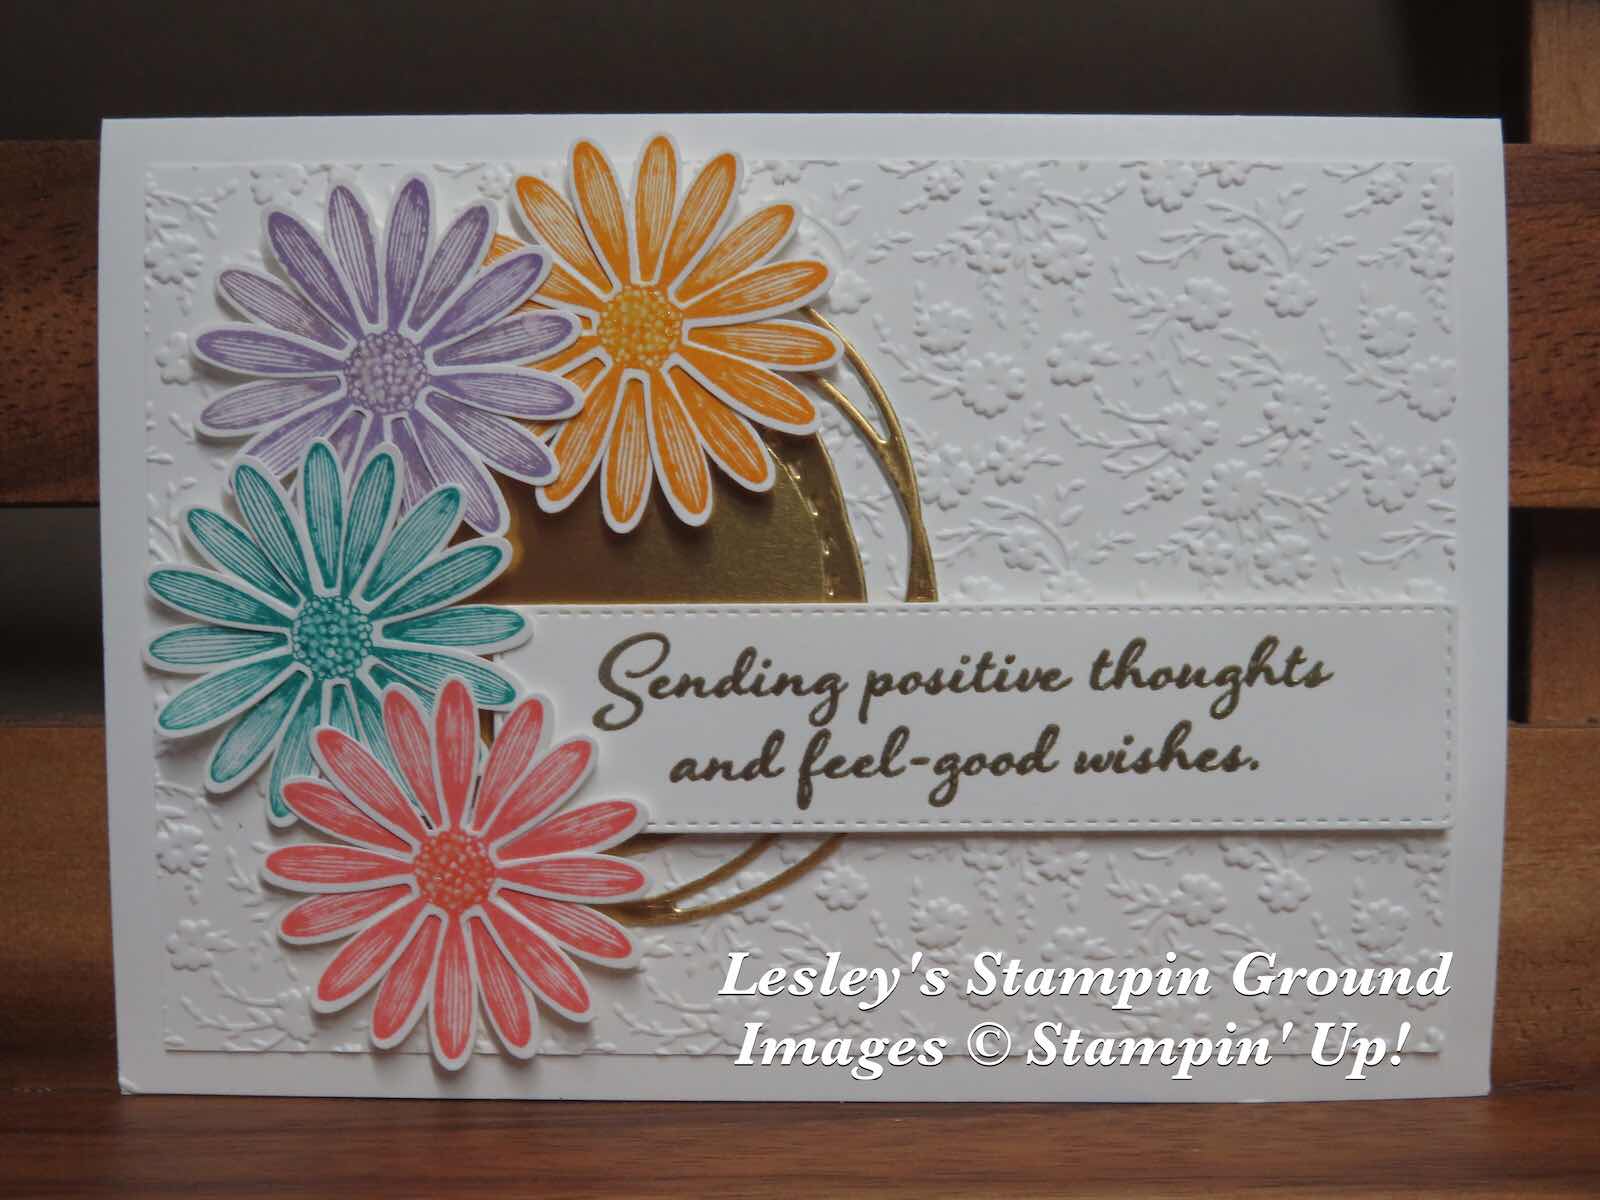
This bright and cheery card with the sentiment from Positive Thoughts stamp set (#151490) is perfect for the current situation happening around the world.


I used the smaller daisy from Daisy Lane stamp set (#149325). I stamped the image twice for each flower using Mango Melody ink (#147013), Highland Heather ink (#147010), Bermuda Bay ink (#131286), and Flirty Flamingo ink (#141421). These daisies were punched with the Medium Daisy punch (#149517). I assembled each flower together with the Fine-Tip Glue Pen (#138309), then attached them to the card with Stampin’ Dimensionals (#104430).  The base card and card front are Whisper White (#104430) and the card front was embossed with the Ornate Floral 3D Embossing Folder (#152725). This is currently my favourite embossing folder with the delicate flowers. I cut the Gold Foil Sheet (#132633) with a Painted Labels Die (#151605). The sentiment was stamped with VersaMark (#102283) and embossed with Gold Stampin’ Emboss Powder (#109129) which was set with the Heat Tool (#129056). A die from the Ornate Layers Dies (#152726) cut the sentiment and this was attached with Stampin’ Dimensionals.

Stay safe, keep crafting and be positive.

Monday, 16 December 2019

Mercury Glass Designer Acetate

Hello,

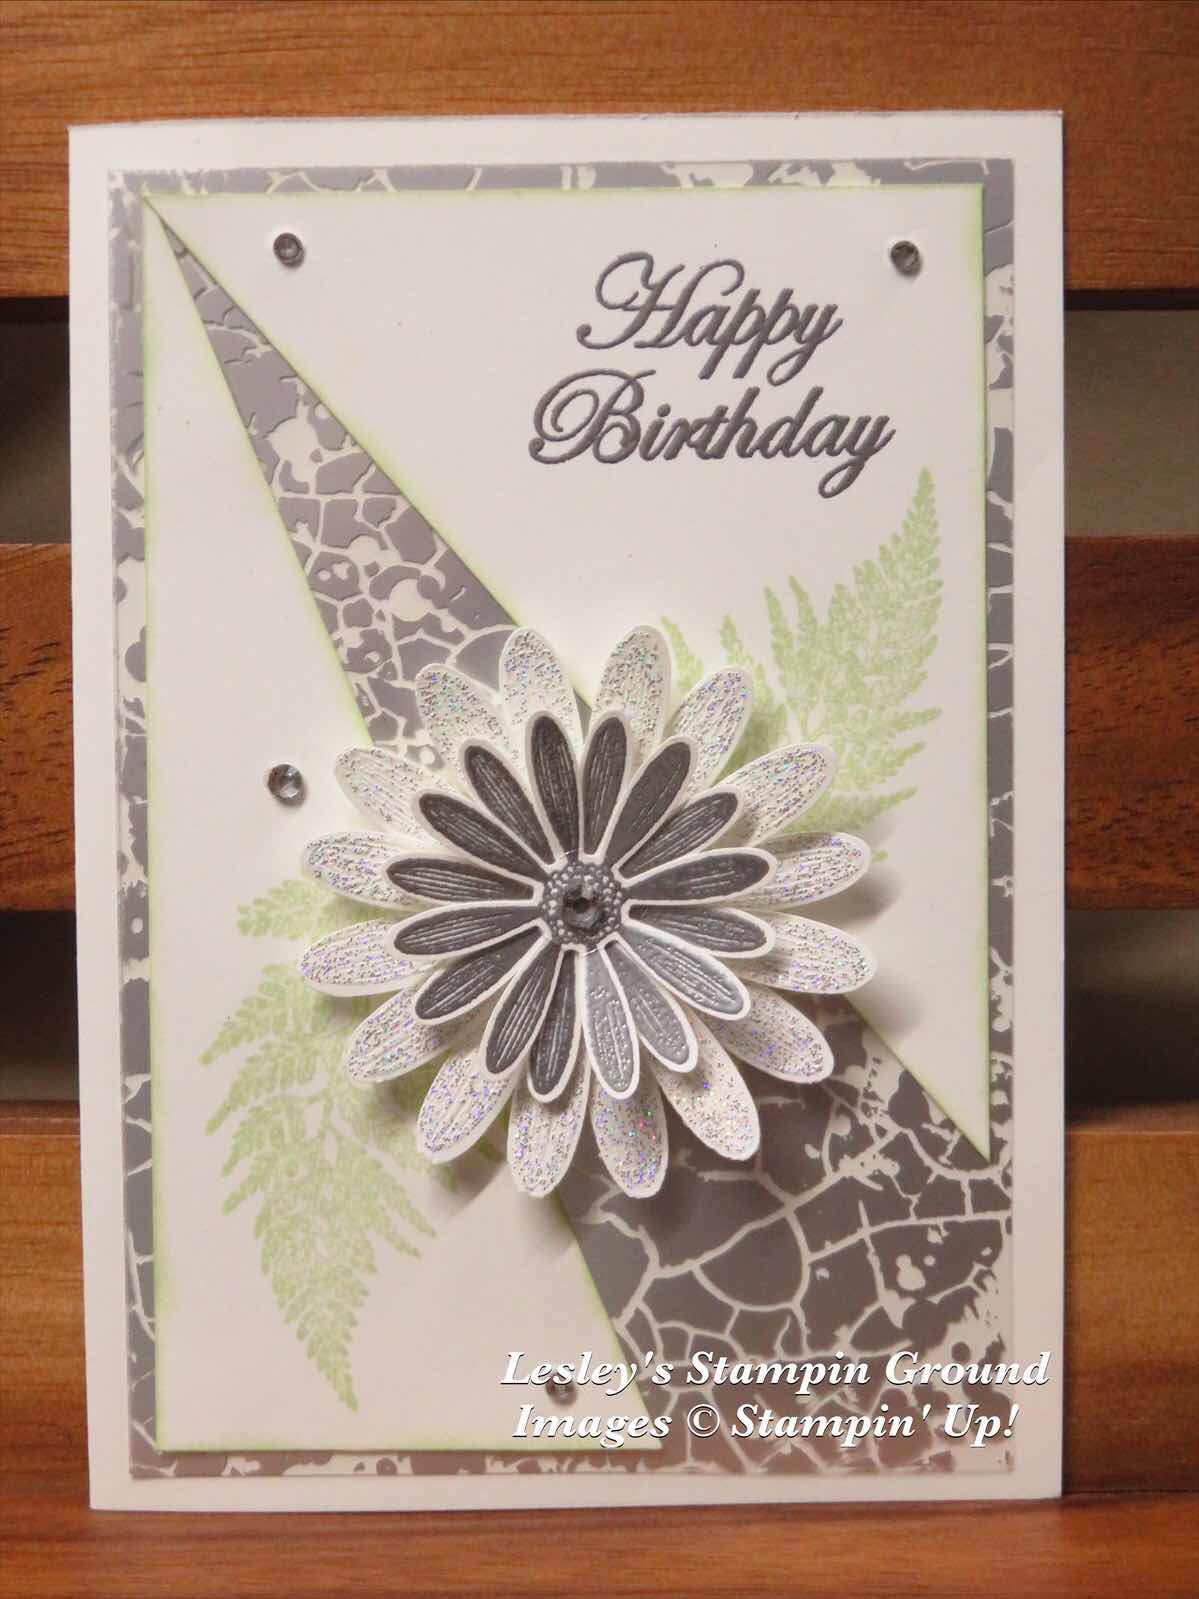
I have made this design a few times recently as it looks so nice and fairly easy to do.


I attached the Mercury Glass Designer Acetate (#150441) to the Whisper White base card (#106549). To cut the Whisper White card front, I measured and made a small mark 3cm from the bottom right corner both vertically and horizontally. From these marks I cut up to the left top corner, which gave me the 2 triangles. I stamped “Happy Birthday” with VersaMark (#102283) and embossed with Silver Stampin’ Emboss Powder (#109131) which needs to be heat set with the Heat Tool (#129056). I stamped the leaves from the Daisy Lane stamp set (#c149325) using Soft Sea Foam ink (#147102). The daisies are also from the Daisy Lane stamp set. The small daisies were heat embossed with Silver Stampin’ Emboss Powder and the large daisies with Shimmer White Stampin’ Emboss Powder (#149511). After setting, these were punched with the co-ordinating Daisy Punch (#143713) and Medium Daisy Punch (#149517). The daisies were assembled using Mini Glue Dots (#103683) and I used a Stampin’ Dimensional (#104430) to attach the flower to the card. Rhinestone Basic Jewels (#144220) were added to the card and flower.

Have a great day.

Friday, 8 November 2019

Daisy Lane

Hello,

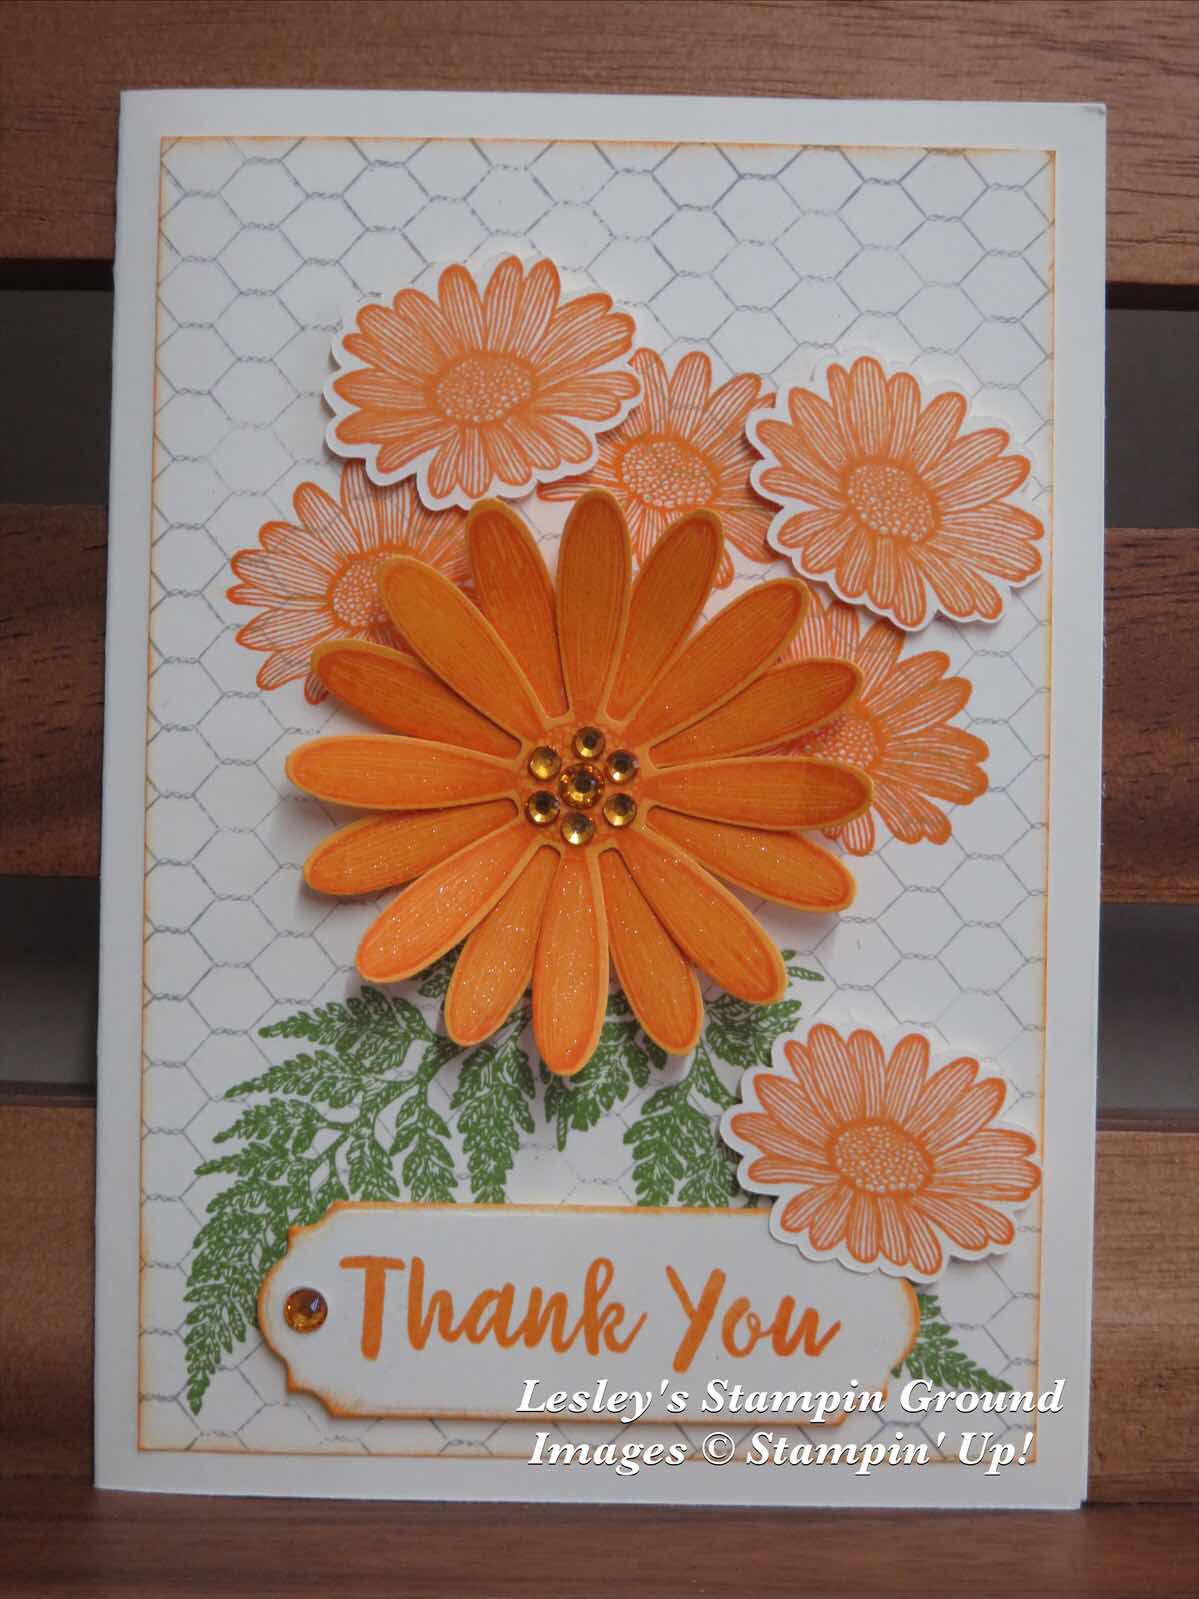
These beautiful daisies are from the Daisy Lane stamp set (#c149325).


The large daisy has been stamped twice with Mango Melody ink (#147093) on Mango Melody card (#147013), then punched with the co-ordinating Daisy Punch (#143713). These were assembled with Mini Glue Dots (#103683). The background was stamped with the All Wired Up background stamp (#c149262) using Smokey Slate ink (#147113). I then stamped 3 of the smaller daisies onto the card front, as well as 3 on separate Very Vanilla card (#106550) and fussy cut these. The daisies were then attached with Mini Stampin’ Dimensionals (#144108). The leaves, also from the Daisy Lane stamp set, were stamped with Old Olive ink (#147090). “Thank You” is from the Abstract Impressions stamp set (#p147513) and I used Mango Melody ink. This was cut with a die from the Ornate Frames (#150664). The Holiday Rhinestones Basic Jewels (#150457) were used on the sentiment and the centre of the large daisy. The base card and card front are Very Vanilla.


Have a great weekend.


Saturday, 5 October 2019

Daisy Lane with Frosted Frames Dies

Hello Ladies & Guys,

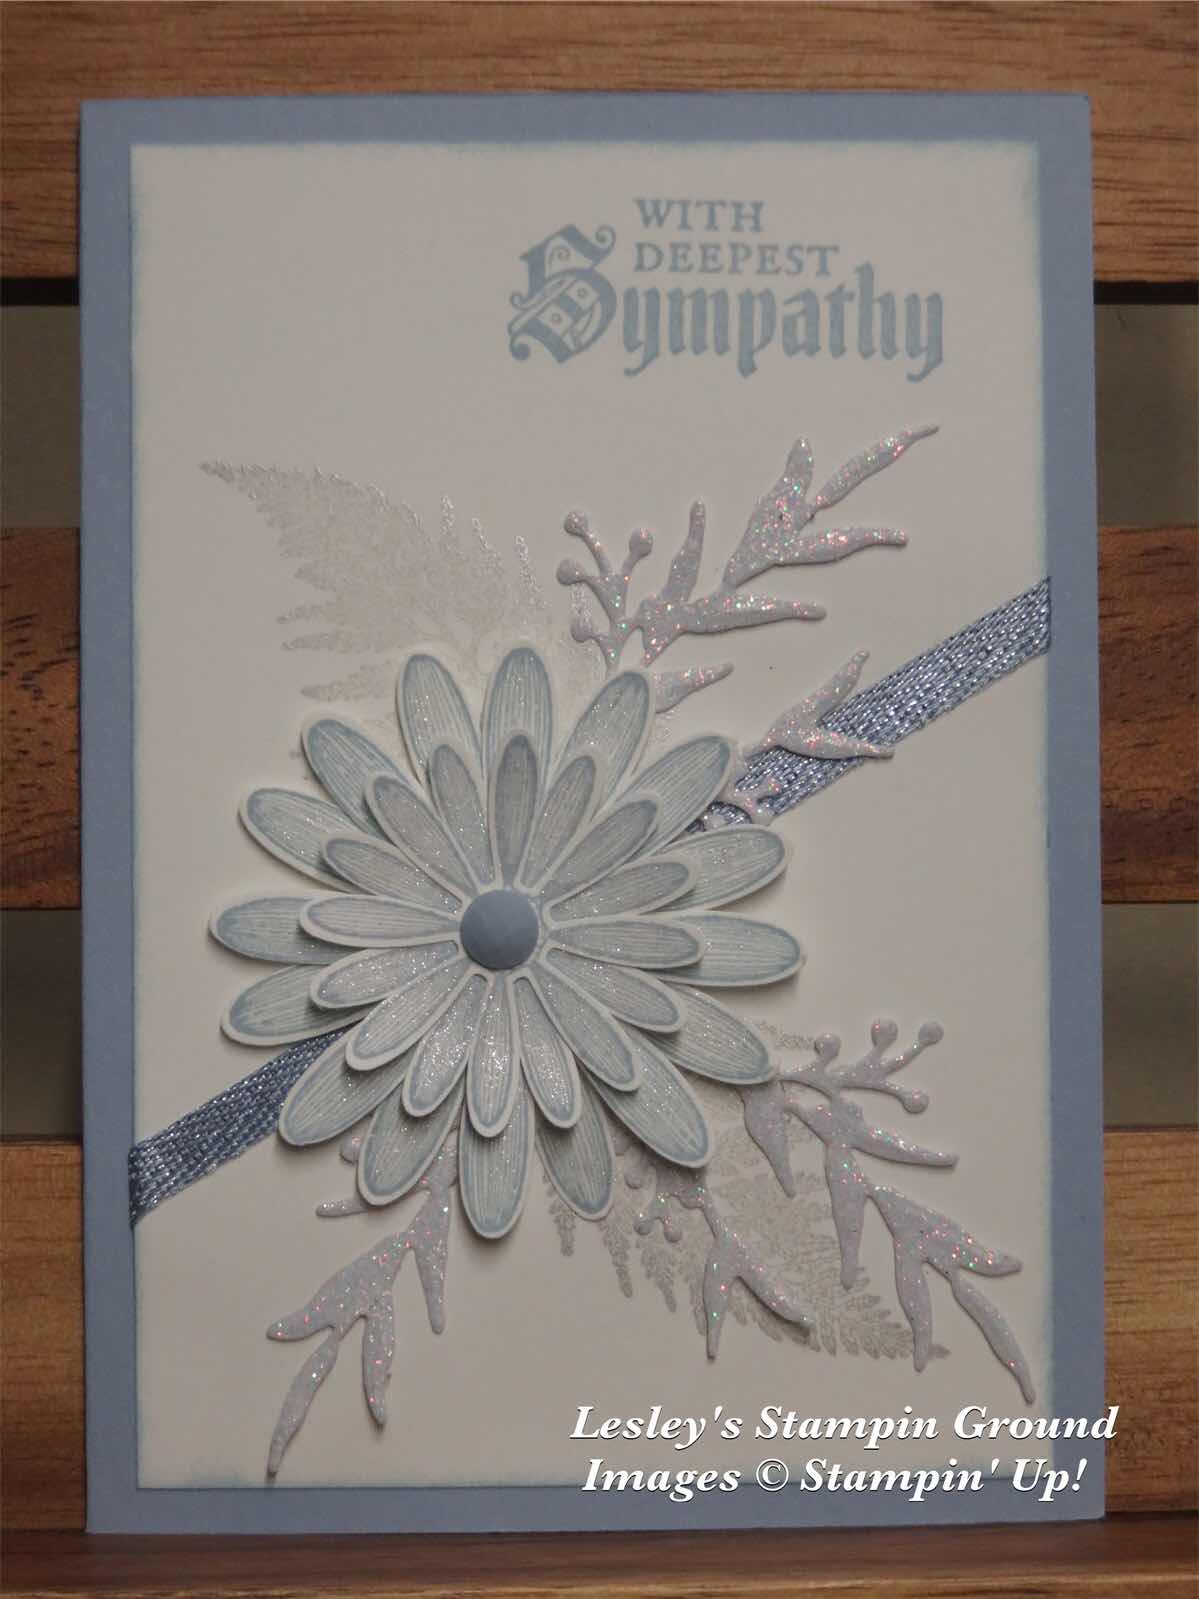
This beautiful Sympathy card could also be used for any special occasion, just by changing the sentiment.


I have used Seaside Spray (#150889) for the base card and Whisper White (#106549) for the card front and the daisies. The sentiment from Painted Glass stamp set (#c148220) was stamped with Seaside Spray ink (#150085), as well as the daisies from Daisy Lane stamp set (#c149325). I stamped 2 large and 2 small daisies, then punched them with the Daisy Punch (#143713) and Medium Daisy Punch (#149517) and assembled them with Mini Glue Dots (#103683) and a Stampin’ Dimensional (#104430). The leaves from Daisy Lane stamp set were stamped with Silvery Shimmer Delicata Metallic Ink (#150709). The Sparkle Glimmer Paper (#146957) leaves were cut with a die from the Frosted Frames Dies (#150658) and attached to the card with Mini Glue Dots. The ribbon is Seaside Spray 1/4” Metallic Ribbon (#150446) and the embellishment in the centre of the flower is from the 2019-2021 In Colour Faceted Dots (#149607). I added glitter to the daisies with the Clear Wink Of Stella Glitter Brush (#141897).

I hope you have a fantastic weekend.


Thursday, 26 September 2019

Floral Essence & Daisy Lane

Hi again,

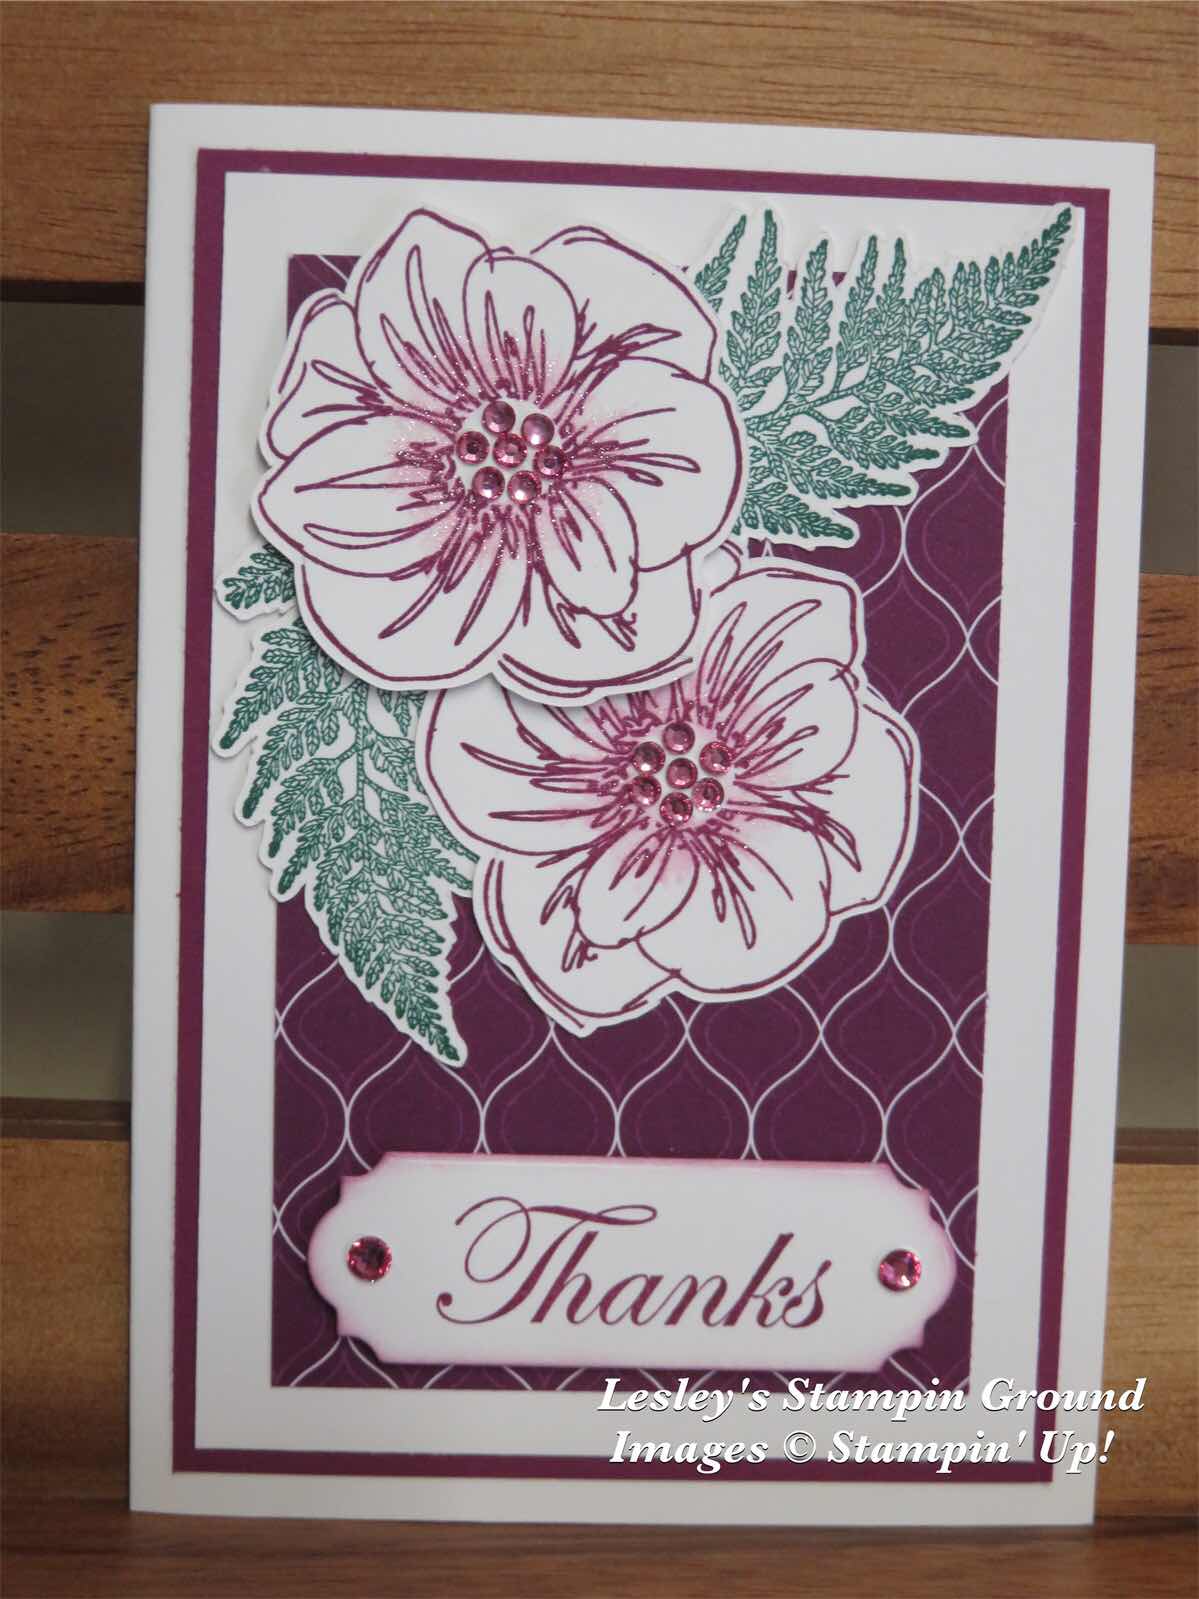
A break again today from Christmas cards. The flowers are from the Floral Essence stamp set (#p149450) and the leaves are from the Daisy Lane stamp set (#c149325), which are both from the Annual Catalogue.


The flowers and sentiment were stamped with Rich Razzleberry ink (#147091). I used Shaded Spruce ink (#147088) for the leaves. The flowers and leaves were fussy cut and the sentiment was cut with a die from the Ornate Frames Dies (#150664). “Thanks” is from the Good Morning Magnolia stamp set (#149298). The cardstock is Whisper White (#106549) and Rich Razzleberry (#119981) and the Designer Series Paper is from the Regals 6”x6” Designer Series Paper (#149616). The embellishments are from the Holiday Rhinestones Basic Jewels (#150457). I added some glitter to the flowers with the Clear Wink Of Stella Glitter Brush (#141897). This caused “bleeding” of the ink, but that’s what I wanted, so there was some subtle colour around the centre of the flower. The sentiment and one flower were attached with Stampin’ Dimensionals (#104430).

Have a great day.

Saturday, 21 September 2019

See A Silhouette Designer Series paper

Hi everyone,

A beautiful bright birthday card using the See A Silhouette Designer Series Paper (#149443). This DSP is one of the packs which is part of this months special - buy 3 Designer Series Paper packs and get the 4th one free. Scroll to the bottom to find the eligible packs.


The base card is Mango Melody (#147013). I stamped the daisies from Daisy Lane stamp set (#c149325) using Mango Melody ink (#147093) on Mango Melody card. These were punched with the Daisy Punch (#143713) and Medium Daisy Punch (#149517) and assembled with Mini Glue Dots (#103683). The leaves are cut and embossed with dies from the Nature’s Roots Dies (#146341) on Granny Apple Green card (#147014). I stamped the sentiment from the Delightful Day stamp set (#p149466) with Mango Melody ink on Whisper White card (#106549).  This was cut with a Stitched  Label Die (#146828). The embellishments are from the Holiday Rhinestone Basic Jewels (#150457).

These are the Designer Series Paper included in this months special -


I hope you are enjoying your weekend.


Thursday, 4 July 2019

Daisy Lane

Hi ladies & guys,

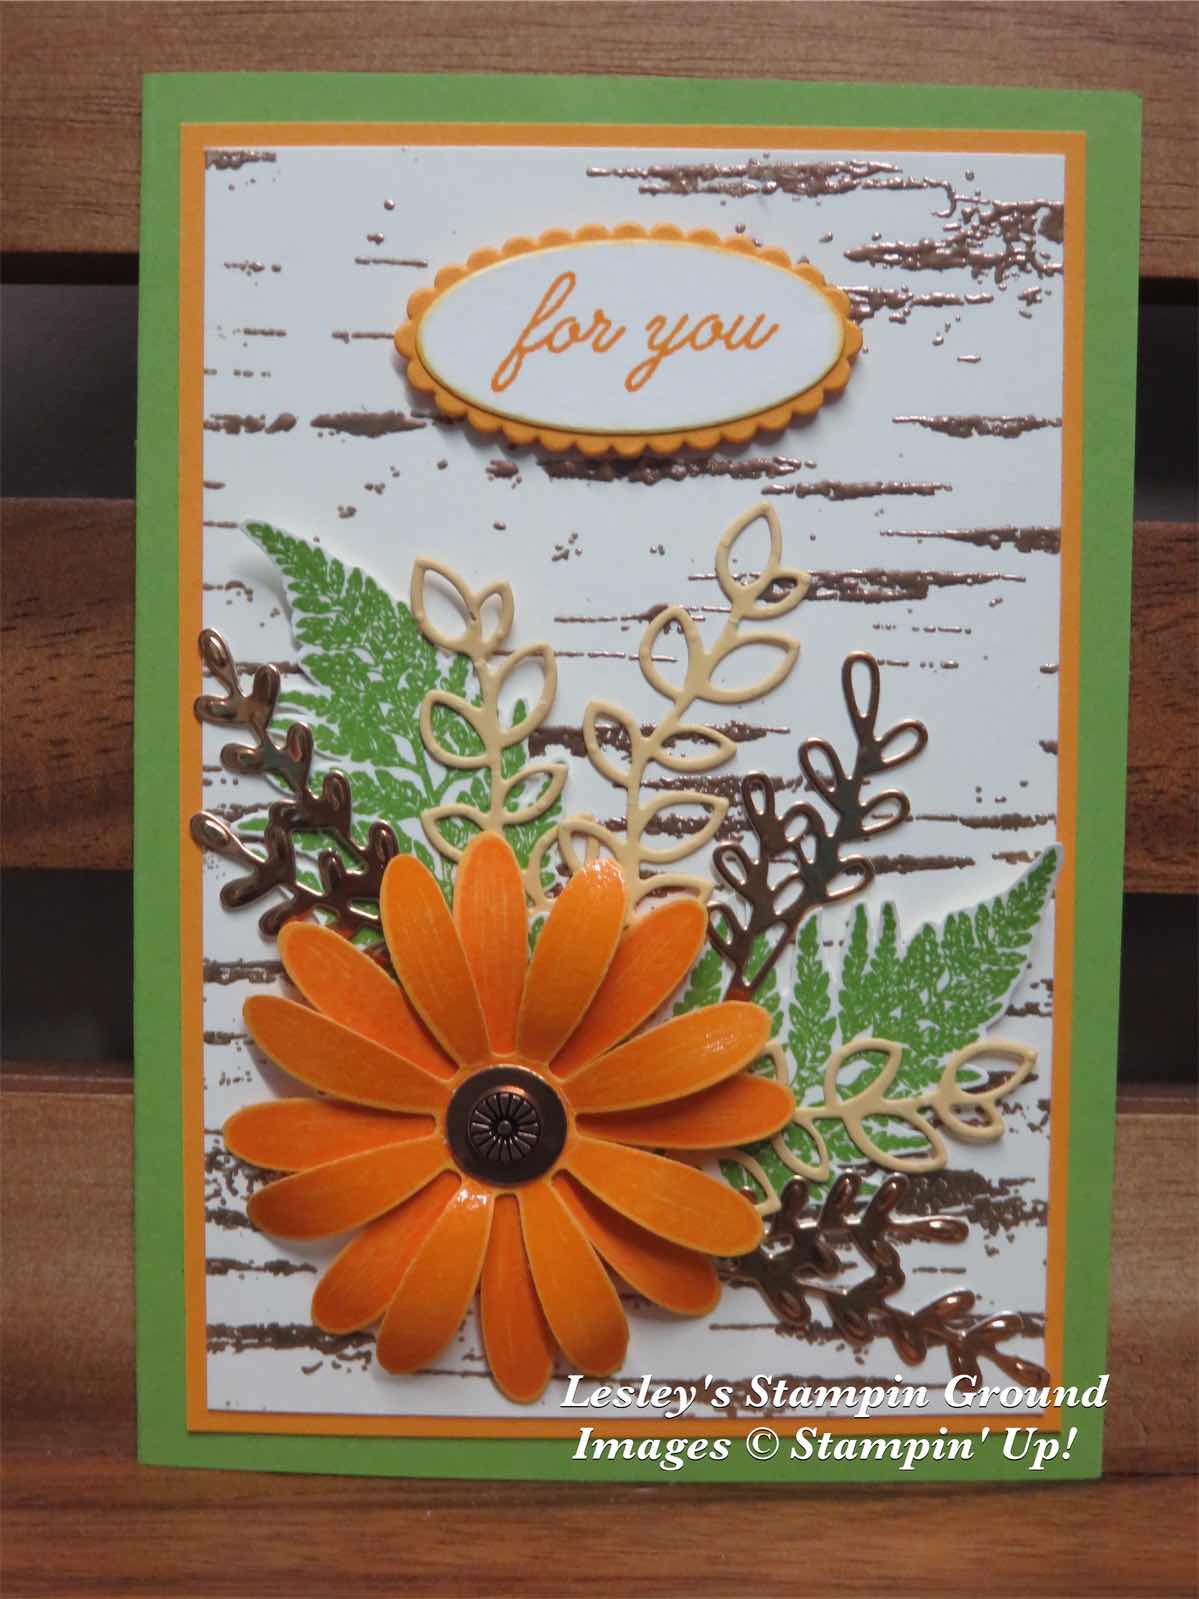
The Daisy Lane stamp set (#c149325) is one of my favourites and has been used for the daisy and green leaves.


Granny Apple Green card (#147014) has been used for the base card. The next layer is Mango Melody (#147013) and the top layer is Very Vanilla (#106550). I stamped the Birch Background (#149256) with VersaMark (#102283) and added the Copper Stampin’ Emboss Powder (#141636) and  set with the Heat Tool (#129056). I stamped the daisy twice using VersaMark onto Mango Melody card and added the Clear Stampin’ Emboss Powder and heat set, then put these together with Mini Glue Dots (#103683). The leaves were stamped with Granny Apple Green ink (#147095) then fussy cut. I used dies from the Detailed Peacock Dies (#149582) to cut the leaves from Copper Foil Sheets (#142020), and dies from Detailed Bands (#149549) for the leaves cut from So Saffron card (#108611). The fine leaves were attached with the Fine Tip Glue Pen (#138309). I used the 1/2” Circle Punch (#119869) to punch the copper foil for the centre of the flower, then added a copper Designer Element (#149586) on top. I used a bone folder (#102300) to shape the petals of the daisy, then attached this with a Stampin’ Dimensional (#104430). “For You” is from Beauty Abounds stamp set (#c148726) and stamped with Mango Melody ink (#147162). The ovals were cut with the Layering Ovals Dies (#141706) and attached with Stampin’ Dimensionals.

 Enjoy your day.


Tuesday, 2 July 2019

Daisy Lane Bundle

Hello,

I do like a bit of glitter, so today I have used the beautiful new Shimmer White Stampin’ Emboss Powder (#149511) for the daisies.


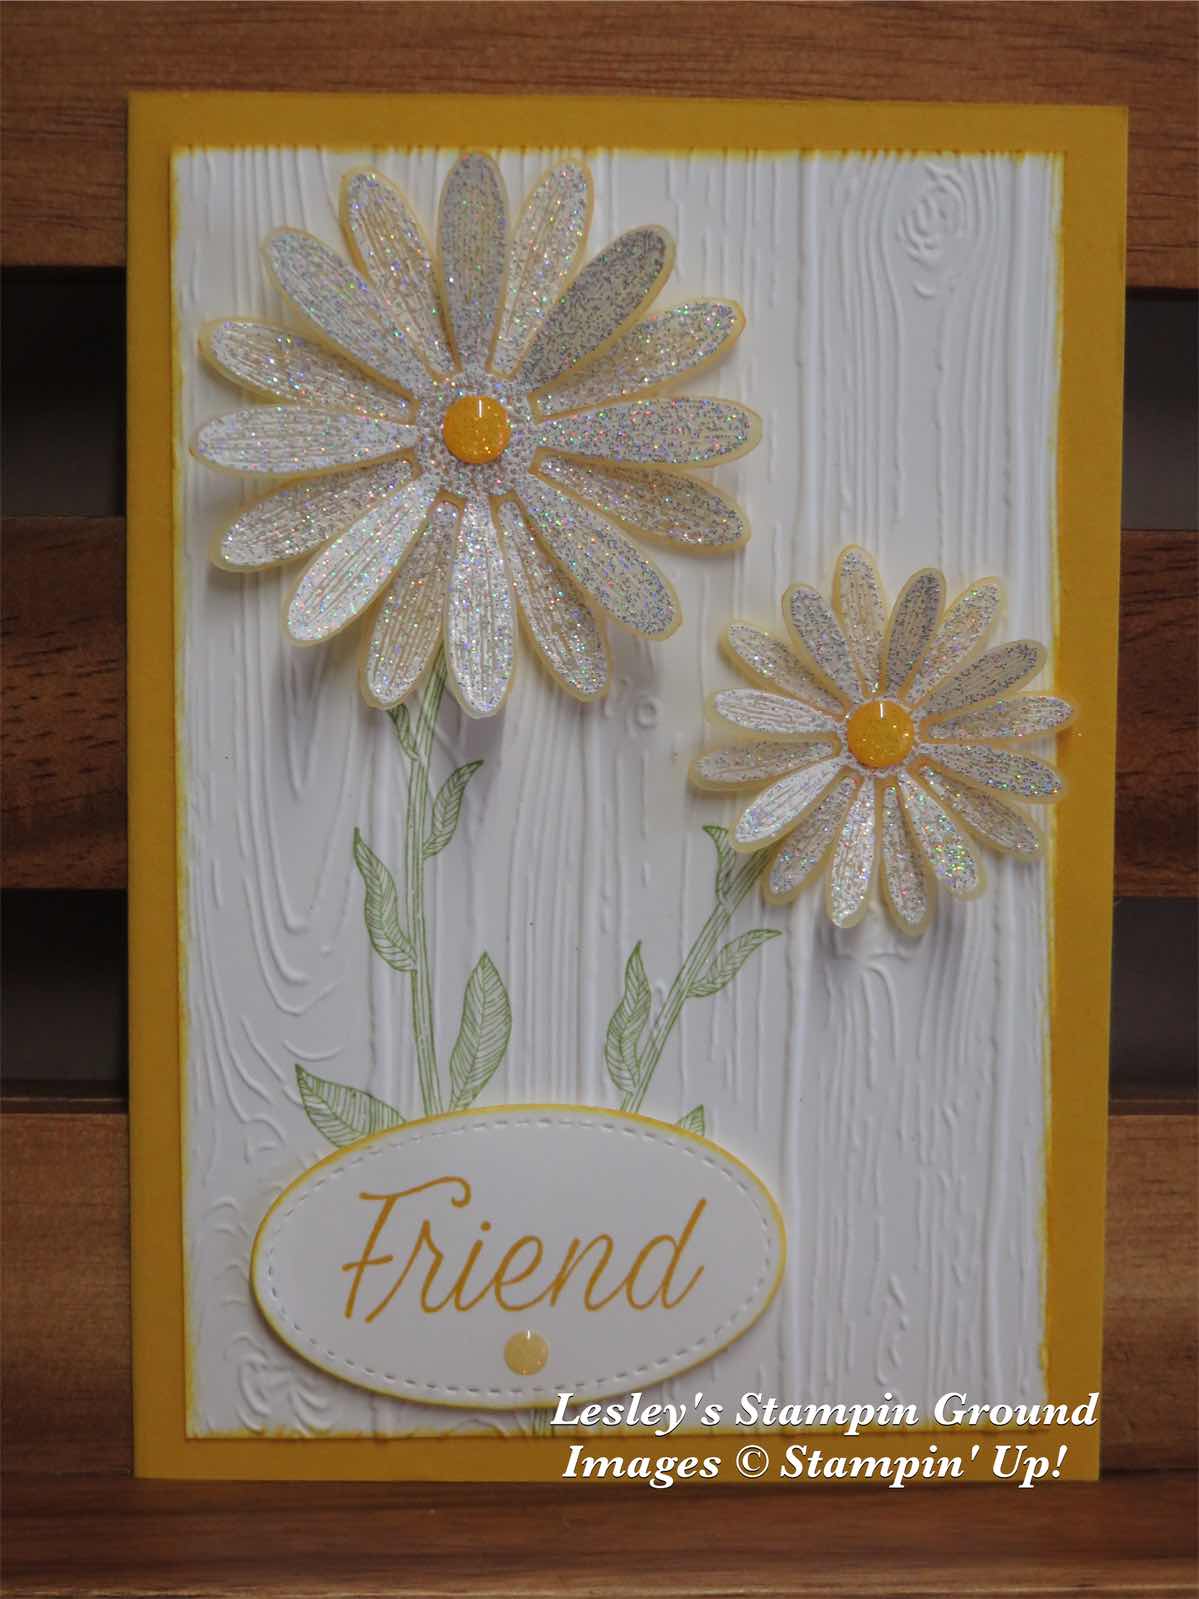
The daisies are from the Daisy Lane stamp set (#c149325) and punched with the Daisy Punch (#143713) and the Medium Daisy Punch (#149517). These were stamped onto Vellum cardstock (#106584) with VersaMark (#102283), added the Shimmer White embossing Powder and heat set with the Heat Tool (#129056). I then coloured on the back of the flowers with the Dark Mango Melody Stampin’ Blends (#147943). An alternative would be to stamp on the So Saffron Perennial Essence Vellum (#149101) and you wouldn’t need to colour them. I stamped the stem with Pear Pizzaz ink (#147104) onto the Whisper White card (#106549). I then embossed this with the Pinewood Planks 3D Embossing Folder (#152320). The daisies were attached to the card with Stampin’ Dimensionals (#104430). “Friend”, from the Daisy Lane stamp set was stamped with Crushed Curry ink (#147087) and cut with an oval from the Stitched Shapes Dies (#145372). I added the Glitter Enamel Dots (#146934) to the flowers and sentiment. The base card is Crushed Curry (#131288).


Have a great day.