Showing posts with label #manylayeredblossomsdies. Show all posts

Monday, 26 July 2021

Many Layered Blossoms

Hi,

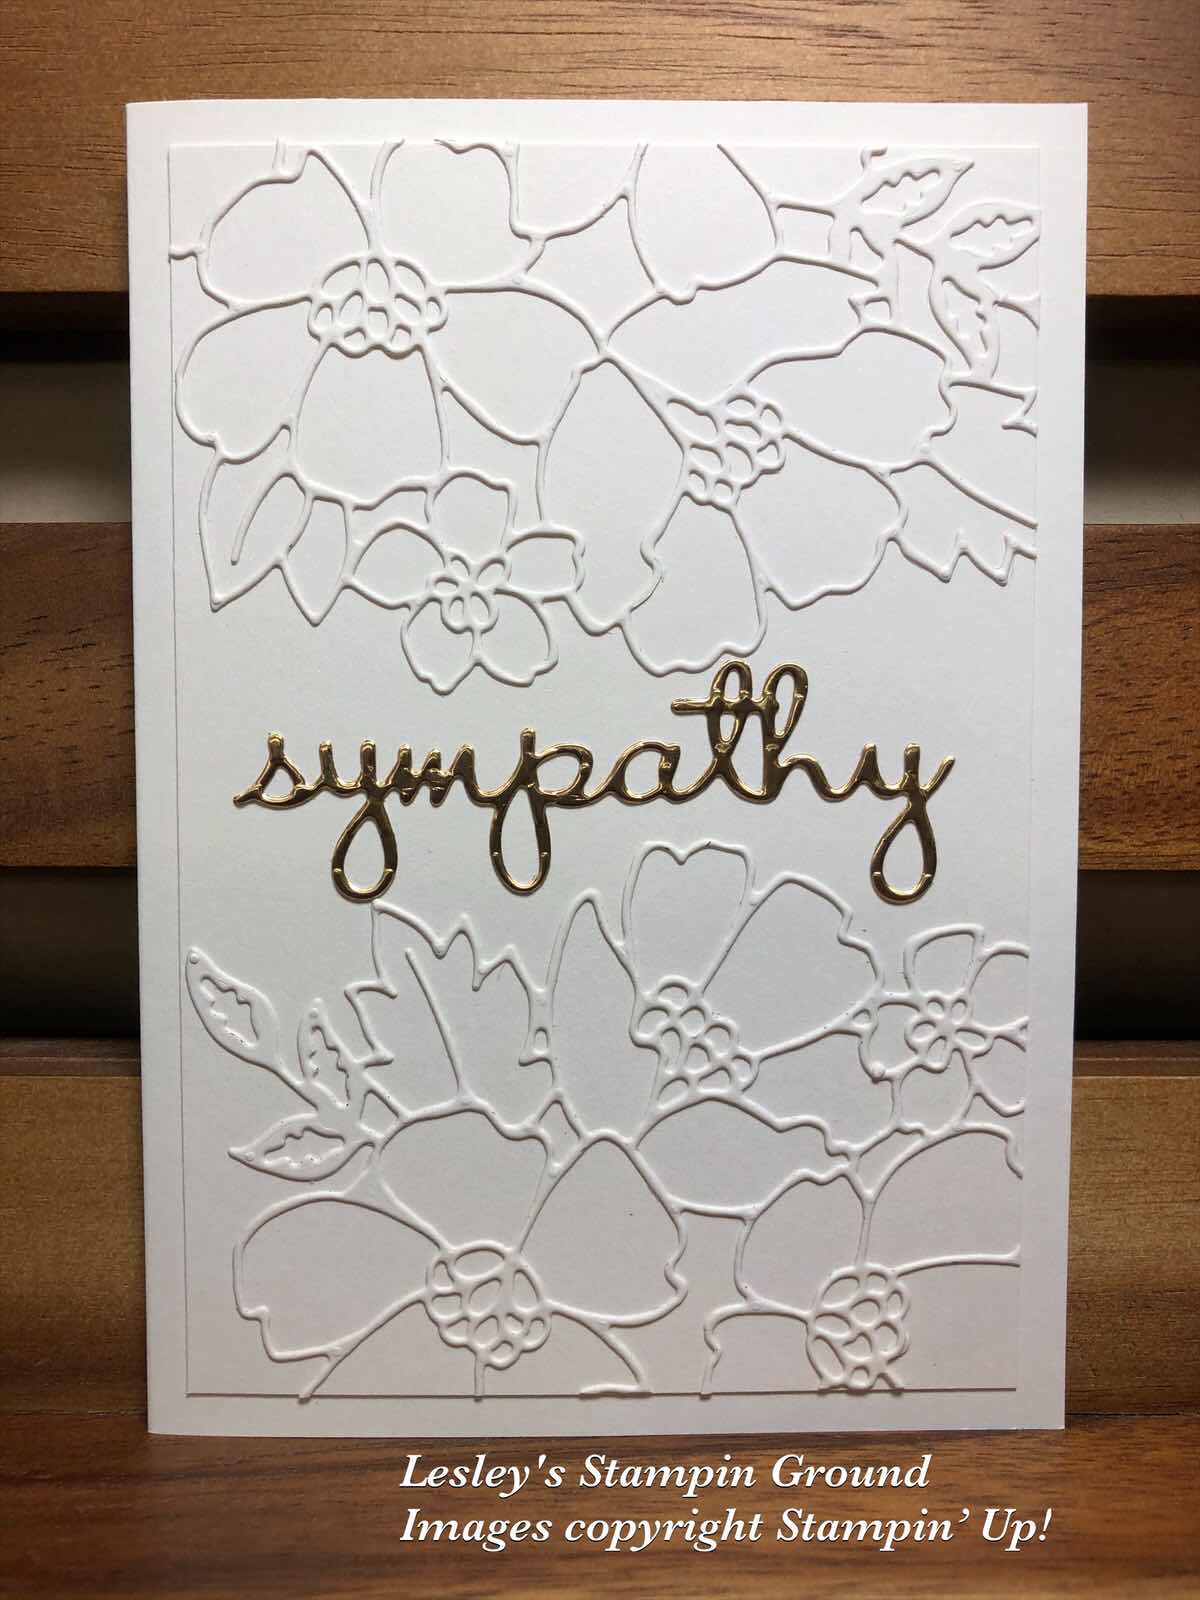
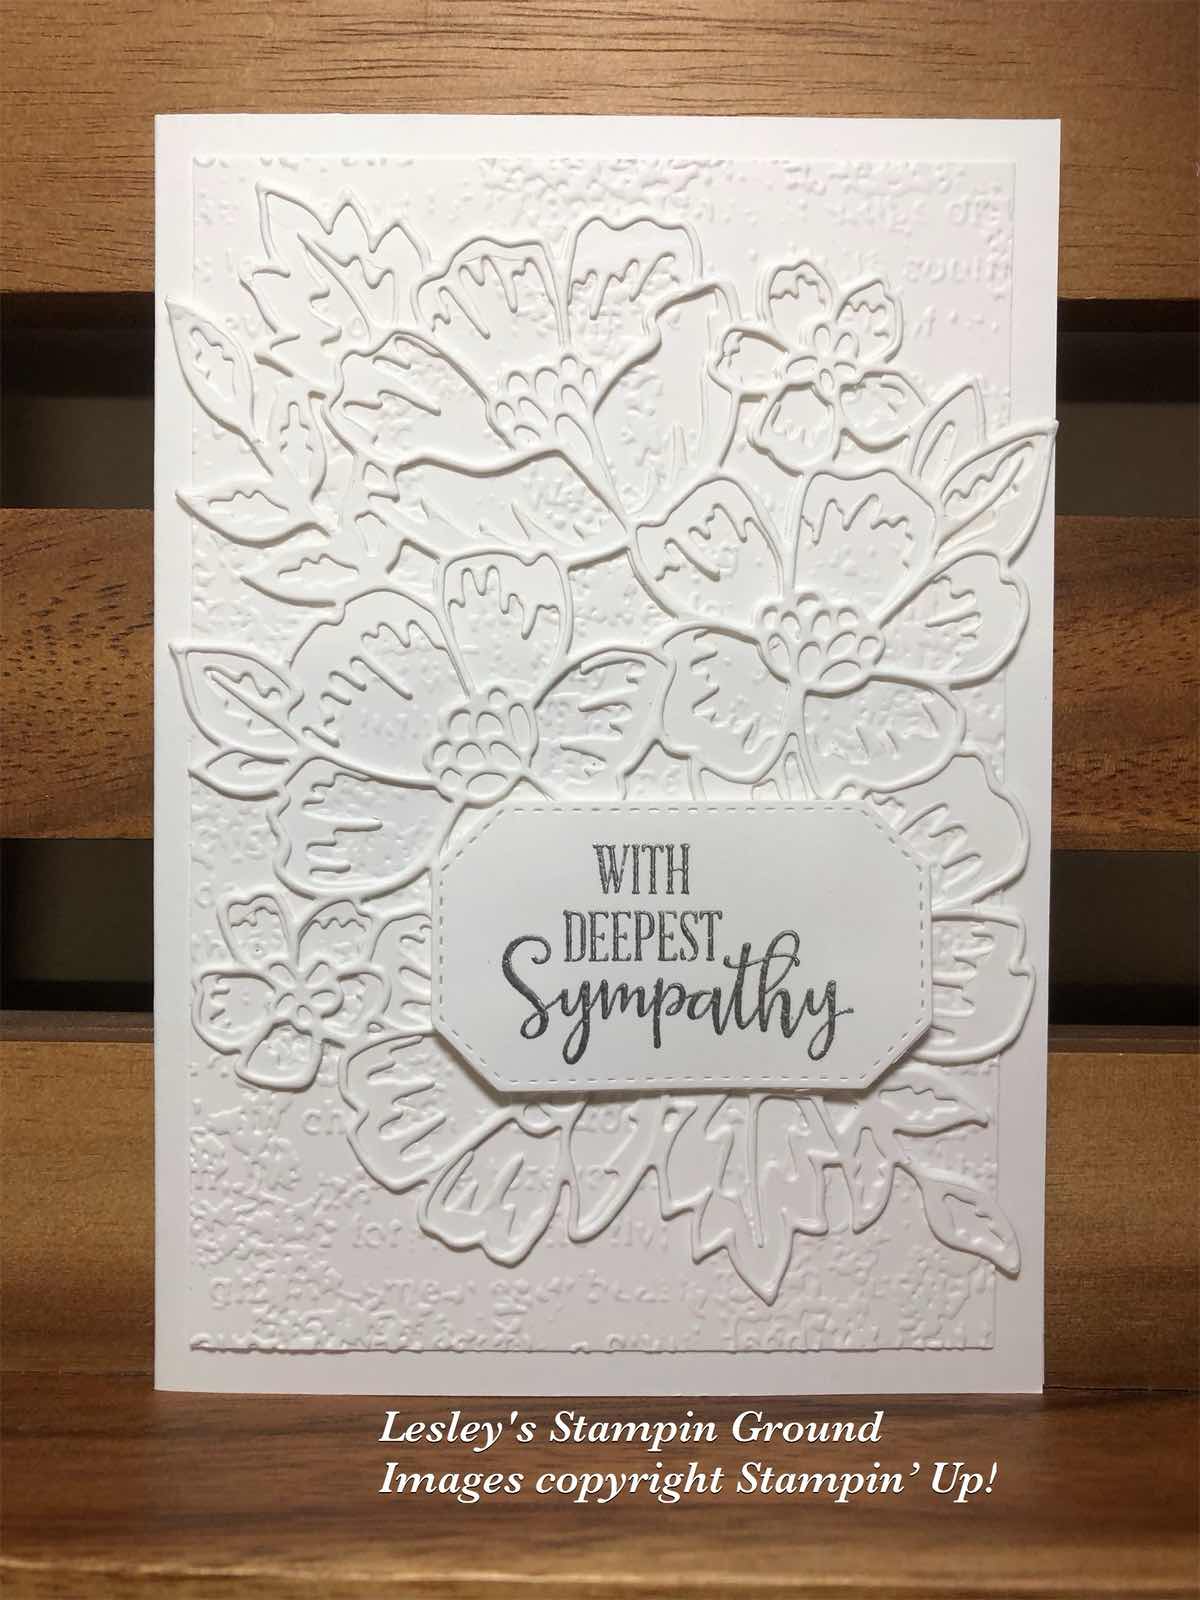
Something different with an all white card, except for the sentiment, for this beautiful sympathy card.


The card stock is Basic White (#159228). I embossed the cardfront with the Timeworn Type 3D Embossing Folder (#156505) which will be available from the new Mini catalogue from 3rd August. I then attached an Adhesive Sheet (#152334) to the back of another piece of Basic White card and cut the 2 floral images using dies from the Many Layered Blossoms (#153582) and attached them together, then to the card.

The sentiment is from the Peaceful Moments stamp set (#151595) and stamped with VersaMark (#102283) and heat embossed with Silver Stampin’ Emboss Powder (#155555) and set with the Heat Tool (#129056). This was cut with a Hippo & Friends Die (#153585) and attached to the card with Stampin’ Dimensionals (#104430).

“Love what you do and share what you love.”


Tuesday, 17 November 2020

Many Layered Blossoms

Hi again,

I hope you saw the card I posted 2 days ago, as this is a follow on from that card. I had the outline part left over of the purple velveteen card so I used it on this card. It’s great to be able to use all the pieces from the die-cut.
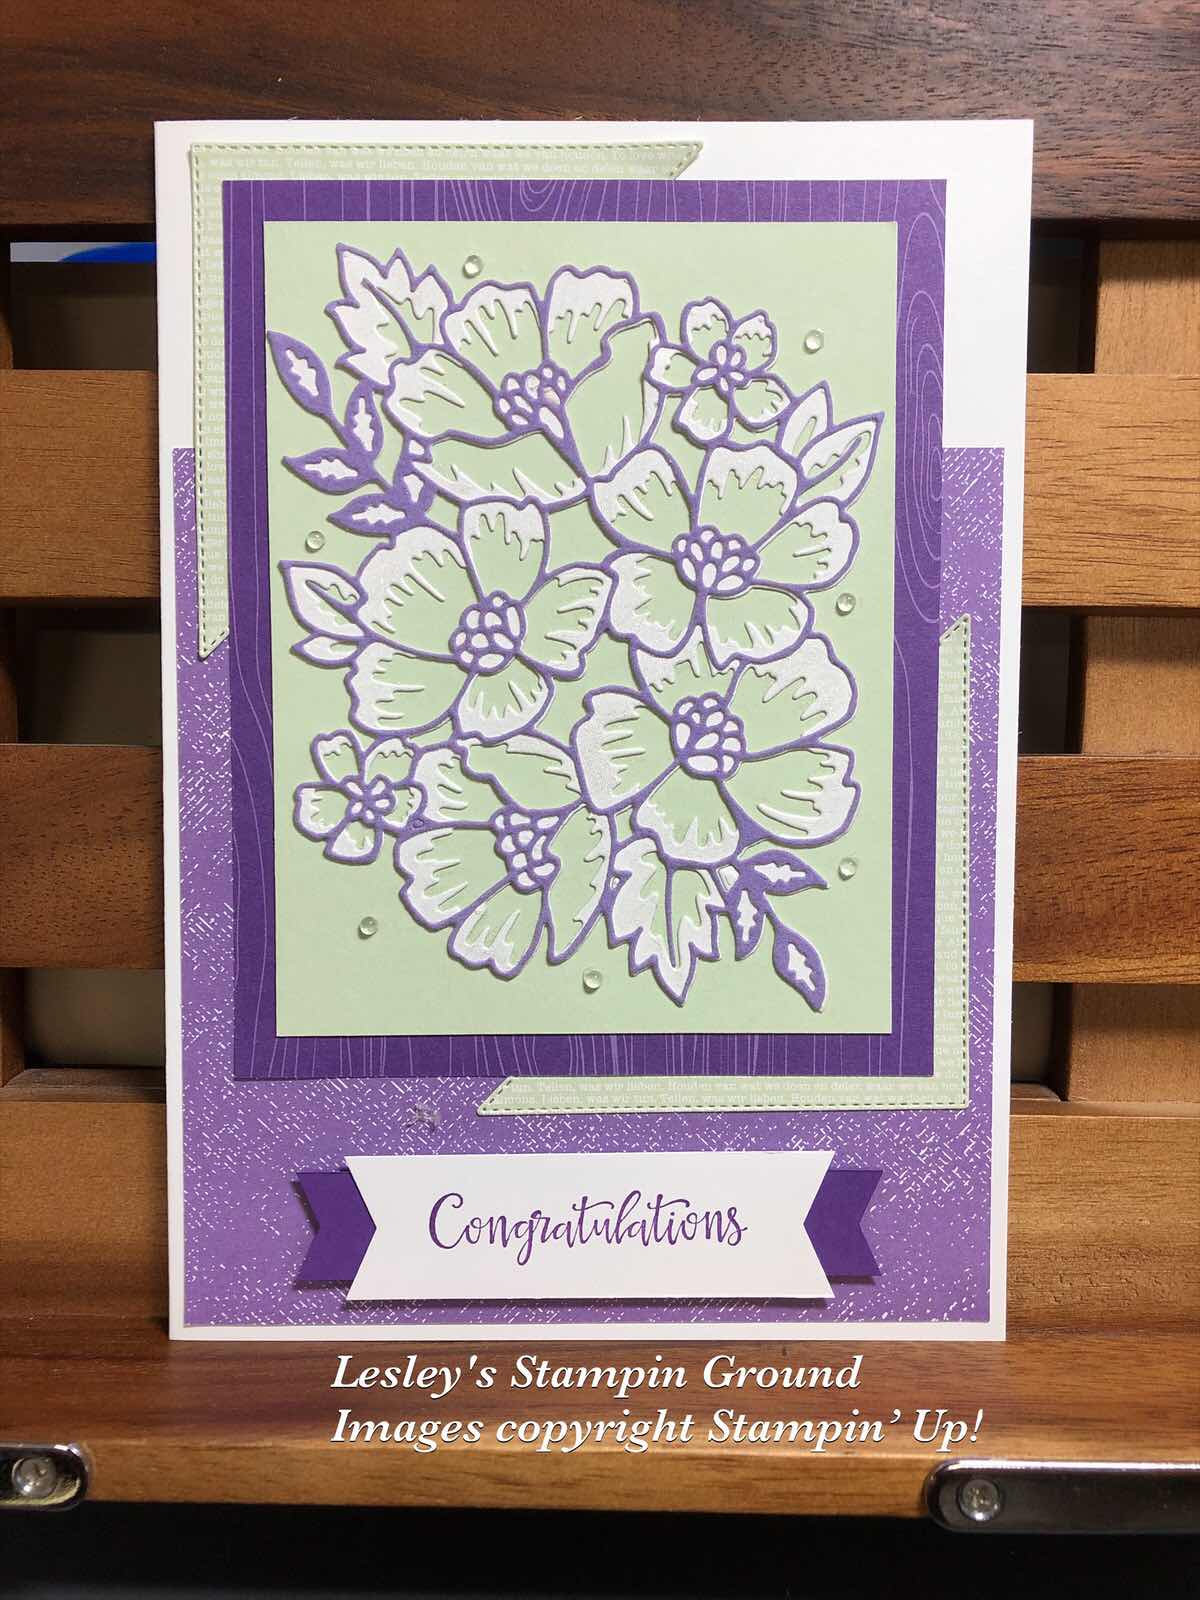


For the previous card I had cut the Highland Heather card from the Color Velveteen Paper Pack (#153557) using the die from the Many Layered Blossoms (#153582). In the previous card I used all the inside pieces, so I was left with the outline of the Highland Heather card. I did have Adhesive Sheets (#152334) adhered to the back of this before cutting to make it easy to attach all the pieces. I cut a piece of Whisper White card (#106549) using the other co-ordinating die, then attached the outline die-cut piece to the white card. This was then attached to the Soft Seafoam card (#147012). I matted this with a piece of the Gorgeous Grape from the Brights 6”x6” Designer Series Paper (#152487). I cut the triangle using a Stitched Triangles Die (#152710) from the Soft Seafoam which is from the Subtles 6”x6” Designer Series Paper (#153072). The Highland Heather Designer Series Paper is also from the Subtles DSP and this was attached to the Whisper White base card. The size of this card is A4 which is folded in half. 
“Congratulations” is from the Peaceful Moments stamp set (#151595) and was stamped with Gorgeous Grape ink (#147099). Each end of this as well as the Gorgeous Grape card were punched with the Banners Pick A Punch (#153608). The sentiment was attached to the card with Stampin’ Dimensionals (#104430).
To complete the card I added glimmer to the white areas of the flowers using the Clear Wink Of Stella Glitter Brush (#141897) and added the clear gems from the Flowers For Every Season Gems (#153645). These were glued using the Fine-Tip Glue Pen (#138309).


“Love what you do and share what you love.”


Have a fantastic day!!
Sunday, 15 November 2020

Many Layered Blossoms Dies

Hello,

This card is a larger card using a full sheet of A4 Whisper White card (#106549) and folding it in half for the base card. The die I used is almost the full size of a normal sized card and I wanted some extra colour on the card so this was the best way to achieve this.


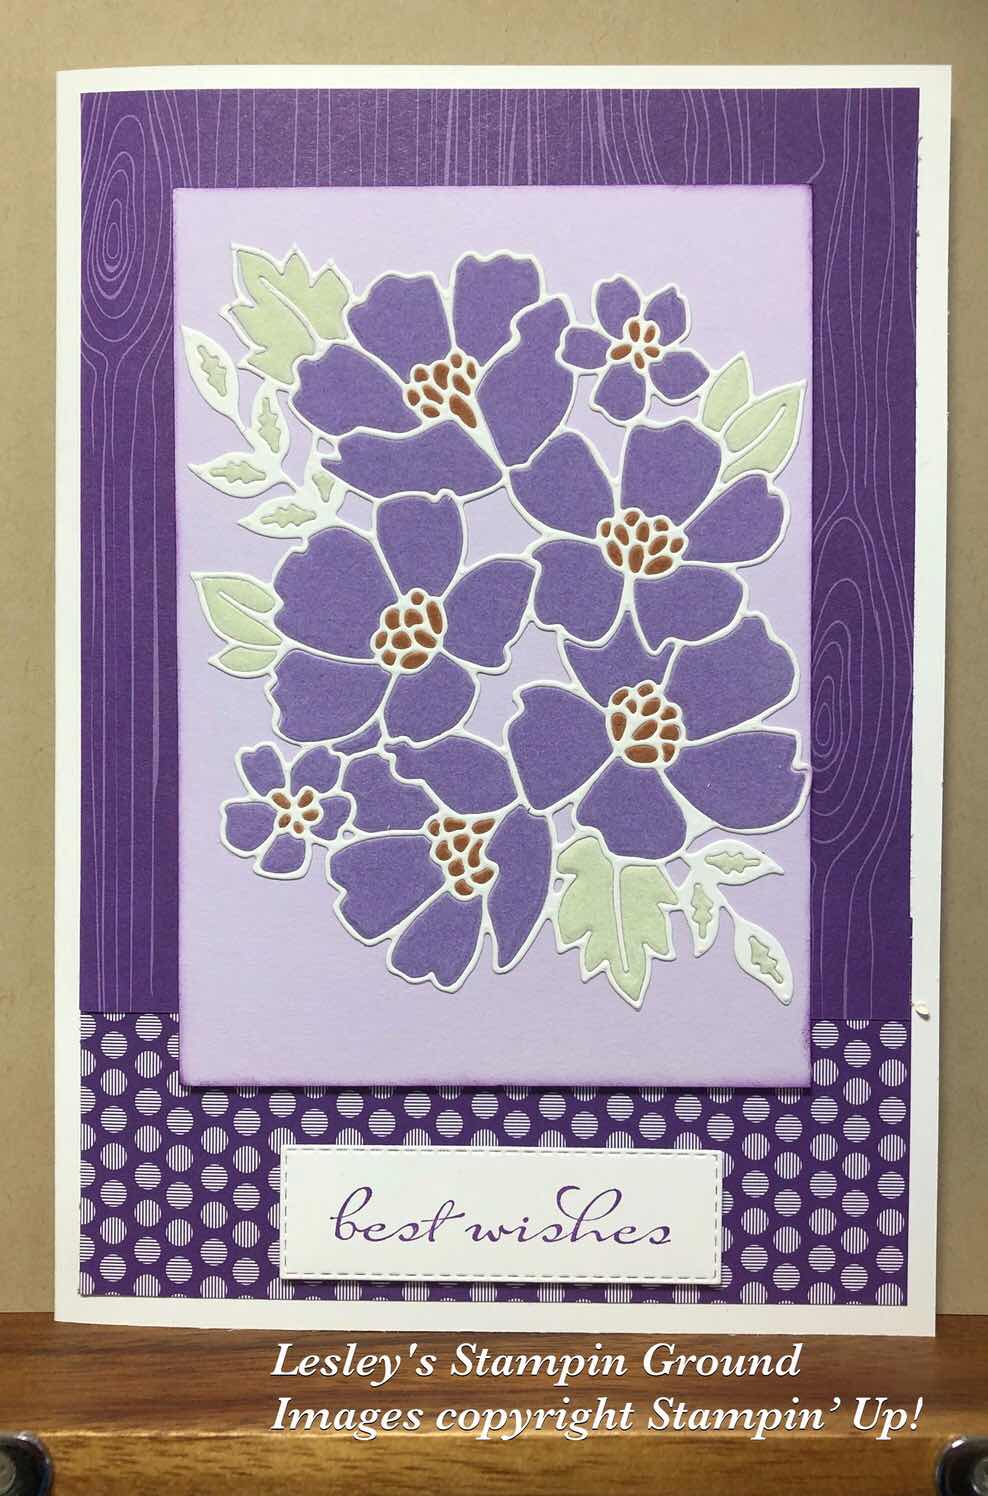
I adhered the Adhesive Sheets (#152334) to some Whisper White card, and the 3 colours in the Color Velveteen Paper Pack (#153557). I then cut each of these with a die from the Many Layered Blossoms Dies (#153582). I attached the Whisper White outline to a piece of Purple Posy card (#150887), then added each of the coloured pieces into the corresponding spaces. This takes a bit of time but the final results are worth it.
The Designer Series Paper is Gorgeous Grape from the 6”x6” Brights Collection (#152487). I stamped “best wishes” from Borders Abound stamp set (#152627) and this was cut with a Stitched Rectangles Die (#151820). The sentiment and card front were attached with Stampin’ Dimensionals (#104430).

I hope you have a great day.

“Love what you do & share what you love.”


Thursday, 12 November 2020

Many Layered Blossoms Dies

Hi friends,

When I make a sympathy card I like to make it simple but elegant, so I have used the beautiful Many Layered Blossoms Dies (#153583) on this card and it is stamp free.


I adhered the Adhesive Sheets (#152334) on the back of the Shimmery White cardstock (#121717) then cut the flowers with a die from the Many Layered Blossoms Dies. I cut the die cut flowers in half and attached the pieces to the Shimmery White card front and trimmed the pieces that extended over the edge.
“Sympathy” is cut with a Well Written Die (#151816) from Brushed Metallic 12”x12” cardstock. This was also backed with Adhesive sheets and attached to the card. The base card is also Shimmery White card.

How easy is that. It could also be used for a wedding or anniversary card just by changing the sentiment.

Have a great day.

“Love what you do and share what you love”.


Thursday, 17 September 2020

Many Layered Blossoms

Hello,

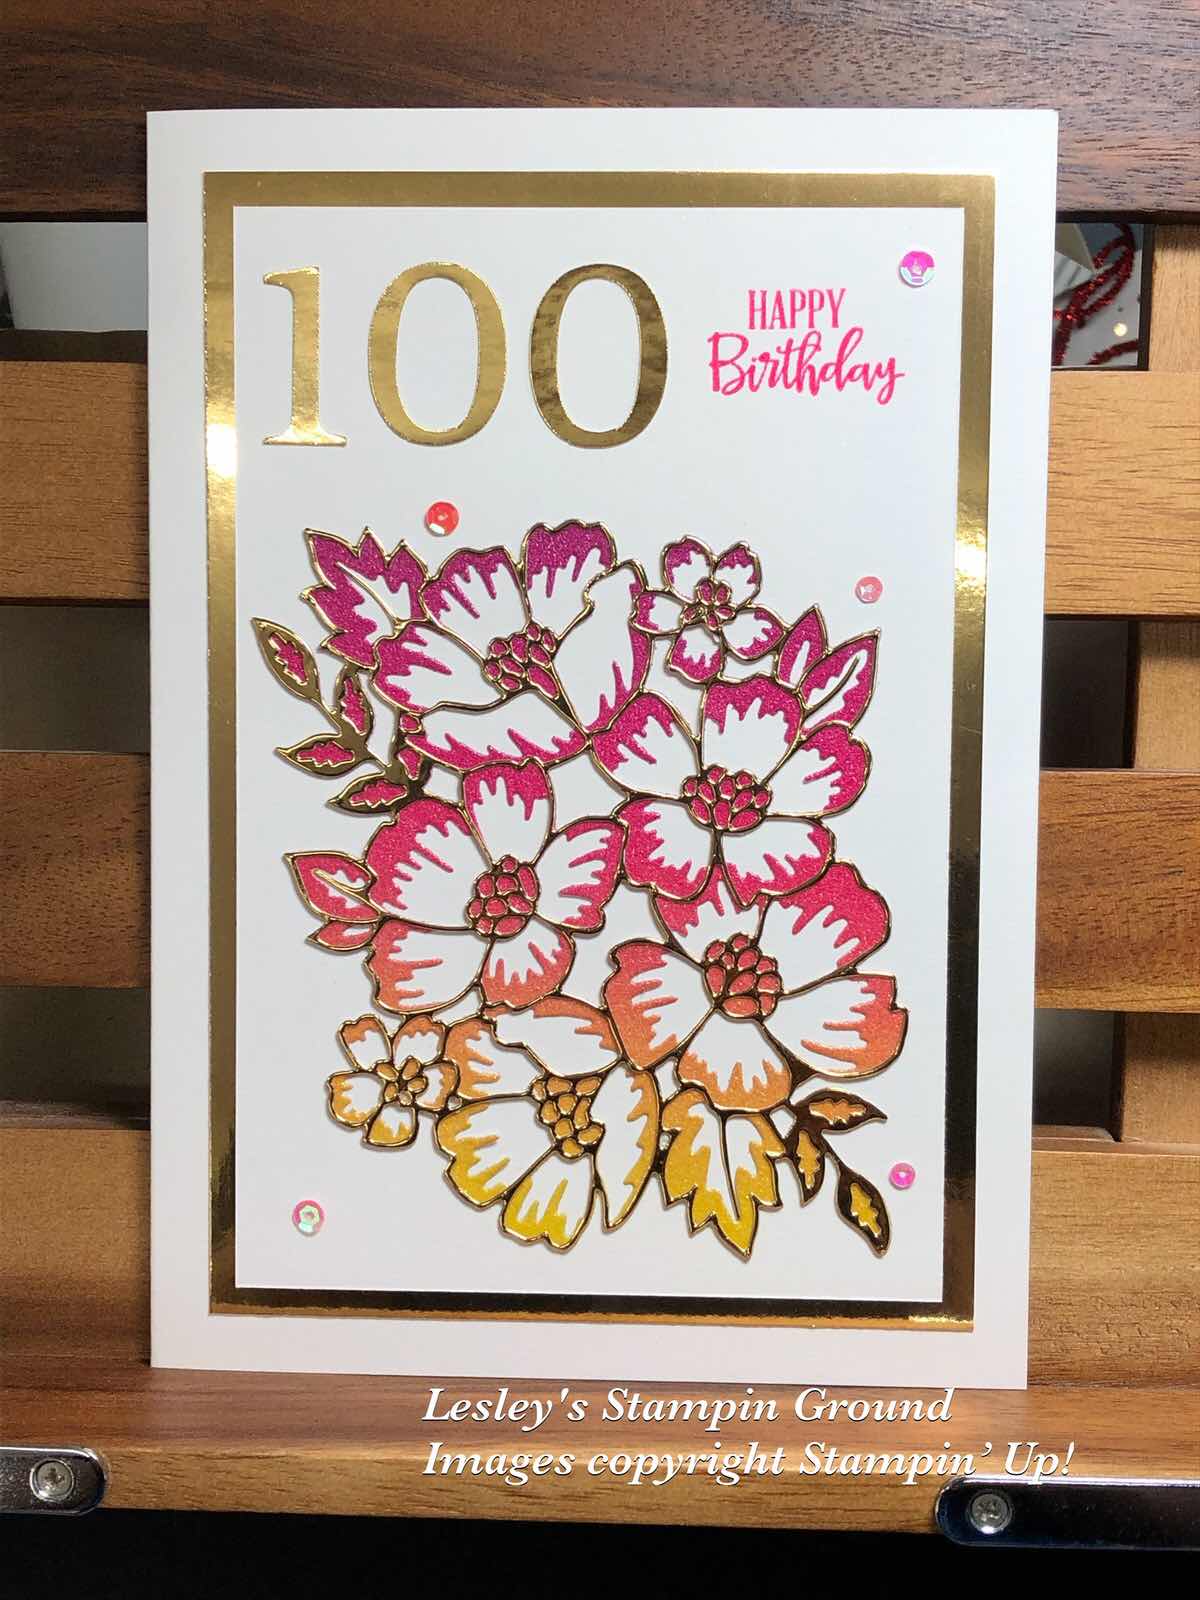
I was asked to make a birthday card for a lady turning 100, so I hope she likes it.


I used the Shimmery White card (#121717), using the whole sheet and folding in half for the base card. I adhered the Adhesive Sheets (#152334) to the back of the Rainbow Glimmer Paper (#153056) and Brass Foil Sheets (#153057) before cutting the flowers using the Many Layered Blossoms Dies (#153582). The sentiment from the Peaceful Moments stamp set (#151595) was stamped with Magenta Madness ink (#153117), then re-stamped with VersaMark (#102283) and Heat embossed with Clear Stampin’ Emboss Powder (#109130) and set with the Heat Tool (#129056). The Stamparatus (#148187) is the perfect tool to be able to heat emboss in any colour like this. The cardfront was attached to a piece of the Brass Foil. Sequins from The Woven Threads Sequin Assortment (#149498) were attached to the card using the Fine-Tip Glue Pen (#138309).

Enjoy your day!!


Sunday, 5 July 2020

Blossoms In Bloom Bundle

Welcome again,

I am loving the variety which can be achieved with this beautiful bundle - the Blossoms In Bloom bundle (#p154123).


I placed the floral image from the Blossoms In Bloom stamp set (#p152684) onto the Stamparatus (#148187) and coloured the flowers by daubering the colour onto each of the flowers. The reason I used the Stamparatus was in case I hadn’t added enough ink to the stamp and could re-ink and re-stamp it easily. The colour inks I used were Flirty Flamingo (#147052), Daffodil Delight (#147094), Coastal Cabana (#147097), Seaside Spray (#150085) and Highland Heather (#147103). Then I cut the Champagne Foil Sheet (#144748) which I had backed with the Adhesive Sheets (#152334). This was cut with the Many Layered Blossoms Die (#154123), then attached to the card. The sentiment is also from the Blossoms In Bloom stamp set and stamped with Daffodil Delight ink (#147094) and cut with a Tasteful Labels Die (#152886). The designer paper is from the Subtles 6”x6” Designer Series Paper (#153072). I finished the card by adding the glitter to the flowers using the Clear Wink Of Stella Glitter Brush (#141897). I think this is one of my favourite tools at the moment as I seem to use it on nearly every card I make. It also shows up much better in real life than when photographed.

I hope your weekend has been fun and productive.


Wednesday, 17 June 2020

Blossoms In Bloom

Hello friends,

I have used the same technique as on yesterday’s card using the ink refills and a Water painter (#151298) with the Blossoms In Bloom Bundle (#p154123).


After colouring the Shimmery White card (#121717) with a variety of re-inkers, I cut the card with a Many Layered Blossoms Die (#153582). The Gold Foil Sheet (#132622) with the Adhesive Sheet (#152334) adhered to the back was cut with the “outline’ die. Before adhering the die cutouts to the card front I stamped using the floral image from the Blossoms In Bloom stamp set (#152684). I daubered the colours onto the stamp to match the colours on the coloured die cut piece, then stamped onto the Whisper White card front (#106549). The ink colours are Real Red (#147084), Daffodil Delight (#147094), Bermuda Bay (#147096) and Melon Mambo (#147051). The die cut pieces were attached to the card with Mini Glue Dots (#103683). Happy Birthday is also from the Blossoms In Bloom stamp set and it was stamped with Daffodil Delight ink (#147094). This was cut with a Stitched Rectangle Die (#151820). The Daffodil Delight card (#121680) under the sentiment was punched with Lovely Labels Pick A Punch (#152883).

Have a great day.