Showing posts with label #ginghamembossingfolder. Show all posts

Thursday, 13 April 2023

Butterfly Brilliance

Hello stampin’ friends,

I love butterflies so a little disappointed that the Butterfly Brilliance stamp set (#155092) and co-ordinating Brilliant Wings dies (#155523) are retiring.


Firstly I added colour to a piece of Basic White card (#159228) using Blending Brushes (#153611) with Pale Papaya ink (#155670), Flirty Flamingo ink (#147052), Tahitian Tide ink (#159210) and Highland Heather ink (#147103). I then stamped the butterflies with VersaMark (#102283) and used the White Stampin’ Emboss Powder (#155554) which was set with the Heat Tool (#129056). The butterflies were cut with a Brilliant Wings die. There are 6 butterflies so will use the others for another project.


I dry embossed the Flirty Flamingo card (#141421) with the Gingham Embossing Folder (#157627) and attached this to the Basic White base card. I used a die from the Irresistible Blooms (#161149) to cut the Silver Foil Specialty Paper (#156457). This was backed with Adhesive Sheet (#152334) so it makes it easy to attach it to the card front.

“Thinking Of You” is from the Go To Greetings stamp set (#158763) and I stamped this with Flirty Flamingo ink. A die from the Pretty Pillowbox dies (#156321) was used to cut the sentiment. 

The butterflies and sentiment were all attached to the card with Stampin’ Dimensionals (#104430). The Flat Adhesive-Backed Pearls (#160449) were added to the centre of the butterflies.

The retiring products are the Butterfly Brilliance stamp set, Brilliant Wings dies, Gingham Embossing Folder & Pretty Pillowbox dies.


“Love what you do and share what you love.”


INSPIRE. CREATE. SHARE.


Sunday, 2 April 2023

Cup Of Tea

Hello again friends,

I am using more of the retiring products on this card today - the Cup Of  Tea Bundle (#158667).


This bundle includes the Cup Of Tea stamp set (#158661) and the Tea Cup Dies (#160186). I stamped the teacup with VersaMark (#102283) and used Copper Stampin’ Emboss Powder (#155555) which was set with the Heat Tool (#129056).  The leaves were stamped with Parakeet party ink (#159208) and Granny Apple Green ink (#147095). These were all cut with the Teacup dies.

The Basic White card front (#159228) was dry embossed with the Gingham Embossing Folder (#157627) and matted with Sweet Sorbet card (#159266) then attached to the Basic White base card.

I used the Tea Boutique Designer Series Paper (#158659) for the strip on the left side of the card and the rectangular piece under the teacup.

“Thank You” is from the same stamp set and stamped with Sweet Sorbet ink (#159216). This was cut with a Pretty Pillowbox Die (#156321).

The leaves were taped to the card. I used Stampin’ Dimensionals (#104430) to attach the teacup and sentiment. The ribbon through the label is an old retired ribbon but matched with the Copper Embossing Powder. The embellishments are also retired - Fine Sparkle Adhesive-backed Gems.

The retiring products used on this card are the Cup Of Tea stamp set, Teacup dies, Gingham Embossing folder and the Tea Boutique Designer Series Paper.

Love what you do and share what you love.”

INSPIRE. CREATE. SHARE.


Wednesday, 21 December 2022

Fitting Florets Designer Series Paper

Welcome everyone,

The Fitting Florets 12”x12” Designer Series Paper (#161814) is only available till 4th January so don’t miss out on this beautiful paper which co-ordinates with the Framed Florets Bundle (#162407). However this bundle will be still available in the next Mini Catalogue.


Some of the flowers in the DSP are able to be cut with the Framed Florets Dies (#160623). These flowers are the light and darker pink ones at the top of the card. The other flowers were fussy cut. 

I dry embossed the Basic White card (#159228) with the Gingham Embossing Folder (#157627). The strip of DSP along the bottom is also from the Fitting Florets pack. The flowers were attached with Tape & Stampin’ Dimensionals (#104430).

The leaves were cut with the Framed Florets Dies from Evening Evergreen card (#155575). These were attached with Mini Glue Dots (#103683).

“Best Wishes” is from the Happiness Abounds stamp set (159238) and stamped with Balmy Blue ink (#147105). I used a die from the Stylish Shapes (#159183) to cut the sentiment. This was attached with Mini Stampin’ Dimensionals (#144106). The Brushed Brass Butterflies (#158136) were added to the card and as usual added Clear Wink Of Stella (#141897) to the flowers.


“Love what you do and share what you love.”

INSPIRE. CREATE. SHARE.


Tuesday, 11 October 2022

Christmas Banners Dies

Hello friends,

Each year I hold full day classes making Christmas cards which is a very popular class. I usually have around 15 cards for the ladies to choose from and they all work on different cards, working at their own pace, so there is no waiting for stamps, inks etc. They end up with a great variety of cards for their days work. 
This card today is one design they had to choose from this year.


The used Evening Evergreen card (#155575) and Soft Succulent card (#155777) to cut the leaves with the Christmas Banner Dies (#159576). The Merry Merlot (#147005) leaves were cut with the dies from the Holly Berry dies (159607). All the  card stock was backed with Adhesive Sheet (#152334) before cutting with the dies making it easy to attach them to the card.

The Basic White card front (#159228) was dry embossed with the Gingham Embossing Folder (#157627), then attached to the Evening Evergreen card.

The sentiment from the Brightest Glow stamp set (#159542) was stamped with Merry Merlot ink (#147112), then cut with a Labels Aglow die (#159551). The Evening Evergreen Open Weave Ribbon (#155573) was threaded through the label and wrapped around the card front. This was then attached to the Basic White base card 

“Love what you do and share what you love.”


Saturday, 9 July 2022

Wonderful World Stamp Set & Designer Series Paper

Hello again,

Today I am using the Wonderful World Stamp Set & Wonderful World Designer Series Paper (#159918) - another beautiful Sale-a-bration product.


The floral designer paper was matted with Rich Razzleberry card (#119981), then attached to the Basic White base card (#159228). The larger tag was cut with one of the Designer Tags Dies (#159165) then dry embossed with the Gingham Embossing Folder (#157627).

The flower from the Wonder World stamp set was stamped with Rich Razzleberry ink (#147091) and Pear Pizzaz ink (#147104). To stamp the 2 colours, I used the Stamparatus (#148187). I used a post it note to cover the stem when inking the flower, stamped the flower, then covered the flower when inking the stem, then stamped the stem. This was also cut with a Designer Tags Die. 

The smaller piece of DSP is the reverse of the floral DSP. This was attached to the card. The sentiment is from the Go To Greetings stamp set (#158763) and stamped with Rich Razzleberry ink, then cut with a Stitched Rectangles Die (#151820). The flower and sentiment were both attached with Stampin’ Dimensionals (#104430). The embellishment are Rhinestone Basic Jewels (#144220 and the Silver Simply Elegant Trim (#155766) was threaded through the label.


“Love what you do and share what you love.”


Monday, 25 April 2022

Pansy Petals Designer Series Paper

Hi friends,

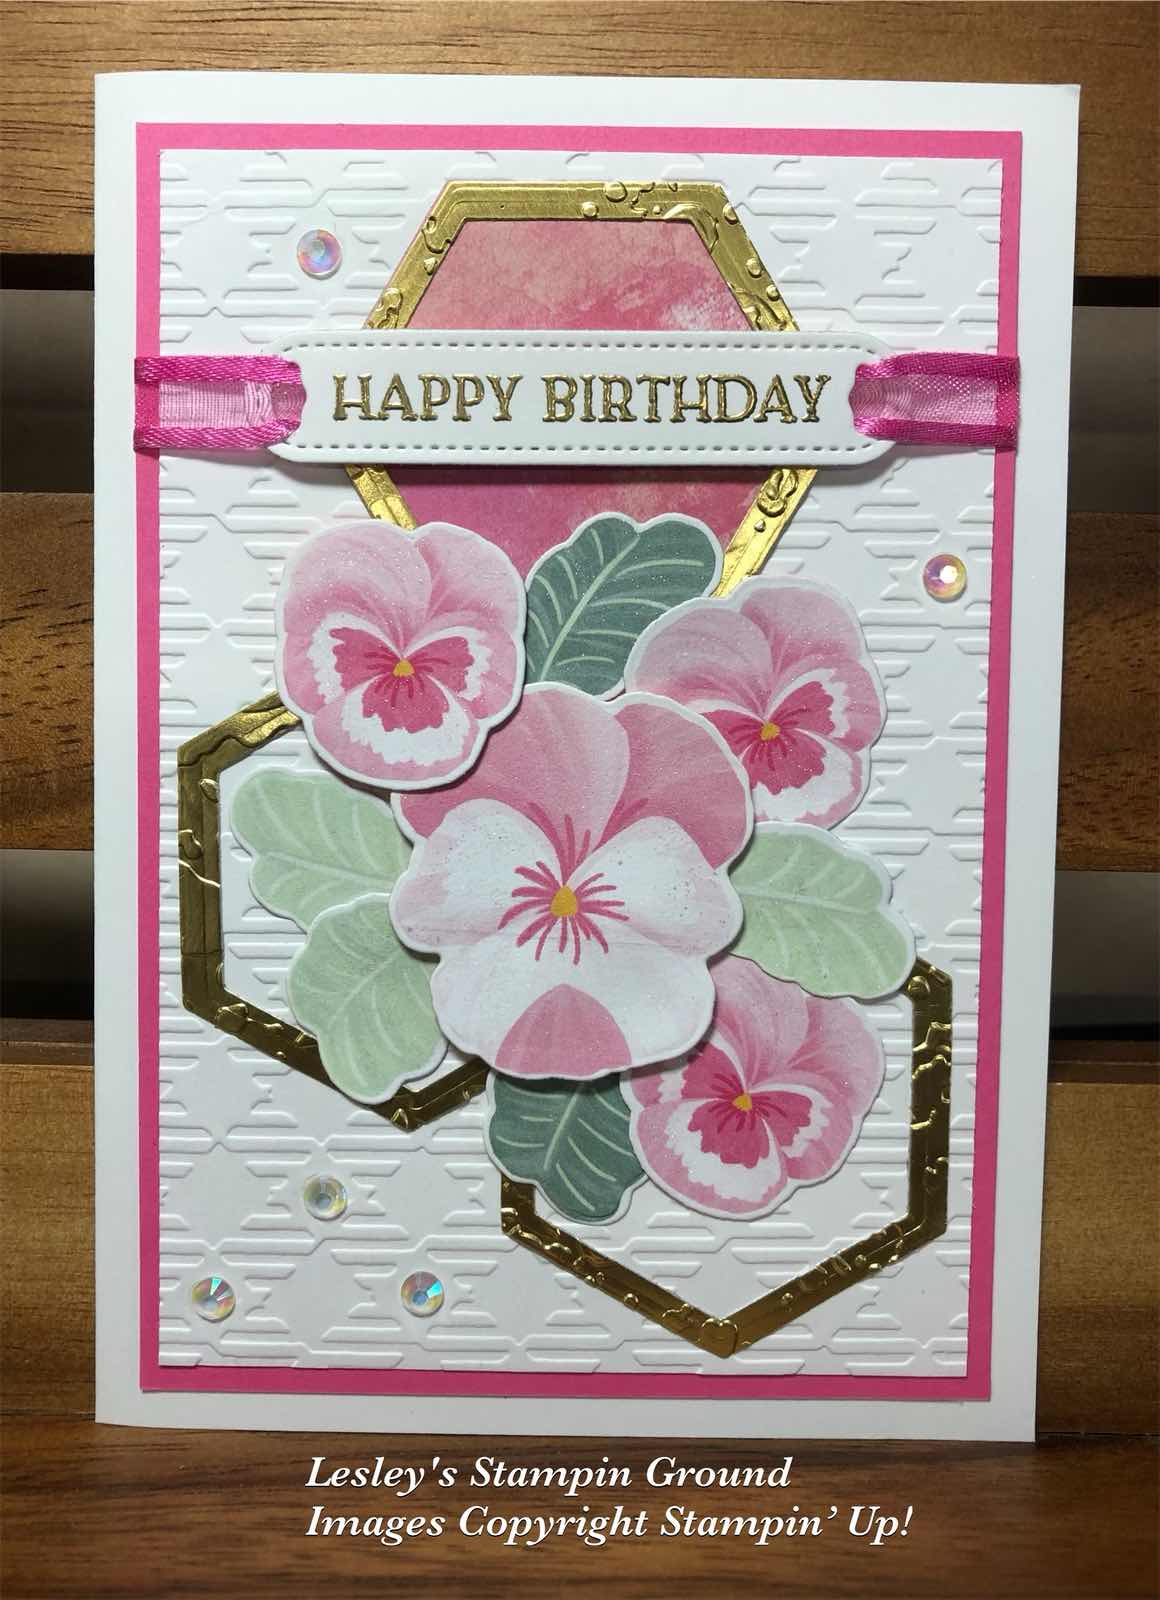
I had some leftover cut out pansies from a previous project so decided to use them on this card. These pansies and leaves are from the Pansy Petals Designer Series Paper (#155807) and cut with the co-ordinating Pansy Dies (#155680).


I cut the hexagonal shapes using the Beautiful Shapes Dies (#158046) and Gold Foil (#132622). The Gold Foil had Adhesive Sheet (#152334) adhered to the back. I then used the Splatters from the Stripes & Splatters 3D Embossing Folders (#157980) to give texture to the hexagons. I cut a hexagon from the Abstract Beauty 4”x6” Specialty Designer Series Paper (#158039) and attached a gold hexagon on top.

The Basic White card front (#159228) was dry embossed with the Gingham Embossing Folder (#157627) and matted with Polished Pink card (#155711). The hexagons were attached to the card front. 

“Happy Birthday” from the Blossoms In Bloom stamp set (#152684) was stamped with VersaMark (#102283) and embossed with Gold Stampin’ Emboss Powder (#155555). The Heat Tool (#129056) was used to set the powder. The label from the Waves dies (#158840) was used to cut the sentiment. I threaded the Polished Pink Ribbon (#155714) through the label and wrapped it around the card front. The base card is Basic White.

The pansies & leaves were attached to the card with Mini Glue Dots (#103683) and Stampin’ Dimensionals (#104430). The beautiful Iridescent Rhinestone Basic Jewels (#158130) were added to the card.

“Love what you do and share what you love.”


Friday, 18 March 2022

In Color Shimmer Vellum

Hi friends,

I had this floral image from the Honeybee Home Stamp Set (#157943) left from another project, so rather than wasting it have used it on this card.


The flowers were stamped with Tuxedo Black Memento ink (#132708) and coloured with Fresh Freesia Stampin’ Blends (#155518) and Granny Apple Green Stampin’ Blends (#154885).

I adhered Adhesive sheets (#152334) to the back of the Fresh Freesia vellum from the 2021-2023 In Color Shimmer Vellum (#155616), then dry embossed this with the Gingham Embossing Folder (#157627). This was attached to a piece of Basic White card (#159228). 

The Gorgeous Grape card (#147011) was cut with an Ornate Layers Die (#152726), then attached to the cardfront. The Highland Heather Grosgrain Ribbon (#155812) was wrapped around the cardfront. I attached the flowers with Mini Stampin’ Dimensionals (#144108). The Gold Trim is from the Simply Elegant Trim (#155766) and attached with Mini Glue Dots (#103683).

The sentiment from the Friends Are Like Seashells stamp set (#158203) was stamped with Fresh Freesia ink (#155611) and cut with a Sweet Hearts Die (#157623). This was attached with Stampin’ Dimensionals (#104430).

The Brushed Brass Butterflies (#158136) are the embellishments added to the card.

TIP: I used the adhesive sheets on the back of the vellum to avoid tape or glue showing through.

“Love what you do and share what you love.”


Monday, 7 March 2022

Daffodil Daydream stamp set

Hello all crafting friends,

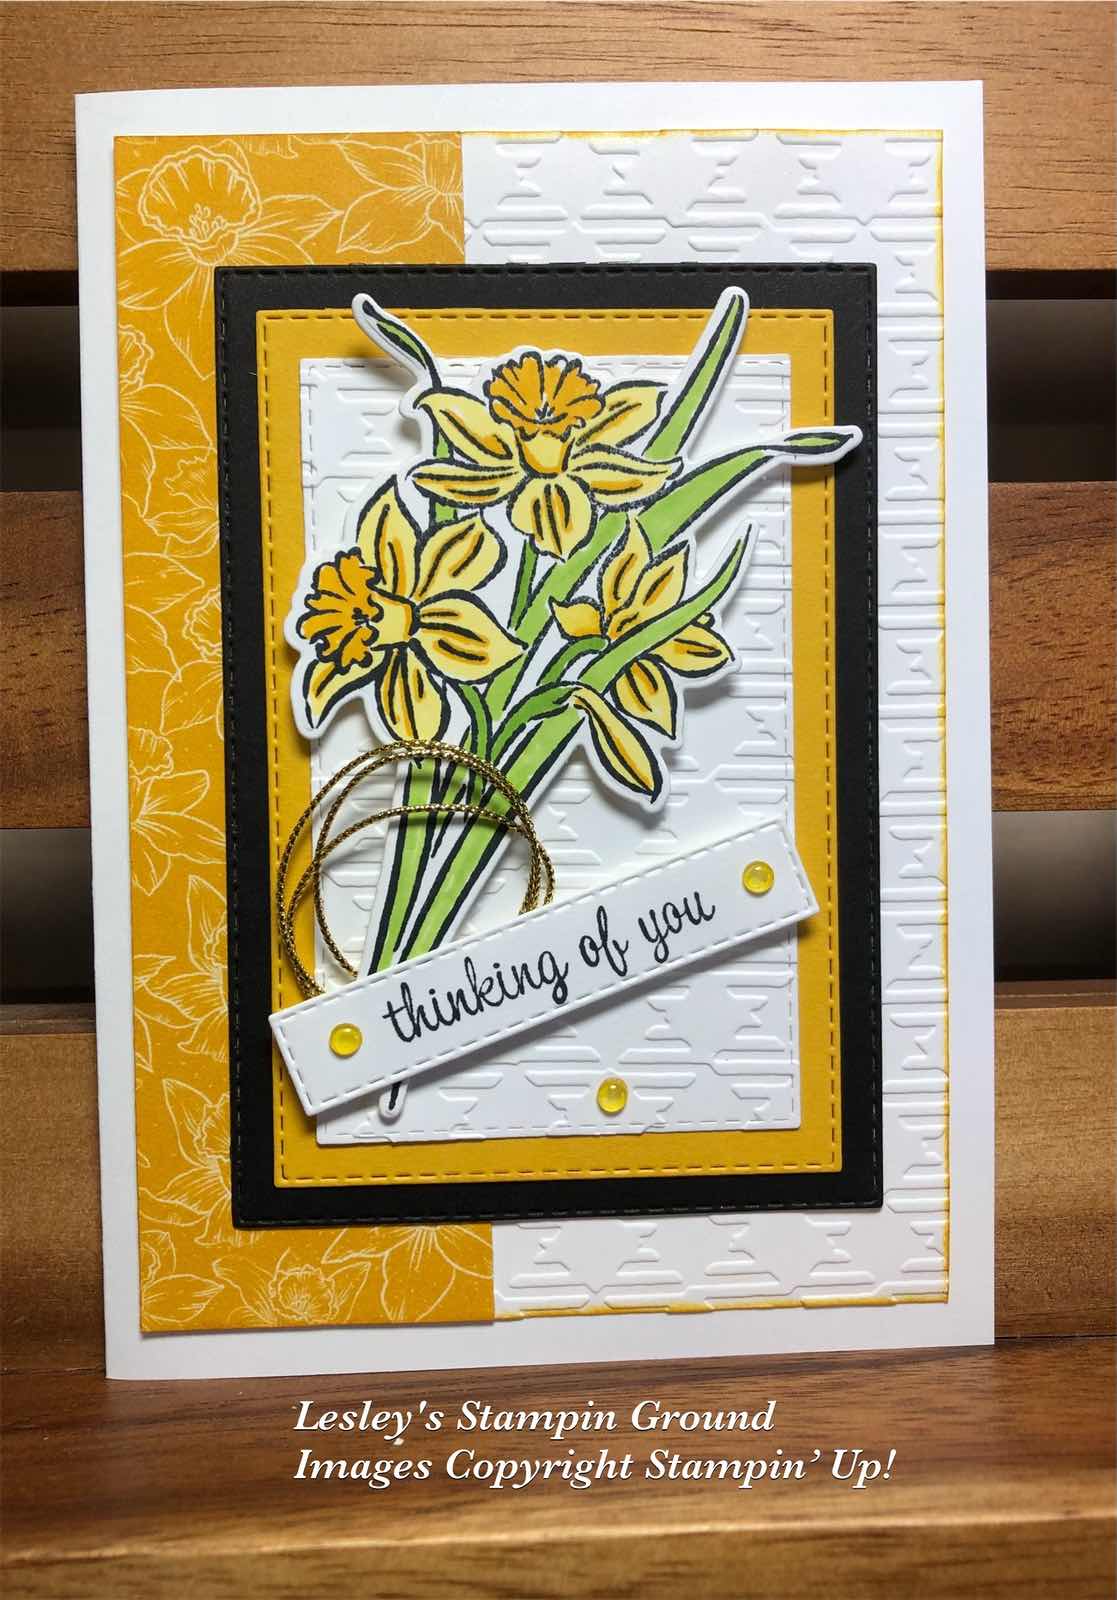
The Daffodil Dream Bundle (#157795) was used on this card and consists of the Daffodil Daydream stamp set (#157786) and the Daffodil Dies (#157794).


The daffodils were stamped with Tuxedo Black Memento ink (#132708) on Basic White card (#159228). The flowers were coloured with Daffodil Delight Stampin’ Blends (#154883) and for the leaves I used Granny Apple Green Stampin’ Blends (#154885). The co-ordinating die from the Daffodil Dies was used to cut the stamped image.  

I dry embossed the Basic White card front with the Gingham Embossing Folder (#157627). The designer paper from the Sale-a-bration Daffodil Afternoon 12”x12” Designer Series Paper (#158127) was attached to the card front.

The Basic Black card (#121688), Crushed Curry card (#131288) and the Basic White card were all cut with Stitched Rectangles Dies (#151820). I also dry embossed the small white rectangular card with the Gingham embossing folder. I taped the rectangles together and attached them to the card. The daffodils were attached to the card with Stampin’ Dimensionals (#104430). 

The gold trim is from the Simply Elegant Trim (#155766). The sentiment is in the Expressions Of Friendship stamp set (#158460) and stamped with Tuxedo Black Memento ink, cut with another Stitched Rectangles die and attached with Mini Stampin’ Dimensionals (#144108). The embellishments are the  Clear Polished Dots (#158134) which were coloured with the Dark Daffodil Delight Stampin’ Blends.

TIP: To colour the embellishments using Stampin’ Blends, I find it easier to colour with the brush end of the blends. Colour the embellishments while they are still attached to the plastic they are adhered to. Allow them to dry, which doesn’t take long then transfer them to the card. Any clear or white embellishments can be coloured this way.

“Love what you do and share what you love.”


Monday, 21 February 2022

Calming Camellia

Hello friends,

The Calming Camellias stamp set (#158117) is a free Host set from Sale-a-bration and this stamped flower is from that set.


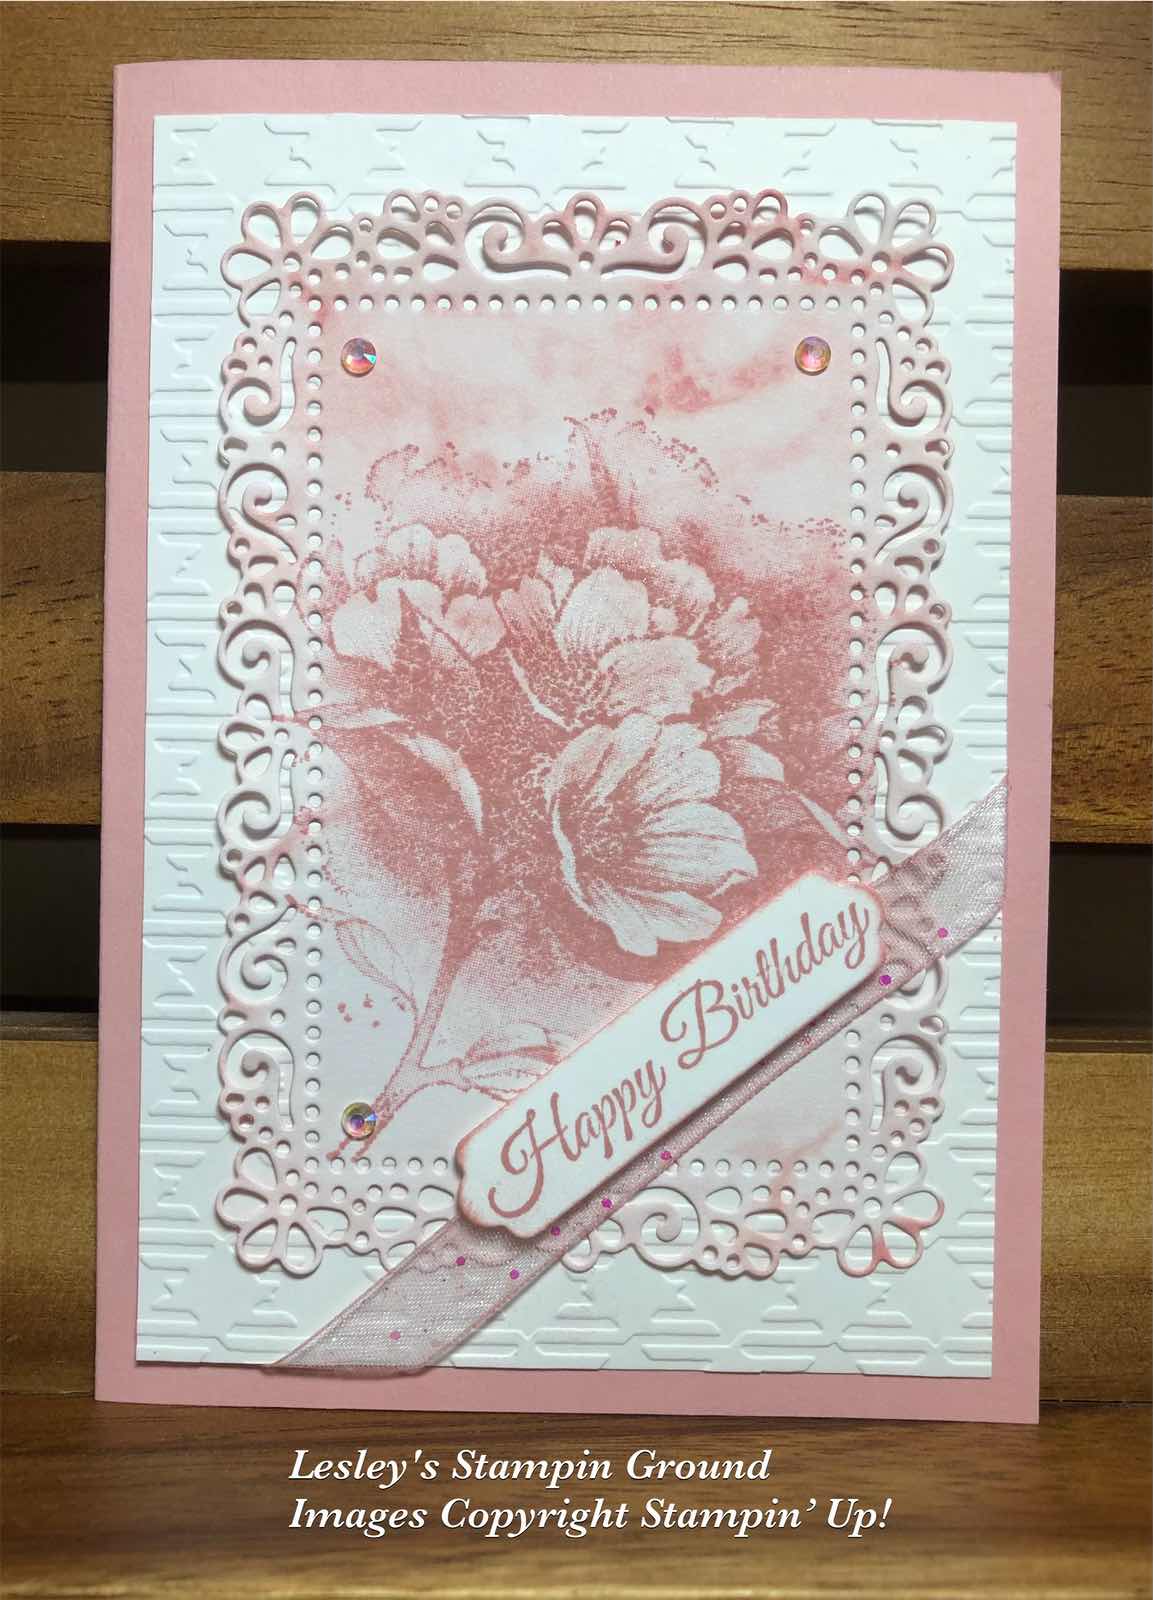
I used Blushing Bride ink (#147100) to stamp the flower onto another Sale-a-bration product - Simply Marbleous Designer Series Paper (#158128). I used the Blushing Bride colour of the DSP. This was cut with an Ornate Layers Die (#152726).

The Basic White card front (#159228) was dry embossed with the Gingham Embossing Folder (#157627). The stamped & die cut piece was attached to the card front and the White Glittered Organdy ribbon (#156408) was wrapped around the corner of the card. Before attaching the ribbon I coloured it with a dauber and  Blushing Bride ink. The base card is Blushing Bride (#131287).

“Happy Birthday” is from the Calming Camellia stamp set and also stamped with Blushing bride ink. A Seasonal Labels Die (#156299) was used to cut the sentiment then attached with Mini Stampin’ Dimensionals (#144108). The Iridescent Rhinestone Basic Jewels (#158130) were added to the card.


“Love what you do and share what you love.”

Tuesday, 15 February 2022

Pansy Petals Designer Series Paper

Hi everyone,

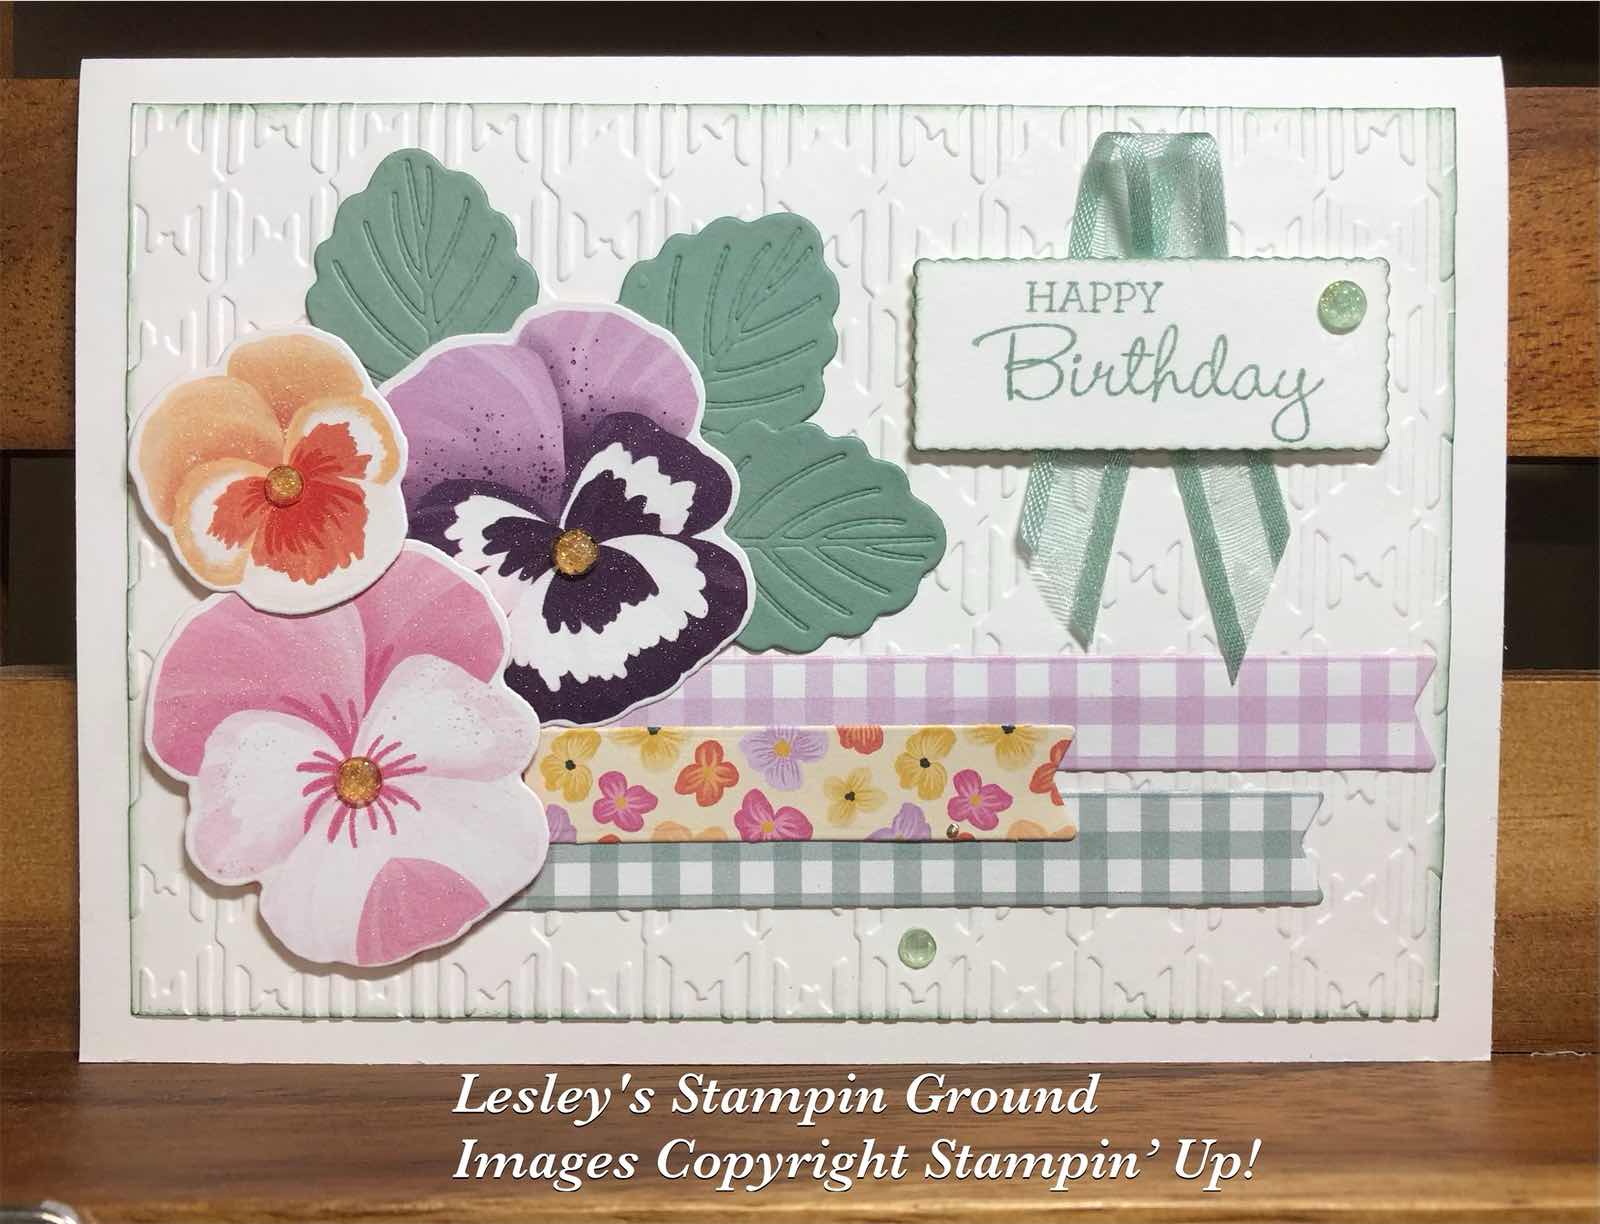
There are many designer papers that co-ordinate with dies which allows you to cut images from the DSP with a die. The Pansy Petal 12’x12” Designer Series Paper (#155807) has some images that can be cut with the Pansy dies (#155680).


The 3 pansies were cut with the co-ordinating dies. The leaves were cut and embossed with another die using Soft Succulent card (#155777).  I used the banner die from the Bloom dies (#155989) to cut the 3 pieces of DSP, also from the Pansy Petal DSP.

The Basic White card front (#159228) was dry embossed with the Gingham Embossing Folder (#157627) and the edges were daubered with Soft Succulent ink (#155778). This was attached to the Basic White base card. 

The leaves, banners and purple pansy were taped to the card. The other 2 pansies were attached with Mini Stampin’ Dimensionals (#144108). “Happy Birthday” is from the Pansy Patch stamp set (#154999), and stamped with Soft Succulent ink. I used the Messages Die (#154422) to cut the sentiment. The Soft Succulent Open Weave Ribbon (#155780) was attached under the sentiment. The sentiment was attached with Mini Stampin’ Dimensionals. 

The Genial Gems (#155500) include 2 colours and I used the Pale Papaya gems on the flowers & the Mint Macaron gems on the sentiment and card front.


“Love what you do and share what you love.”