Showing posts with label #stitchedrectanglesdies. Show all posts

Tuesday, 21 March 2023

Seaside Bay Bundle

Hello friends,

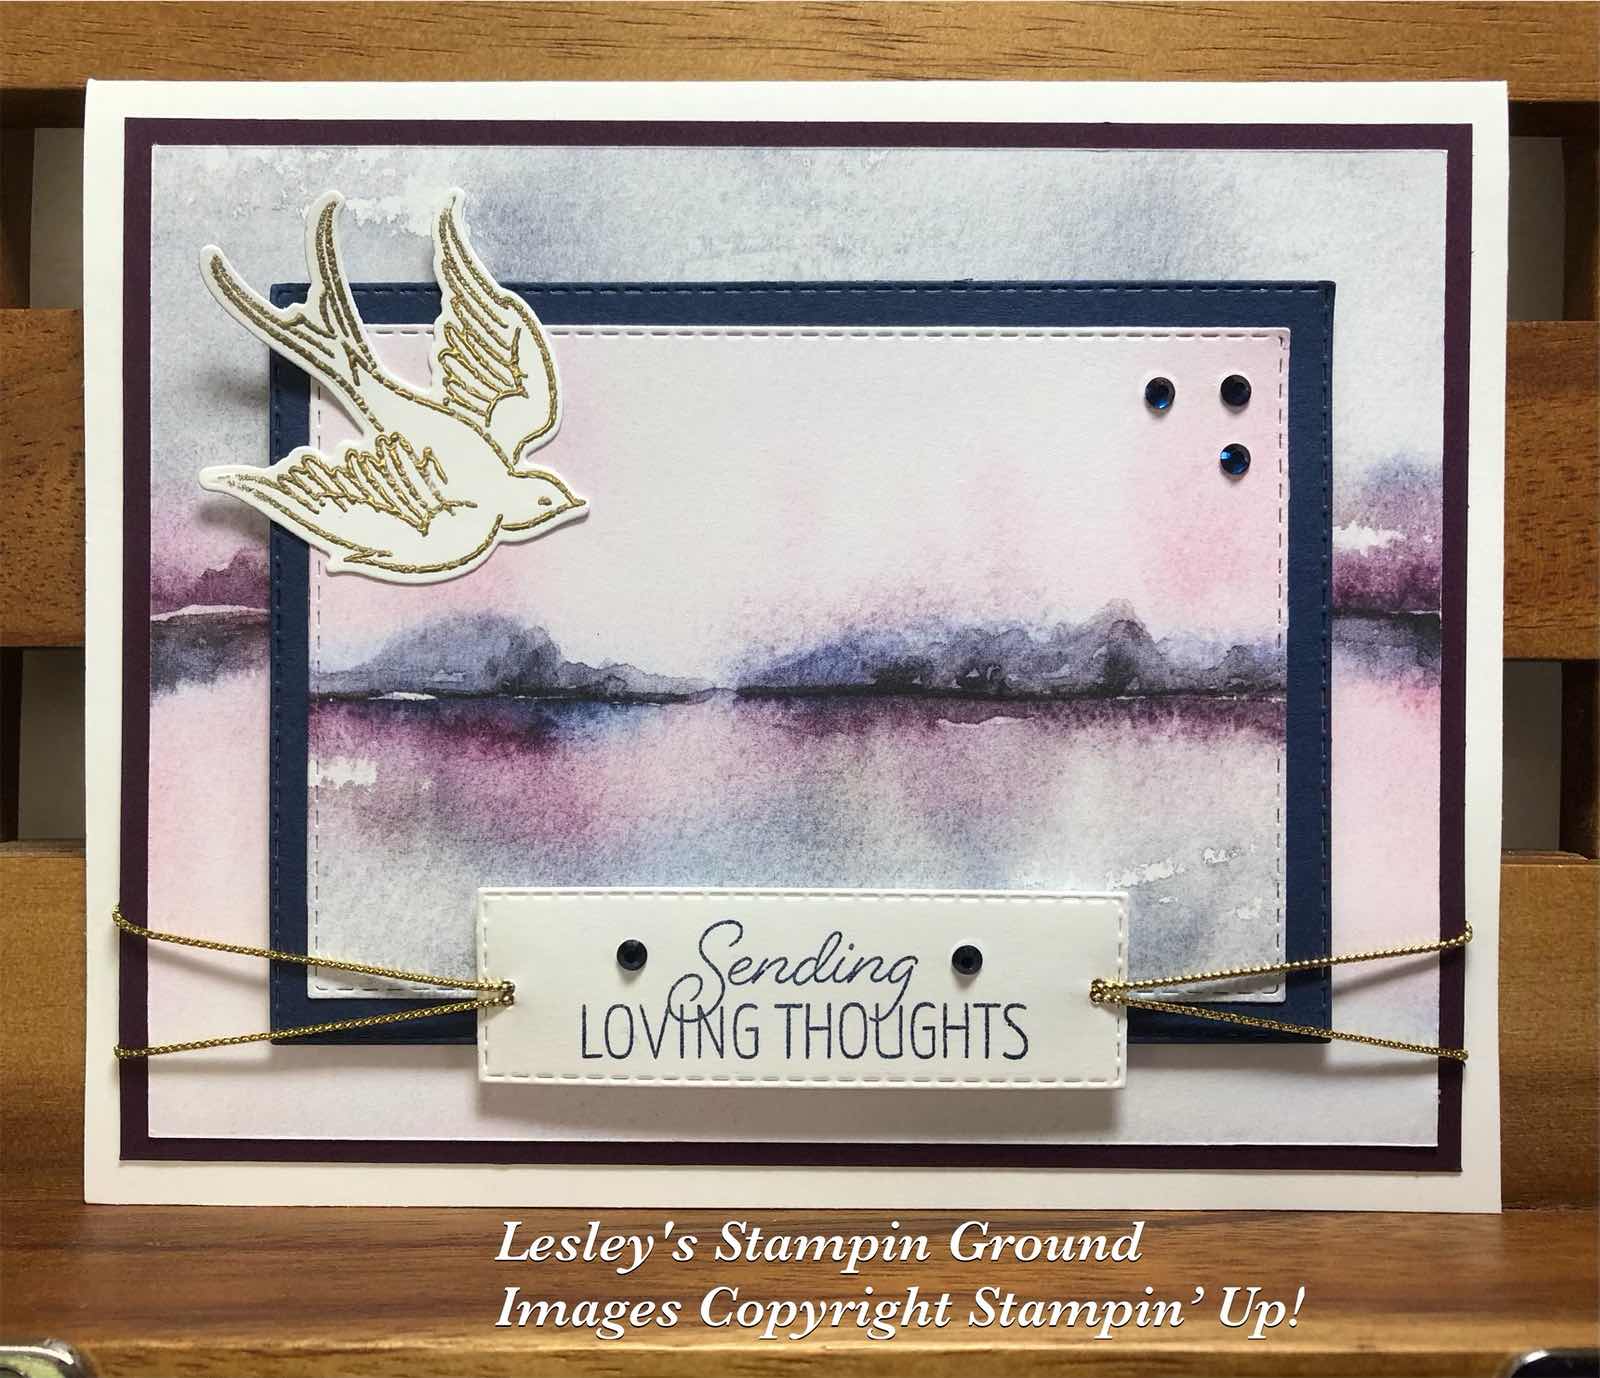
I have used the Seaside Bay Bundle (#160445) and the By The Bay Specialty Designer Series Paper (#160434) again today with a completely different card from yesterday using the same bundle & DSP.


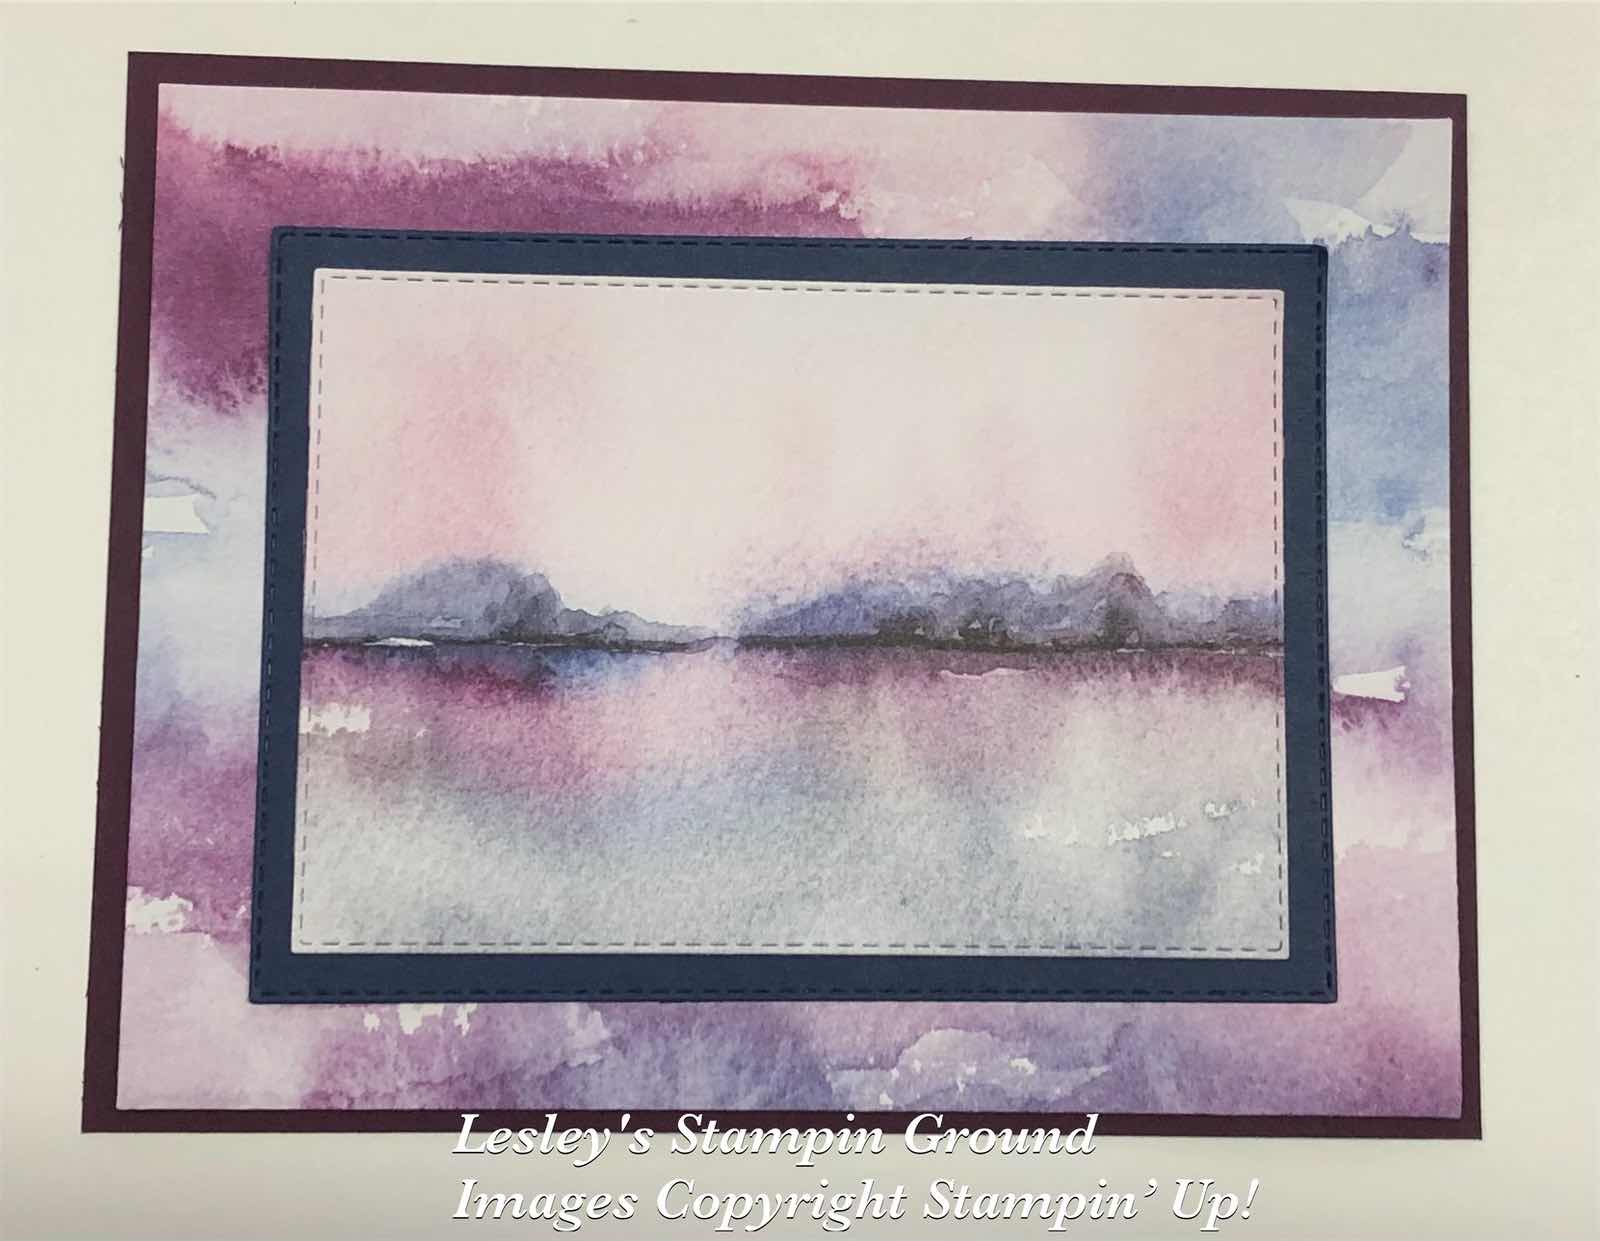
I attached one piece of the Designer Series Paper to the Distressed Gold Specialty Paper (#159237). I cut the other piece of DSP and the Night Of Navy card (#106577) with the Stitched Rectangles Dies (#151820) and attached these to the card. The base card is Basic White (#159228).

The birds from the Seaside Bay stamp set (#160436) and the sentiment from the Art Gallery stamp set (#158201) were stamped with Night Of Navy ink (#147110). The birds were cut with the Seaside Bay dies (#160444) and the sentiment with a Stitched Rectangles Die. Stampin’ Dimensionals (#104430) were used to attached these to the card.

I added 3 Flat Adhesive-Backed Pearls (#160434) to the card. Clear Wink Of Stella (#141897) was used to add glimmer to the birds. The Night Of Navy ink (and other darker inks) tends to bleed when using the Wink of Stella but that is the effect I wanted to add the lighter blue to the bird.

“Love what you do and share what you love.”


INSPIRE. CREATE. SHARE.


Wednesday, 11 January 2023

Around The Bend

Hello again,

I have used the 3 different colours from the Fine Shimmer 12”x12” Paper Pack (#160428) on this card. The colours are Soft Succulent, Fresh Freesia and Gold and look great together and I love the shimmer.


The base card is Very Vanilla (#106550). The Soft Succulent paper was cut with a die from the Around The Bend Dies (#160649) and attached to the base card. The flowers & leaves were also cut with the Around The Bend dies. With 3 of the flowers I added extra colour using a Dauber (#133773) with Gorgeous Grape ink (#147099). The 2 lighter coloured flowers were attached with Mini Glue Dots (#103683) and the 3 darker ones were attached with Stampin’ Dimensionals (#104430). The gold leaves were also attached with Mini Glue Dots. The flower centres were glued with Multipurpose Liquid Glue (#110755).

“Happy Birthday” from the Go To Greetings Stamp set (#158763) was stamped with VersaMark (#102283) and embossed with Gold Stampin’ Emboss Powder (#155555) and set with the Heat Tool (#129056). This was stamped on the Pearlescent Specialty Paper (#154291). The sentiment and Gold paper were cut with Stitched Rectangles Dies (#151820), then attached to the card with Stampin’ Dimensionals. The embellishments are the Flat Adhesive-Backed Pearls (#160449).

“Love what you do and share what you love.”


INSPIRE. CREATE. SHARE.


Tuesday, 29 November 2022

Pretty Prints Designer Series Paper

Hello friends,

The Designer Series Paper used for the background of this card is from the Pretty Prints DSP (#159245).


I cut strips of this DSP and glued it to a piece of Basic White card (#159228), using the Multipurpose Liquid Glue (#110755). This was then matted with Gold Foil (#132622) and attached to the Basic White base card.

“Happy Birthday” is from the Go To Greetings stamp set (#158763). This is definitely my go to stamp set for greetings at the moment with different size words  and fonts of popular greetings. I stamped this with VersaMark (#102283) and used Gold Stampin’ Emboss Powder (#155555) which of course was set with the Heat Tool (#129056). I used a Stitched Rectangles Die (#151820) to cut the sentiment. This was taped to the card.

I used a Honeybee Blooms die (#157951) to cut the leafy piece from the Gold Foil backed with Adhesive Sheet (#152334).

The beautiful Brush Brass Butterflies (#158136) were added to the card.

“Love what you do and share what you love.”


INSPIRE. CREATE. SHARE.


Tuesday, 13 September 2022

Peace To You stamp set

Hi stamping friends,

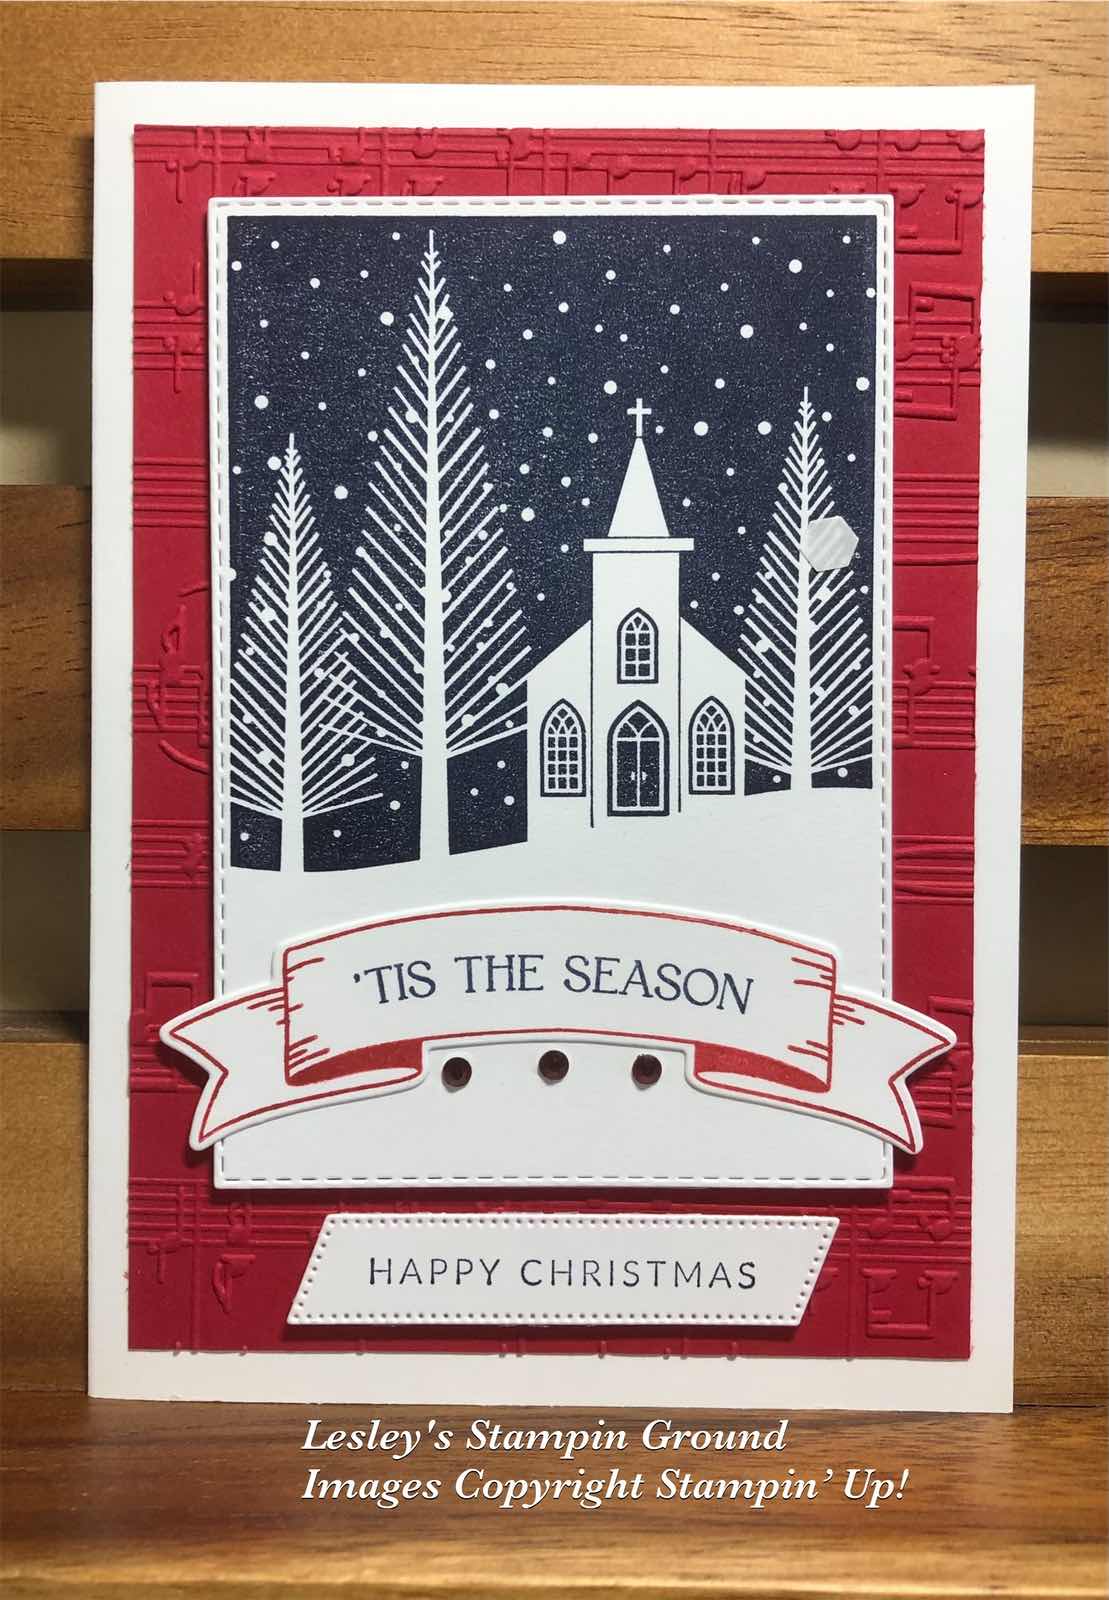
The Peace To You stamp set (#159776) is a beautiful Christmas set for this Christmas card.


I stamped the image and the sentiments with Night Of Navy ink (#147110). The banner was stamped with Real Red ink (#147084). “Tis the Season” and the banner are from the Christmas Banners stamp set (#159570) and cut with the Christmas Banner Dies (#159576). I cut the stamped image with a Stitched Rectangles Die (#151820).

The Real Red card (#106578) was dry embossed with the Merry Melody 3D Embossing Folder (#156392) and attached to the Basic White base card (#159228). Happy Christmas is from the Joyful Flurry stamp set (#159804) and cut with a Frosted Flurry Die (#159811). The rectangle and Happy Christmas were attached with Stampin’ Dimensionals (#104430). Mini Glue Dots (#103683) were used to attach the banner.

The Red Rhinestone Basic Jewels (#144220) were the embellishments added to the card.

“Love what you do and share what you love.”


Thursday, 8 September 2022

Daisy Garden background stamp

Hi again,

I have heat embossed the daisy image from the Daisy Garden background stamp (#155079) for this subtle coloured card.


The daisy image was stamped with VersaMark (#102283) onto Vellum Card stock (#106584), then embossed with White Stampin’ Emboss Powder (#155554) and set with the Heat Tool (#129056).

I cut the Soft Sea Foam card (#147012) with a Scalloped Contours Die (#155560), then cut the middle out using a Stitched Rectangles Die (#151820) to make a frame. I attached the Vellum to the “frame”.

The Leaf Fall 3D Embossing Folder (#159847) was used to dry emboss the Basic White card front (#159228). This was attached to the base card.

The “frame” was attached to the card with Stampin’ Dimensionals (#104430). “Thinking Of You” from the Go To Greetings stamp set (#158763) was stamped with Soft Sea Foam ink (#147102) and cut with another Stitched Rectangles die. The Elegant Faceted Gems (#152464) were added to the card & sentiment.


“Love what you do and share what you love.”


Wednesday, 31 August 2022

Rings Of Love Designer Series Paper

Hello & welcome again friends,

I am now back from a lovely relaxing holiday and couldn’t wait to get back into the craft room. Today (31st August) is the last day for sale-a-bration so I hope you have been able to get some of the beautiful free products. I have used one of the designs from the Rings Of Love Designer Series Paper (#159939) on todays card.


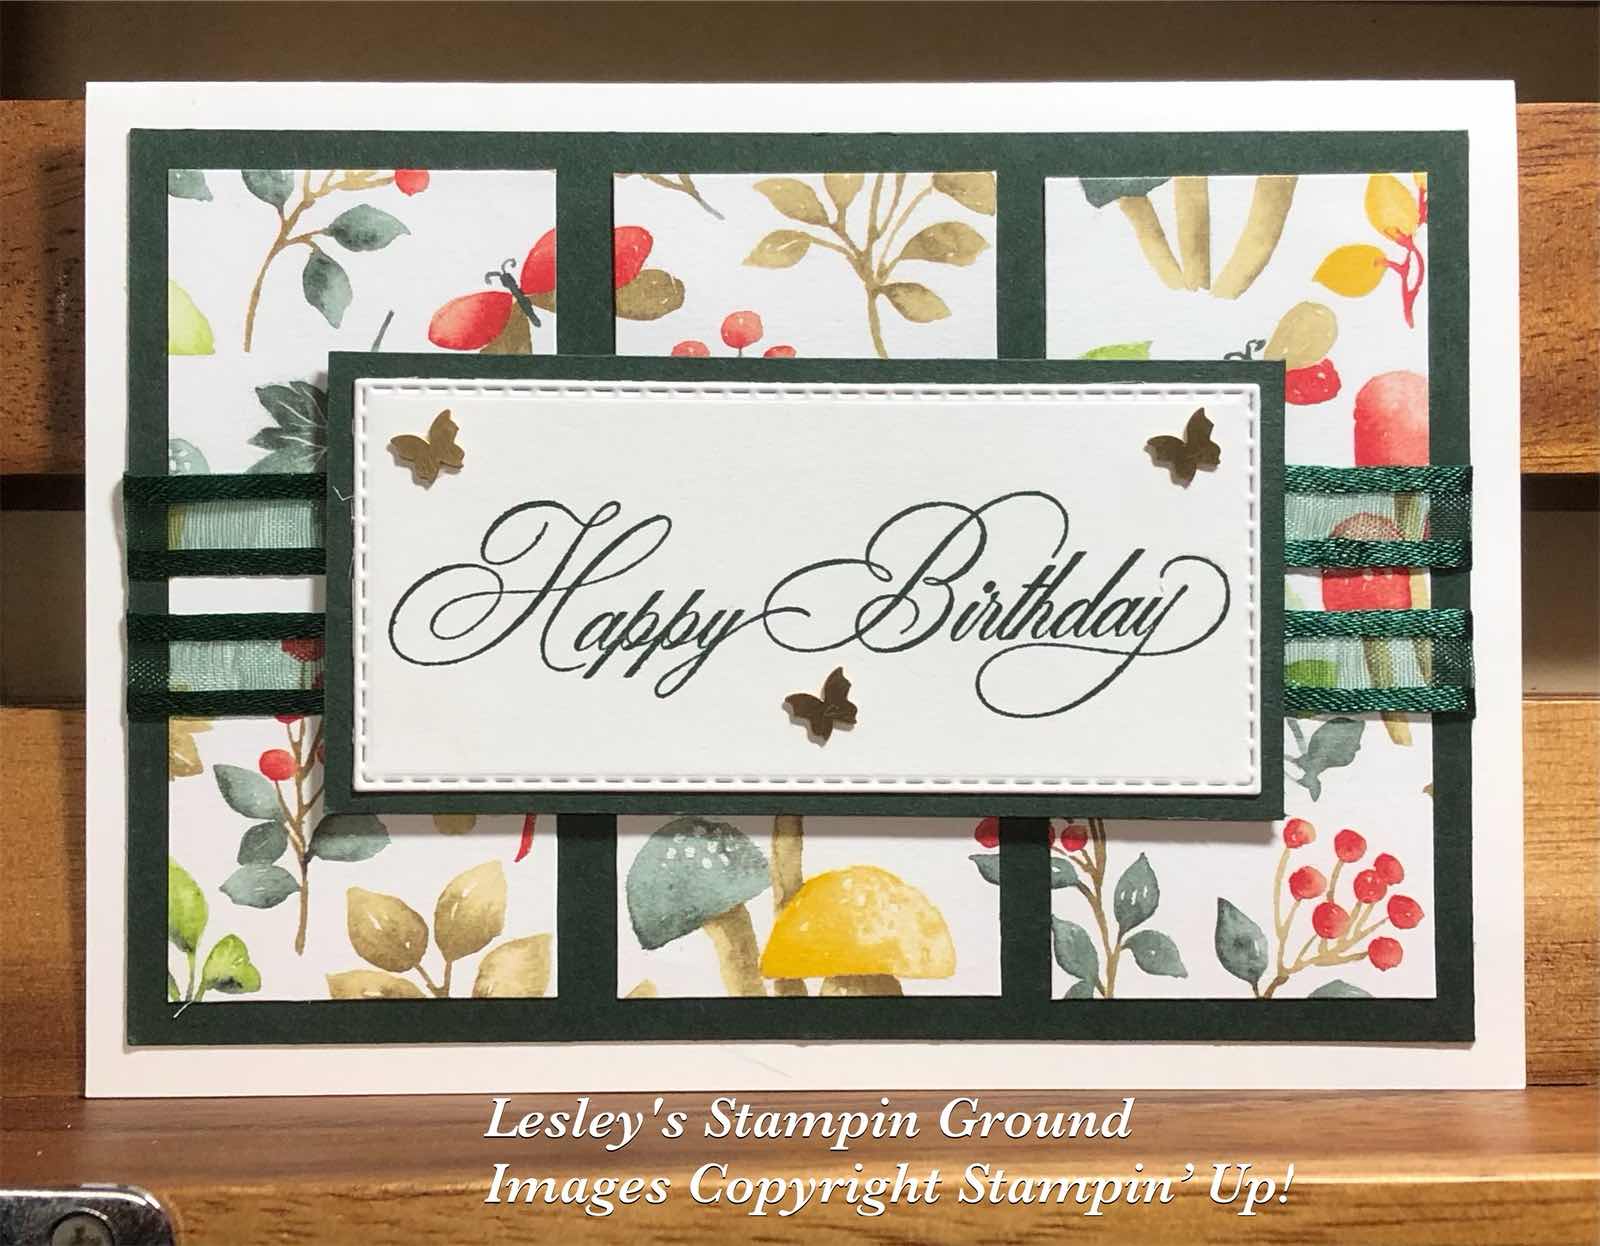
I attached the designer paper to the Evening Evergreen card (#155575). I wrapped the Evening Evergreen Open Weave Ribbon (#155573) around the card front, then attached this to the Basic White base card (#159228).

“Happy Birthday” from the Go To Greetings stamp set (#158763) was stamped with Evening Evergreen ink (#155576). This was cut with a Stitched Rectangles Die (#151820), then matted with Evening Evergreen card. This was attached to the card with Stampin’ Dimensionals (#104430).

The beautiful Brushed Brass Butterflies (#158136) were added to the sentiment.

A really easy card which you could use any of your designer papers. If you are like me you will have a great range to choose from.

“Love what you do and share what you love.”


Tuesday, 26 July 2022

Hues Of Happiness

Hi again,

I love the vibrant colours in the Hues Of Happiness Designer Series Paper (#158822). This also co-ordinates with the Happiness Abounds Bundle (#158824).


I created the holes along the top of the DSP with one of the Blossoming Happiness Dies (#158823), then attached the DSP to the Daffodil Delight card (#121680). The base card is Basic White.

The flower and leaves are from the Happiness Abounds stamp set (#159238). These were stamped with Tuxedo Black Memento ink (#132708). I used Daffodil Delight Stampin’ Blends (#154883) to colour the flower and Granny Apple Green Stampin’ Blends (#154885) for the leaves. These were cut with the Blossoming Happiness Dies.

Happy Birthday is from the Go To Greetings stamp set (#158763). I used VersaMark (#102283) and Gold Stampin’ Emboss Powder (#155555) and set this with the Heat Tool (#129056). A Stitched Rectangles Die (#151820) was used to cut the sentiment.

The sentiment, flower & leaves were attached to the card with Stampin’ Dimensionals (#104430) and Mini Stampin’ Dimensionals (#144108). The Iridescent Rhinestone Basic Jewels (#158130) were added to the sentiment.

TIP: Some of this designer paper has flower & leaf images that co-ordinate with the dies which makes this suite very versatile.

“Love what you do and share what you love.”


Tuesday, 12 July 2022

Pretty Pop-Ups Dies

Hi my friends,

Have you seen the gorgeous Pretty Pop-Ups Dies (#159179) in the Annual catalogue. There are 3 larger dies with “Pop-Ups” (circle, rectangle & oval) and 7 individual dies. They have partial cut outs which allows you to pop up certain pieces for a great effect.


I cut the rectangles with the Stitched Rectangles Dies (#151820) from Balmy Blue card (#147007), So Saffron card (#108611) and Soft Sea Foam card (#106550).  I then used the Pretty Pop-Ups die on each coloured card.

I stamped “Thinking Of You” from the Go To Greetings stamp set (#158763) with Balmy Blue ink (#147105). This was also cut with a Stitched Rectangles die. I used 2 of the individual dies for the pop-ups on this.

I dry embossed the Very Vanilla card front (106550) with the Timeworn Type 3D Embossing Folder (#156505) and attached each of the rectangles with Mini Glue Dots (#103683). The Brushed Brass Butterflies (#158136) were added around the sentiment. The base card is also Very Vanilla.


“Love what you do and share what you love.”


lesleyjendra.stampinup.net


lesley.j.jendra@gmail.com


Saturday, 9 July 2022

Wonderful World Stamp Set & Designer Series Paper

Hello again,

Today I am using the Wonderful World Stamp Set & Wonderful World Designer Series Paper (#159918) - another beautiful Sale-a-bration product.


The floral designer paper was matted with Rich Razzleberry card (#119981), then attached to the Basic White base card (#159228). The larger tag was cut with one of the Designer Tags Dies (#159165) then dry embossed with the Gingham Embossing Folder (#157627).

The flower from the Wonder World stamp set was stamped with Rich Razzleberry ink (#147091) and Pear Pizzaz ink (#147104). To stamp the 2 colours, I used the Stamparatus (#148187). I used a post it note to cover the stem when inking the flower, stamped the flower, then covered the flower when inking the stem, then stamped the stem. This was also cut with a Designer Tags Die. 

The smaller piece of DSP is the reverse of the floral DSP. This was attached to the card. The sentiment is from the Go To Greetings stamp set (#158763) and stamped with Rich Razzleberry ink, then cut with a Stitched Rectangles Die (#151820). The flower and sentiment were both attached with Stampin’ Dimensionals (#104430). The embellishment are Rhinestone Basic Jewels (#144220 and the Silver Simply Elegant Trim (#155766) was threaded through the label.


“Love what you do and share what you love.”


Wednesday, 29 June 2022

Hello Ladybug bundle

Hi stamping friends,

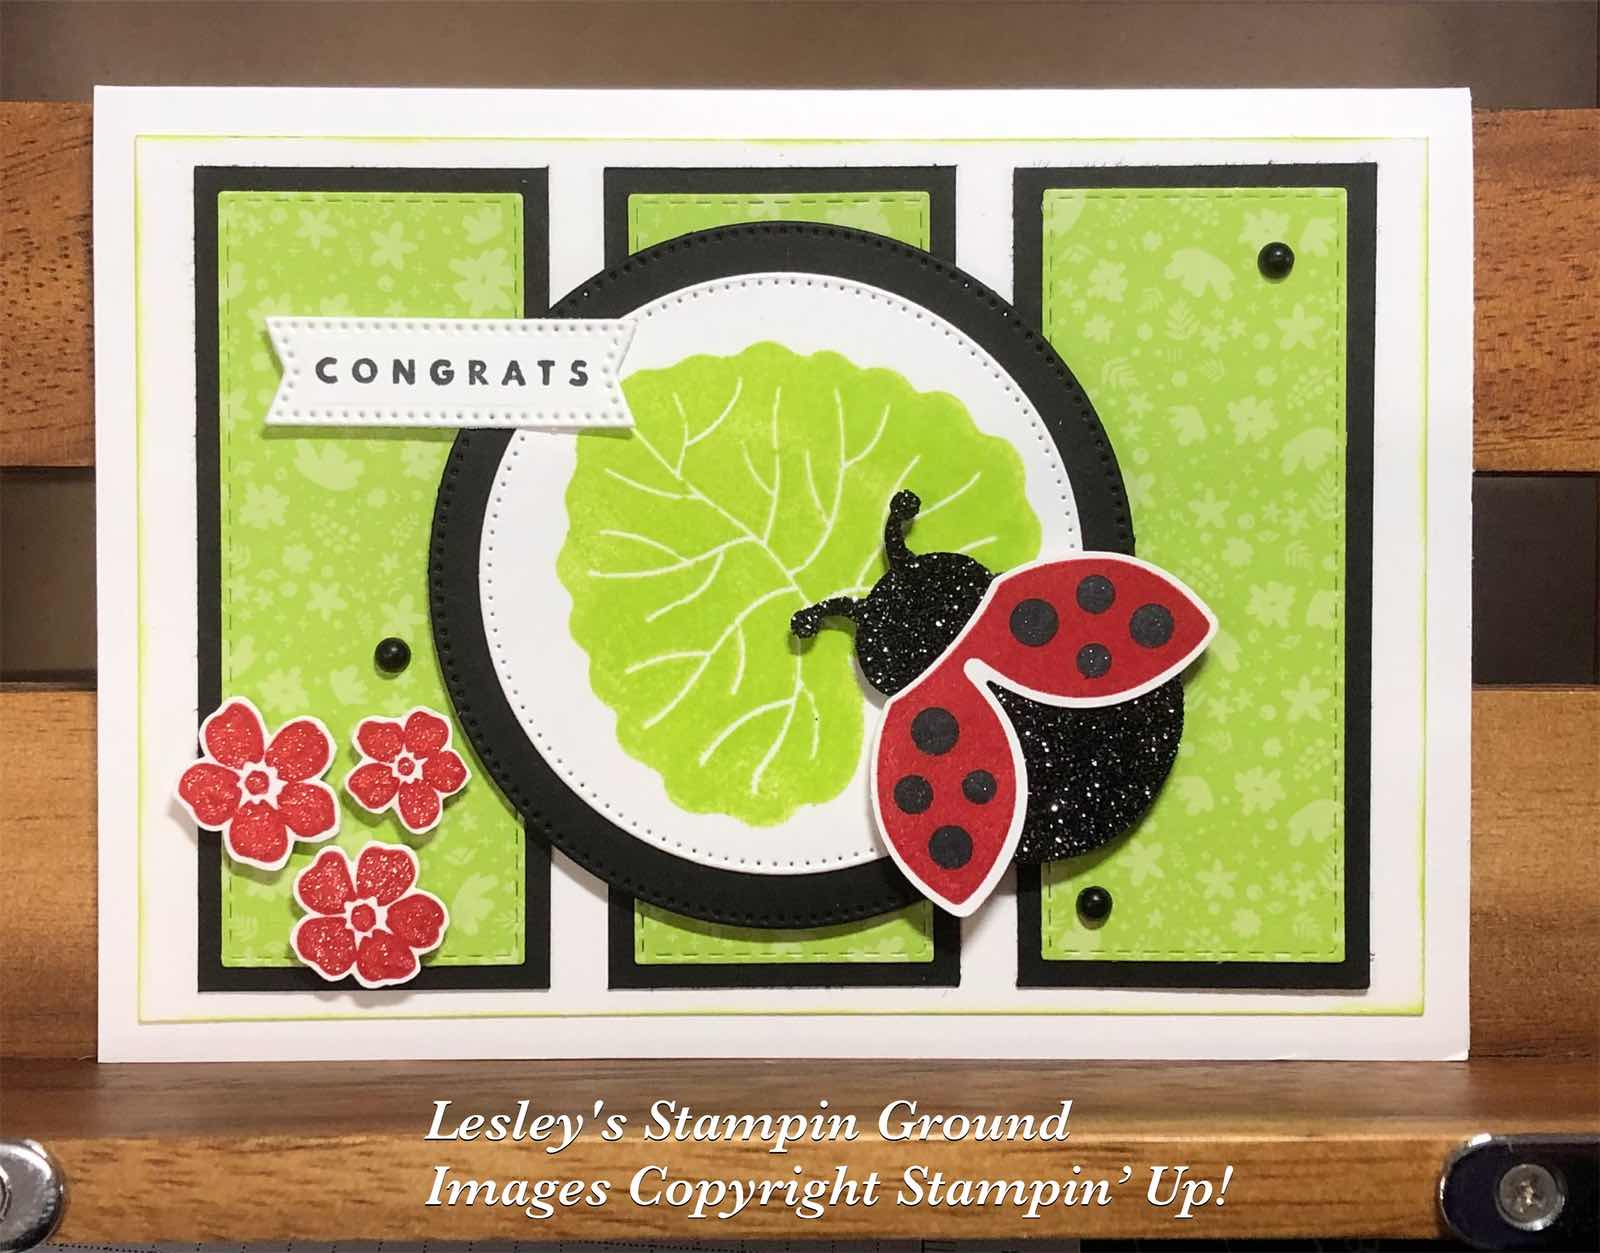
Here’s a cute and vibrant card using the Hello Ladybug Bundle (#157699). I am so pleased that this is carrying over from the mini catalogue (which retires on 30th June) to the current annual catalogue.


The base card & card front are Basic White (#159228). The designer paper is Parakeet Party from the 2022-2024 In Color 6”x6” Designer Series Paper (#159253). This was cut with the Stitched Rectangles Dies (#151820) and matted with Basic Black card (#121688).

I stamped the leaf from the Hello Ladybug stamp set (#157693) using Parakeet Party ink (#159208). The circles were cut with the Stylish Shapes Dies (#159183) and attached to the card with Stampin’ Dimensionals (#104430).

The wings of the ladybug and the flowers were stamped with Real Red ink (#147084). The spots on the wings and the sentiment were stamped with Tuxedo Black Memento ink (#132708). The body of the ladybug & wings were punched with the Ladybug Builder Punch (#157698). I used retired Black Glitter Paper for the body. The flowers were fussy cut.

 “Congrats” is from the Celebrating You stamp set (#158028) and another die from the Stylish Shapes was used to cut this. The sentiment, ladybug and flowers were all attached with Mini Stampin’ Dimensionals (#144108). Matt Black Dots (#154284) were added to the card. I used the Clear Wink Of Stella Brush (#141897) on the flowers and spots on the wings.

“Love what you do and share what you love.”


Thursday, 9 June 2022

Pretty Prints Designer Series Paper

Hello friends,

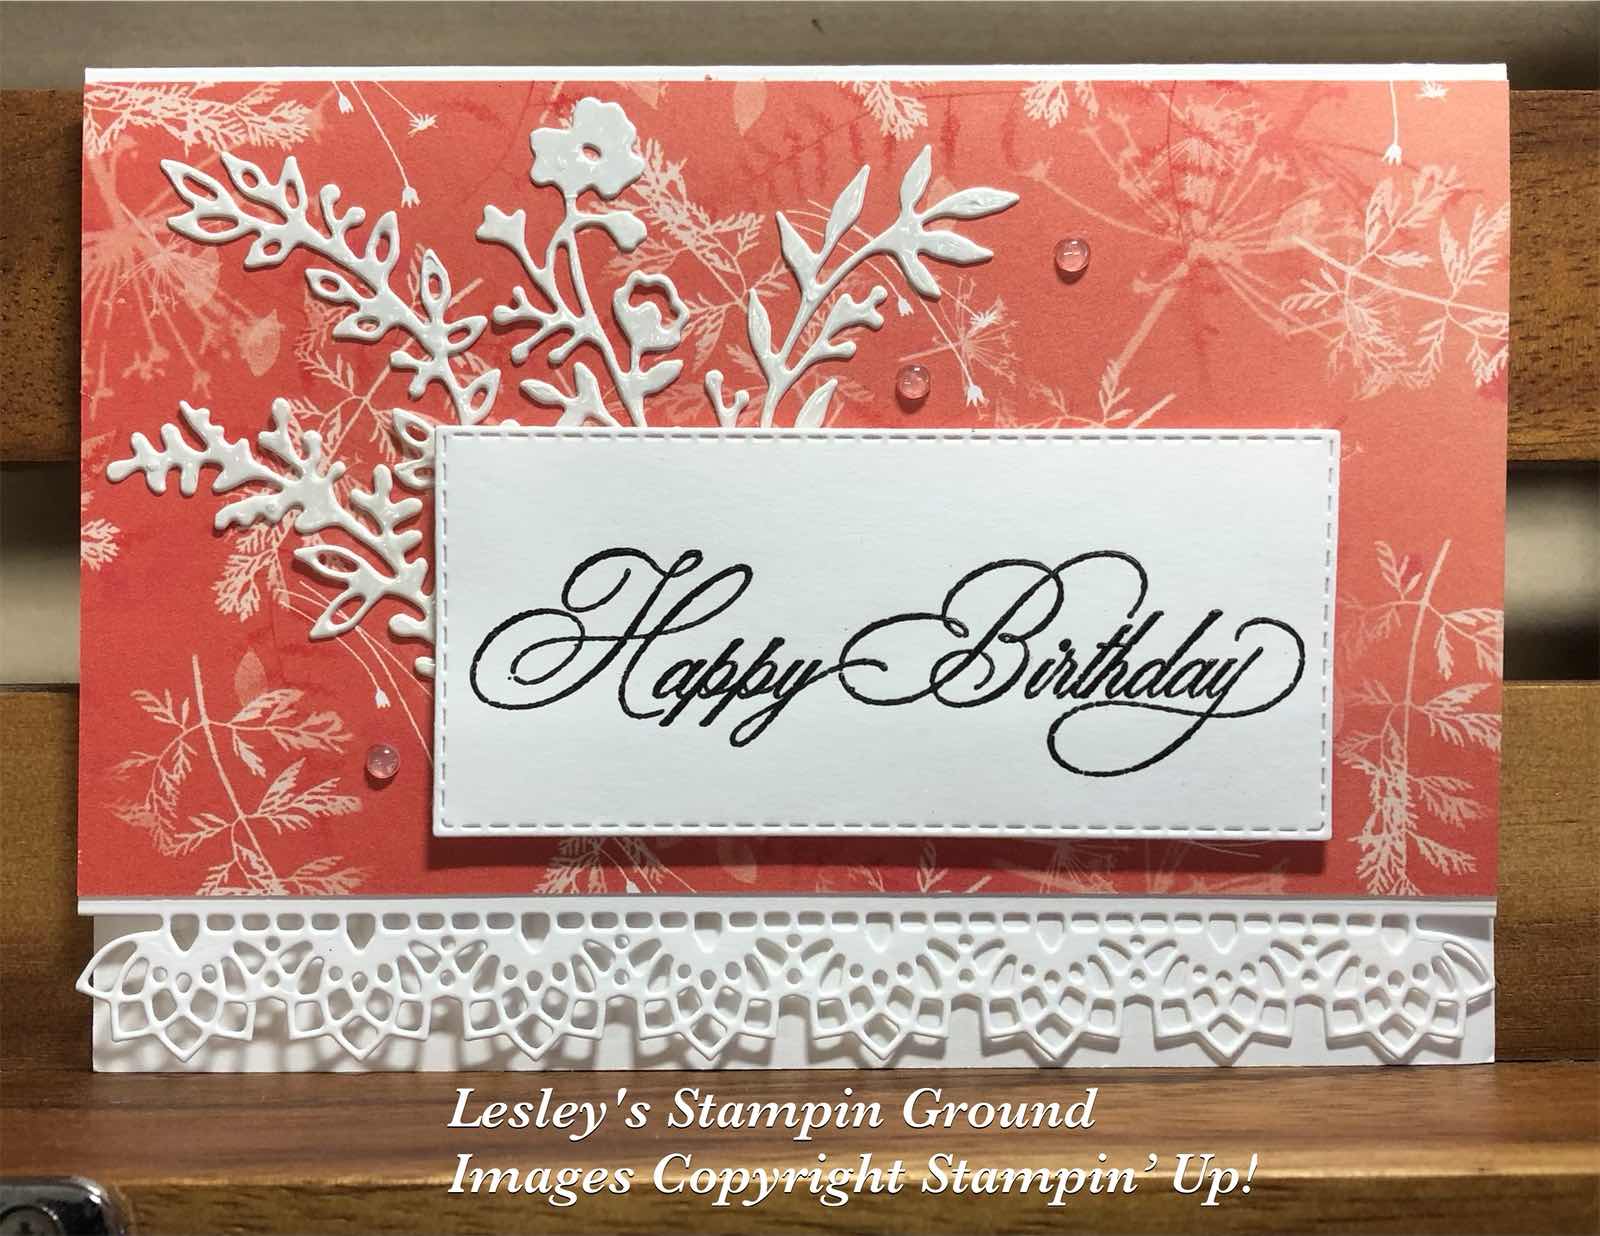
Have you seen the gorgeous Pretty Prints 12’x12” Designer Series Paper (#159245). This pack consists of  6 designs in 4 different colours. I have used one of  the Calypso Coral designs.


The base card is Basic White (#159228). The bottom edge was cut with one of the Delicate Edges Dies (#159180). The DSP was attached to the card.

“Happy Birthday” is from the Go To Greetings stamp set (#158763). This is such a great set and currently my go to stamp set as it has popular sentiments in different sizes and font styles. There are 3 of each of Happy Birthday, Thinking Of You, Just a Note and Thank You, and 1 small Hello. I used the largest Happy Birthday. This was stamped with VersaMark (#102283) and embossed with Black Stampin’ Emboss Powder (#155554) and set with the Heat Tool (#129056). I used a Stitched Rectangles die (#151820) to cut the sentiment.

The dies from Flowers Of Home (#157938) were used to cut the leafy pieces. I used the Mother Of Pearl Specialty Paper (#157666) which was backed with Adhesive Sheet (#152334). This makes it so easy to attach fine detailed pieces to your card.

The sentiment was attached to the card with Stampin’ Dimensionals (#104430). Polished Dots (#158134) were my choice of embellishments.

“Love what you do and share what you love.”


Saturday, 30 April 2022

Sailing Home

Hello & welcome friends,

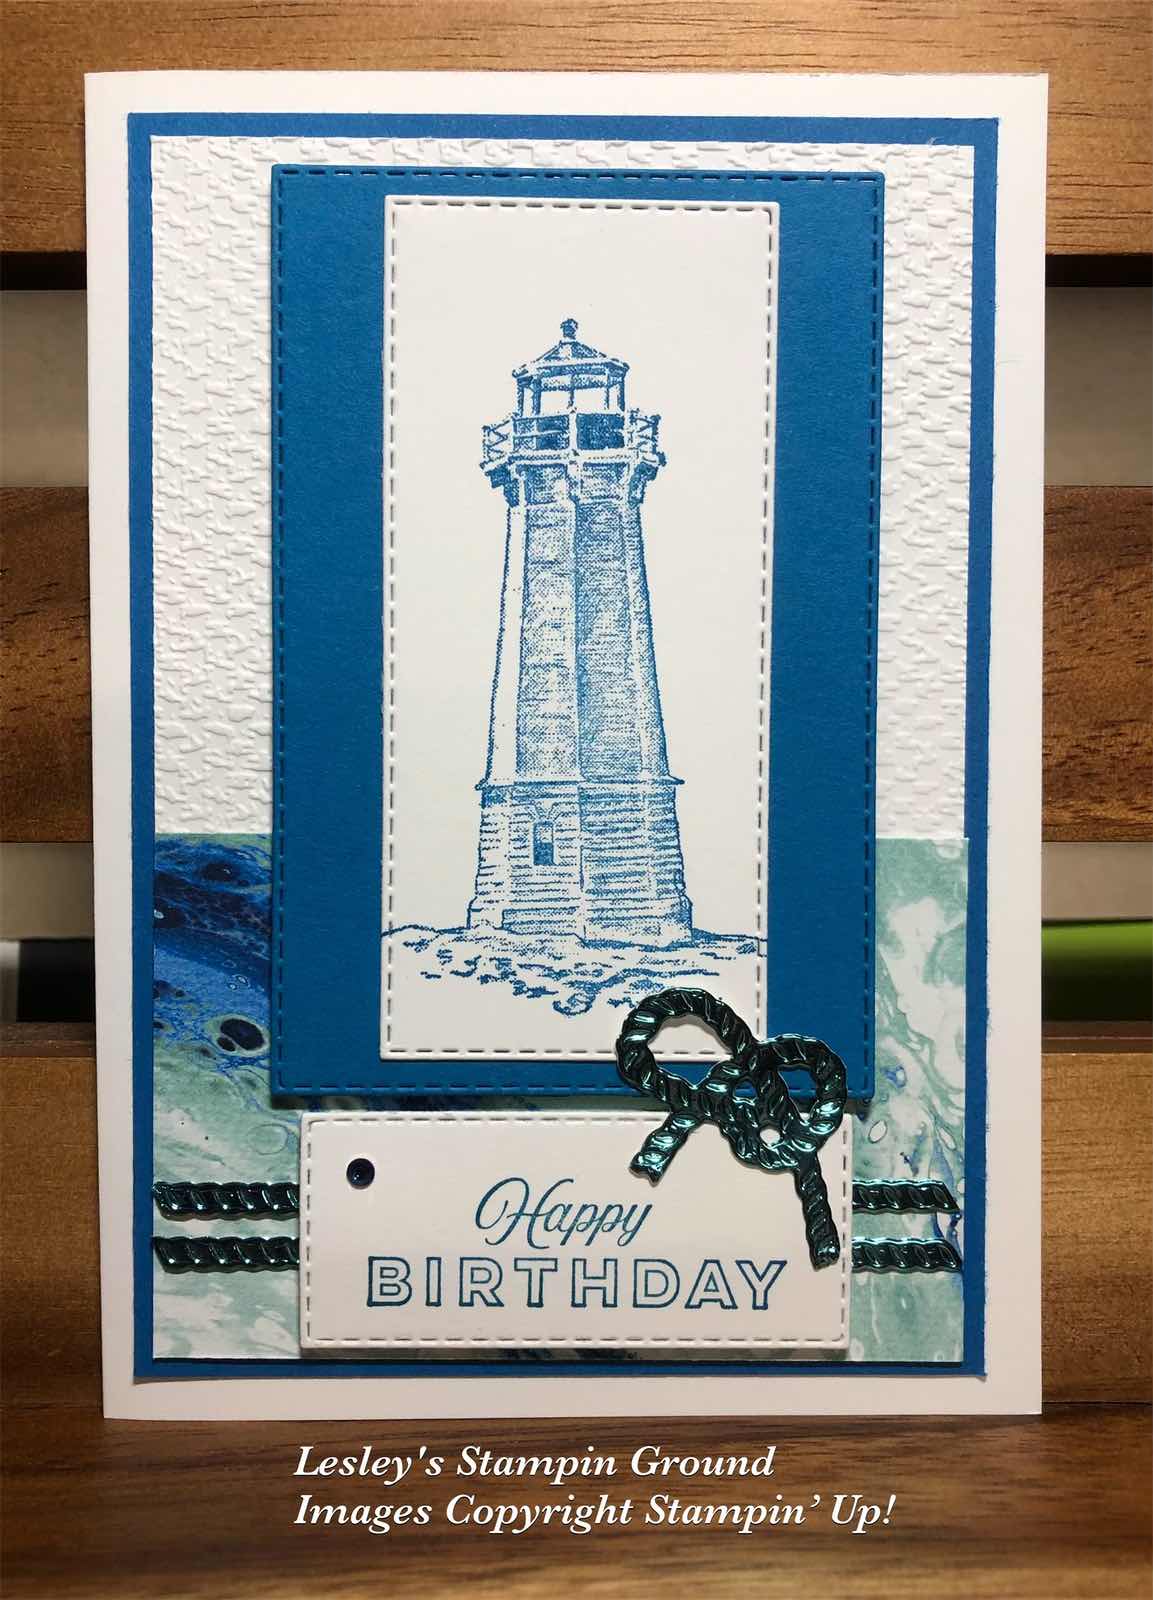
Another retiring set is the Sailing Home stamp set (#149457) and the co-ordinating Smooth Sailing Dies (#149576).


The lighthouse and sentiment were stamped with Pacific Point ink (#116202). The sentiment is from the Celebrating You stamp set (#158028). I used the Stitched Rectangles dies (#151820) to cut the sentiment, lighthouse and the Pacific Point card (#116202).

The Basic White card (#159228) was dry embossed with the Tasteful Textile 3D Embossing Folder (#152718) then matted with Pacific Point card. This was attached to the Basic White base card. The Waves Of The Ocean Designer Series Paper (#159982) was attached to the card front.

I adhered Adhesive Sheet (#152334) to the back of the Coastal Cabana Foil from the Blue Foils (#159983) and cut the “ropes” with the Smooth sailing dies (#149576). The straight pieces of rope were attached to the card. The Pacific Point card & sentiment were attached with Stampin’ Dimensionals (#104430). A Rhinestone Waves Basic Jewel (#159396) was attached to the sentiment and the “knotted rope” was also attached to the card.

The retiring products used here are the Sailing Home stamp set, Smooth Sailing Dies, Waves Of The Ocean Designer Series Paper, Blue Foils and the Tasteful Textile 3D Embossing Folder.

“Love what you do and share what you love.”


Tuesday, 22 March 2022

Symbols Of Fortune Specialty Designer Series Paper

Hello crafty friends,

I just adore this beautiful designer paper from the Symbols Of Fortune 12”x12” Specialty Designer Series Paper (#157652).


I have used Gold Foil Sheets (#132622) to matt the DSP  which co-ordinate with the gold foil accents on one side of this DSP. I cut the DSP with the crane with a die from the Hippo & Friends Dies (#153585). This was attached to the Gold Foil Sheet that I cut with a Stitched Rectangles Die (#151820). I also matted the larger piece of DSP with Gold Foil and attached this to the Basic White base card (#159228). 

The sentiment is from the Soaring Swallows stamp set (#157804). I stamped this with VersaMark (#102283) and heat embossed with Gold Stampin’ Emboss Powder (#155555). This needs to be set with the Heat Tool (#129056). A die from the Ornate Frames (#150664) was used to cut the sentiment.

The gold foil behind the crane and the sentiment were attached with Stampin’ Dimensionals (#104430). The Metallic Pearls (#146282) were added to finish the card.

A simple but elegant card.

“Love what you do and share what you love.”


Monday, 7 March 2022

Daffodil Daydream stamp set

Hello all crafting friends,

The Daffodil Dream Bundle (#157795) was used on this card and consists of the Daffodil Daydream stamp set (#157786) and the Daffodil Dies (#157794).


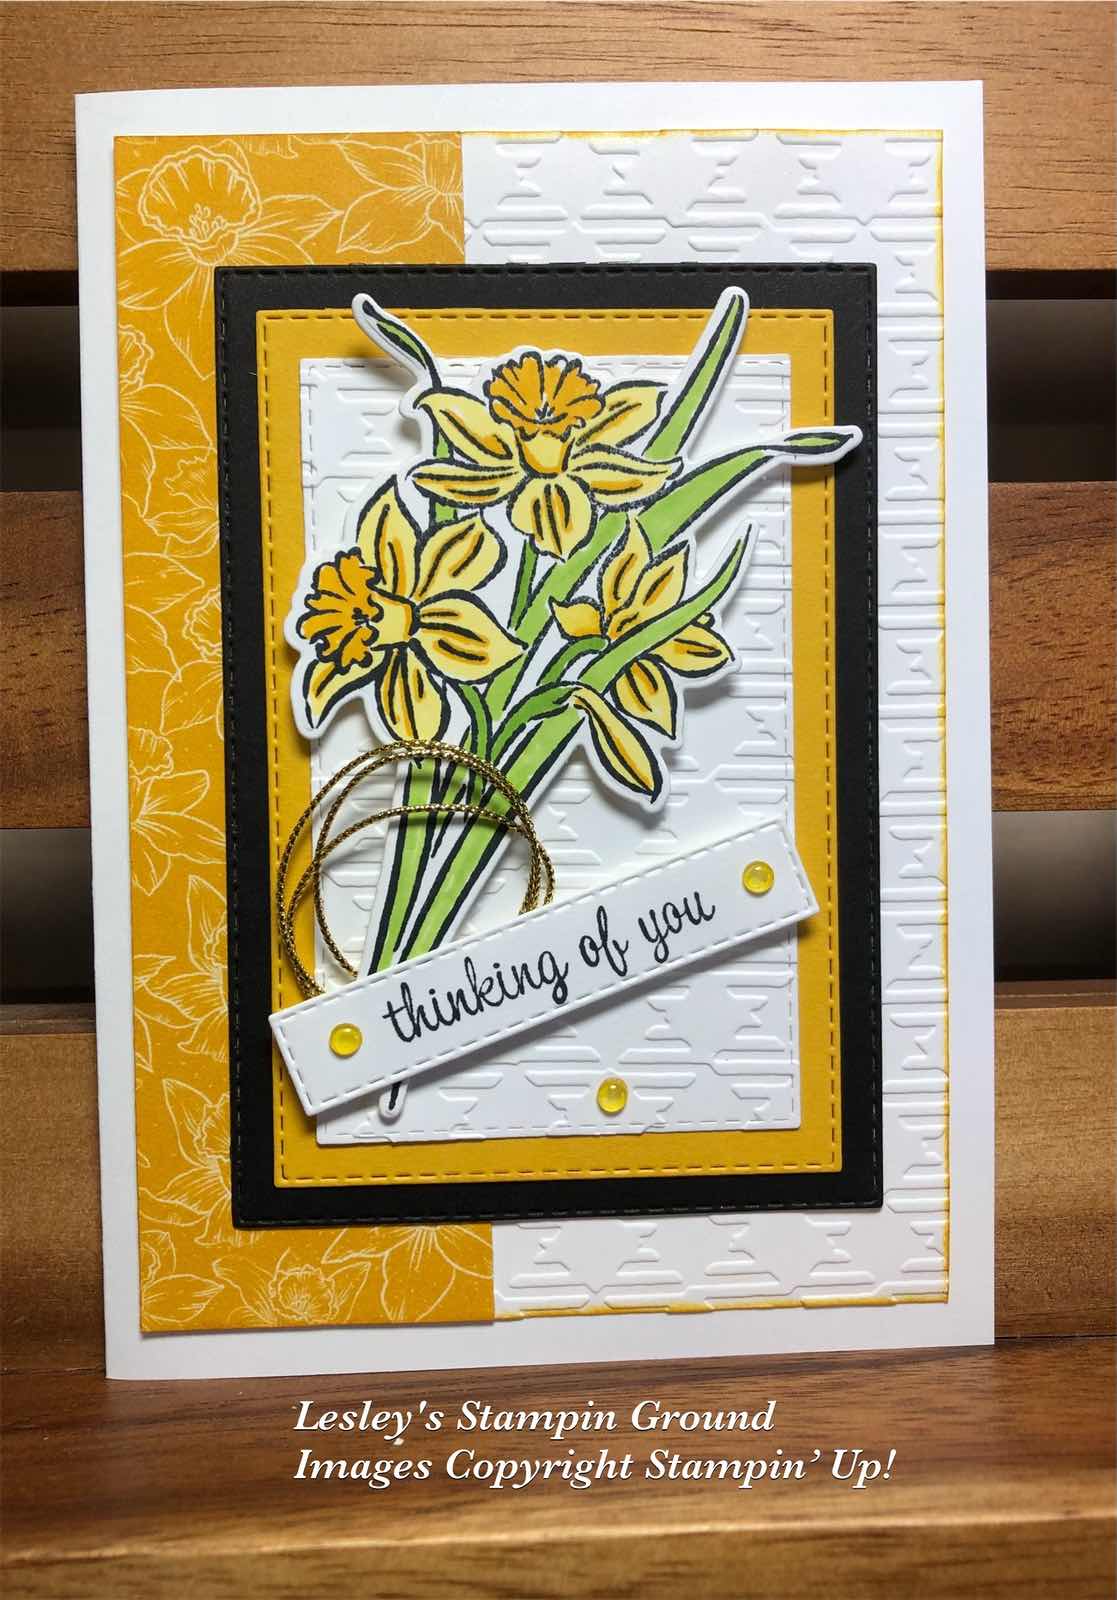
The daffodils were stamped with Tuxedo Black Memento ink (#132708) on Basic White card (#159228). The flowers were coloured with Daffodil Delight Stampin’ Blends (#154883) and for the leaves I used Granny Apple Green Stampin’ Blends (#154885). The co-ordinating die from the Daffodil Dies was used to cut the stamped image.  

I dry embossed the Basic White card front with the Gingham Embossing Folder (#157627). The designer paper from the Sale-a-bration Daffodil Afternoon 12”x12” Designer Series Paper (#158127) was attached to the card front.

The Basic Black card (#121688), Crushed Curry card (#131288) and the Basic White card were all cut with Stitched Rectangles Dies (#151820). I also dry embossed the small white rectangular card with the Gingham embossing folder. I taped the rectangles together and attached them to the card. The daffodils were attached to the card with Stampin’ Dimensionals (#104430). 

The gold trim is from the Simply Elegant Trim (#155766). The sentiment is in the Expressions Of Friendship stamp set (#158460) and stamped with Tuxedo Black Memento ink, cut with another Stitched Rectangles die and attached with Mini Stampin’ Dimensionals (#144108). The embellishments are the  Clear Polished Dots (#158134) which were coloured with the Dark Daffodil Delight Stampin’ Blends.

TIP: To colour the embellishments using Stampin’ Blends, I find it easier to colour with the brush end of the blends. Colour the embellishments while they are still attached to the plastic they are adhered to. Allow them to dry, which doesn’t take long then transfer them to the card. Any clear or white embellishments can be coloured this way.

“Love what you do and share what you love.”


Wednesday, 2 March 2022

Artfully Composed Designer Series Paper

Hello friends,

I am still thinking of all those in the devastating flooded areas along the east coast of Australia. Hoping you are all safe and take care.

Todays card is an easy one using Designer Paper. You could choose any DSP for this card. I chose the Artfully Composed 12”x12” Designer Series Paper (#157750).


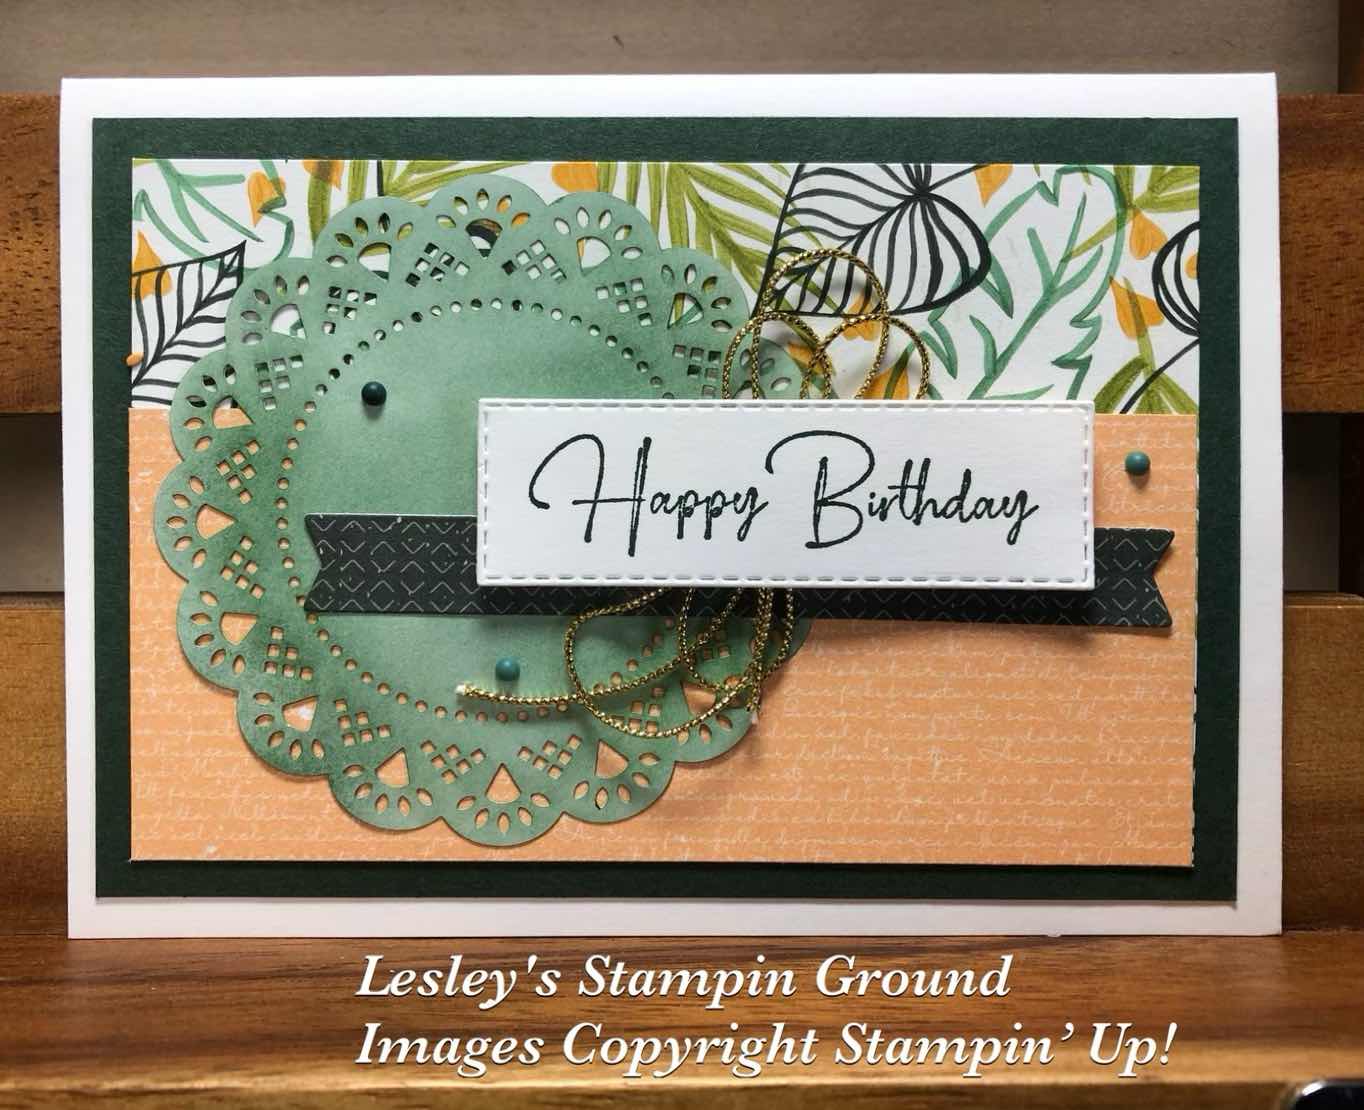
I attached 2 of the designs from this pack onto Evening Evergreen card (#155575) and then this was attached to the Basic White base card (#159228). I coloured the white side of one of the Heart & Home Doilies (#157956) using a Blending Brush (#153611) and Evening Evergreen ink (#155576).

I cut another piece of the same DSP with a label die from the Bloom Dies (#155989). This was taped to the card. The gold trim is from the Simply Elegant Trim (#155766). “Happy Birthday” is from the Flowing Flowers stamp set (#157880) and stamped with Evening Evergreen ink. I used a Stitched Rectangles Die (#151820) to cut the sentiment, then attached it to the card with Stampin’ Dimensionals (#104430). The 3 embellishments are the (retired) Matt Decorative Dots.

TIP: The Heart & Home Doilies come in 3 colours - Basic Gray, Cinnamon Cider & Misty Moonlight. However you can have any colour by colouring the back of the doilies which is white. Just use Blending Brushes and any coloured ink.

“Love what you do and share what you love.”


Monday, 14 February 2022

New Horizons Designer Series Paper

Hi and welcome stamping friends,

I used the beautiful New Horizons 6”x6” Designer Series Paper (#157768) on this card. I made a larger card than normal as I didn't want to lose too much of this beautiful paper. I used the full width of the designer paper and cut 3.5cm off the bottom.


The Basic White base card (#159228) was cut at 16.5cm x 26cm and scored on the long side at 13cm.

I used a Stitched Rectangles die (#151820) to cut the rectangle from the centre of the Designer Paper. I used the next size die to cut the Night Of Navy card (#106577) which I used to matt this. I then attached this with Stampin’ Dimensionals (#104430) onto the DSP covering the cut out area. I had 3 options of what way I would use the DSP at the back. On the card I chose to turn the DSP around which I liked the effect with the colours being reversed.

The next option was to use it the same way as shown below-


And the 3rd option was to use the back of the DSP as shown -


Blackberry Bliss card (#133682) was used to matt the larger piece of designer paper before attaching it to the base card.

The bird from the Soaring Swallows stamp set (#157804) was stamped with VersaMark (#102283) and heat embossed with Gold Stampin’ Emboss Powder (#155555), and set with the Heat Tool (#128056). The sentiment is from the same stamp set and stamped with Night Of Navy ink (#147110) and cut with another Stitched Rectangles die. The Gold trim is from the Simply Elegant Trim (#155766) and the sentiment was attached to the card with Mini Stampin’ Dimensionals (#144108). The Night Of Navy Rhinestones from the Holiday Rhinestones Basic Jewels (#150457) were added to the card.


“Love what you do and share what you love.”


Wednesday, 24 November 2021

Blackberry Beauty

Hi again friends,

Another beautiful Designer Series Paper from Stampin’ Up! is the Blackberry Beauty 12”x12” Specialty DSP (#156458) and this sheet has the rich colours of gold & Blackberry Bliss.


I dry embossed the Basic White card front (#159228) with the Star-Crossed Embossing Folder (#156567). I attached the Designer Paper to the card front and the card front was attached to the Basic White base card. 

The sentiment from the Peaceful Moments stamp set (#151595) was stamped with Blackberry Bliss ink (#147092). I used the Stitched Rectangles Dies (#151820) to cut the Blackberry Bliss card (#133682), the Gold Foil (#132622) and the sentiment.

The flowers are pre-cut pieces from the Blackberry Beauty Ephemera Pack (#156469) and attached to the card with Mini Glue Dots (#103683) and I used Stampin’ Dimensionals (#104430) to attach the sentiment. The gold Genial Gems (#155500) were added to the card.

“Love what you do and share what you love.”


Sunday, 21 November 2021

Peaceful Place Designer Series Paper

Hello friends,

I decided to add some colour to the Peaceful Place Designer Series Paper (#156394). It didn't require much colour so was easy to do.


I used Old Olive Stampin’ Blends (#154892) to colour the trees, then I used Crumb Cake (#154882) and Bronze & Ivory Stampin’ Blends (#154922) on the buildings. The frame was cut using the Stitched Rectangles Dies (#151820) from Old Olive card (#106576). The frame was attached to the coloured DSP with Mini Stampin’ Dimensionals (#144108). This was then attached to another piece of the Peaceful Place DSP.  

The base card is Basic White (#159228). “Merry Christmas” from the Peaceful Deer stamp set (#156891) was stamped with Old Olive ink (#147090) and also cut with a Stitched Rectangles die. The Silver embellishments are from the Silver & Clear Epoxy Essentials (#155567) and attached to the sentiment.

Well that was easy!!


“Love what you do and share what you love.”


Saturday, 21 August 2021

Delicate Dahlias Sale-a-bration

Hi again my friends,

There is a range of free products (with a qualifying order) from Sale-a-bration and one of my favourites is the Delicate Dahlias stamp set (#156601).


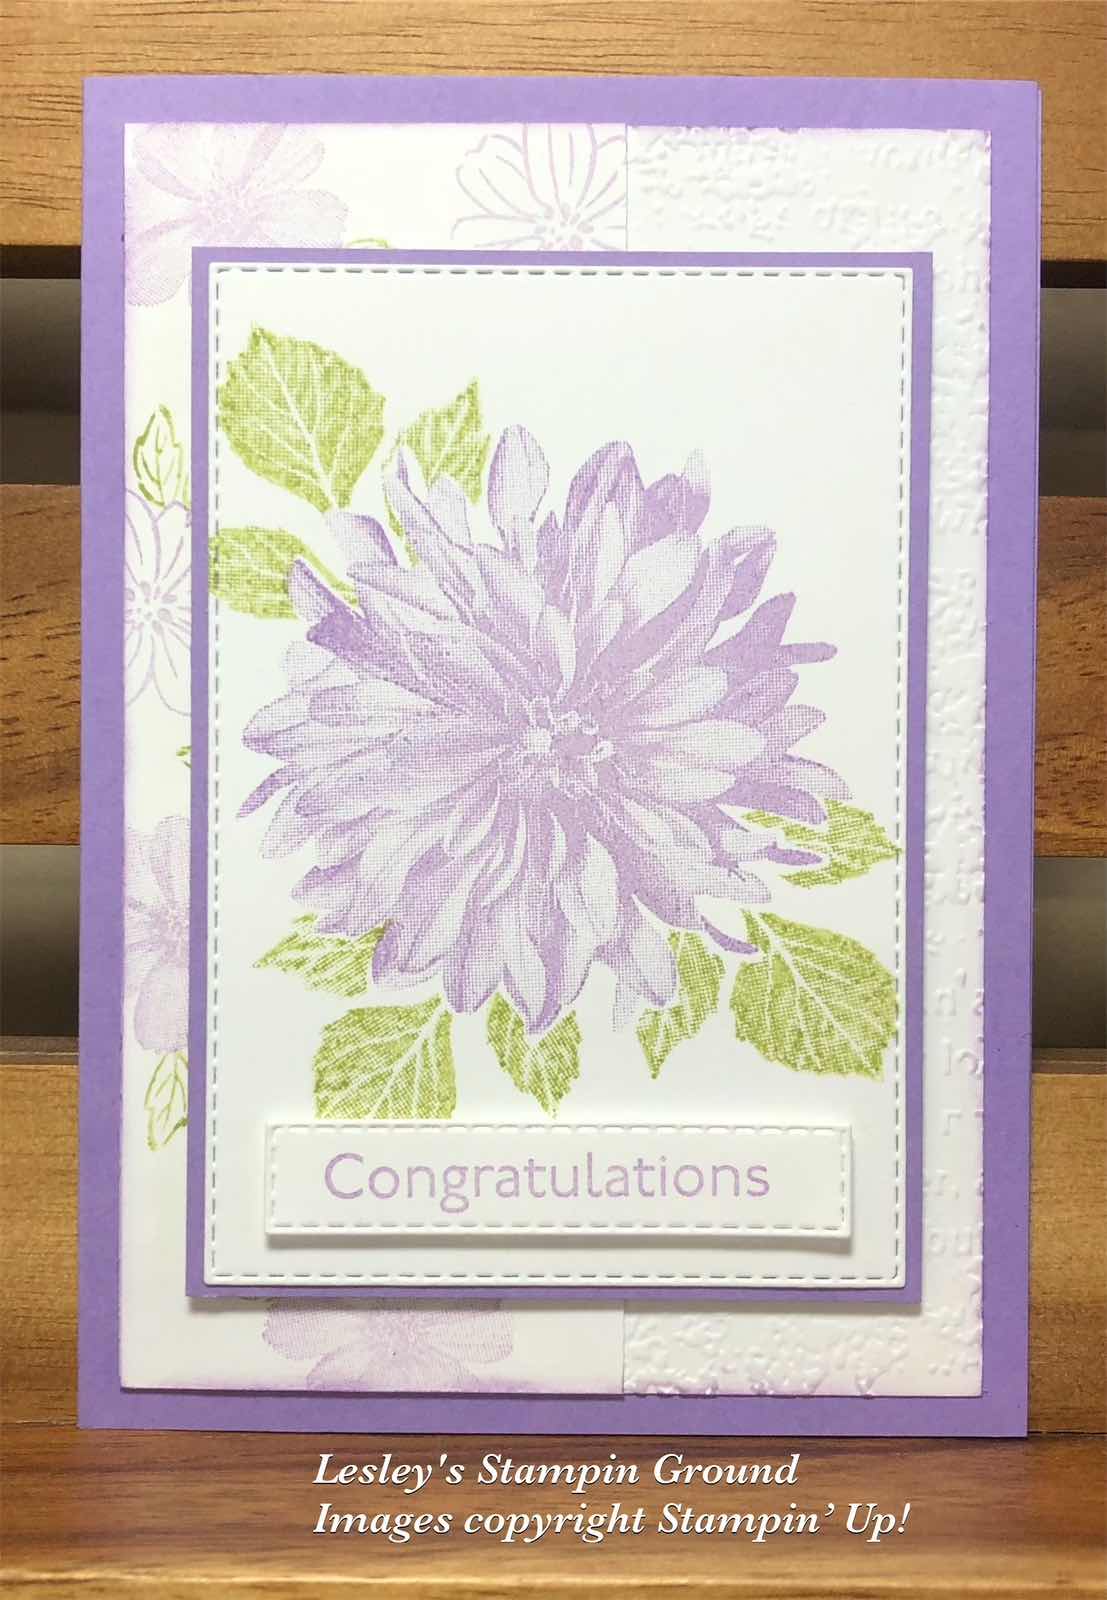
I stamped the dahlia with Highland Heather ink (#147103). I had a mask which I had made previously by stamping on a post-it note and cut around the image. This was the placed over the stamped image on the Basic White card (#159228). I then stamped the leaves with Pear Pizzaz ink (#147104) after stamping off on scrap paper for a lighter colour. Masking allows you to stamp two or more images and gives a layered look. I cut this with a Stitched Rectangles Die (#151820) and matted this with Highland Heather card (#147010).

I then stamped the smaller flowers and leaves from the Delicate Dahlias stamp set on a strip of Basic White card. This was attached to the card front which had been dry embossed with the Timeworn Type 3D Embossing Folder (#156505). The base card is Highland Heather.

The matted dahlia image was attached to the card with Stampin’ Dimensionals (#104430). Congratulations is from the Art Gallery stamp set (#158201) and stamped with Highland Heather ink then cut with a Stitched Rectangles Die.

“Love what you do and share what you love.”


Stay safe & keep crafting!!


Wednesday, 18 August 2021

Delicate Baubles Dies

Hi everyone,

A glittery Christmas card using the Be Dazzling 6”x6” Specialty Paper (#156629) from Sale-a-bration.


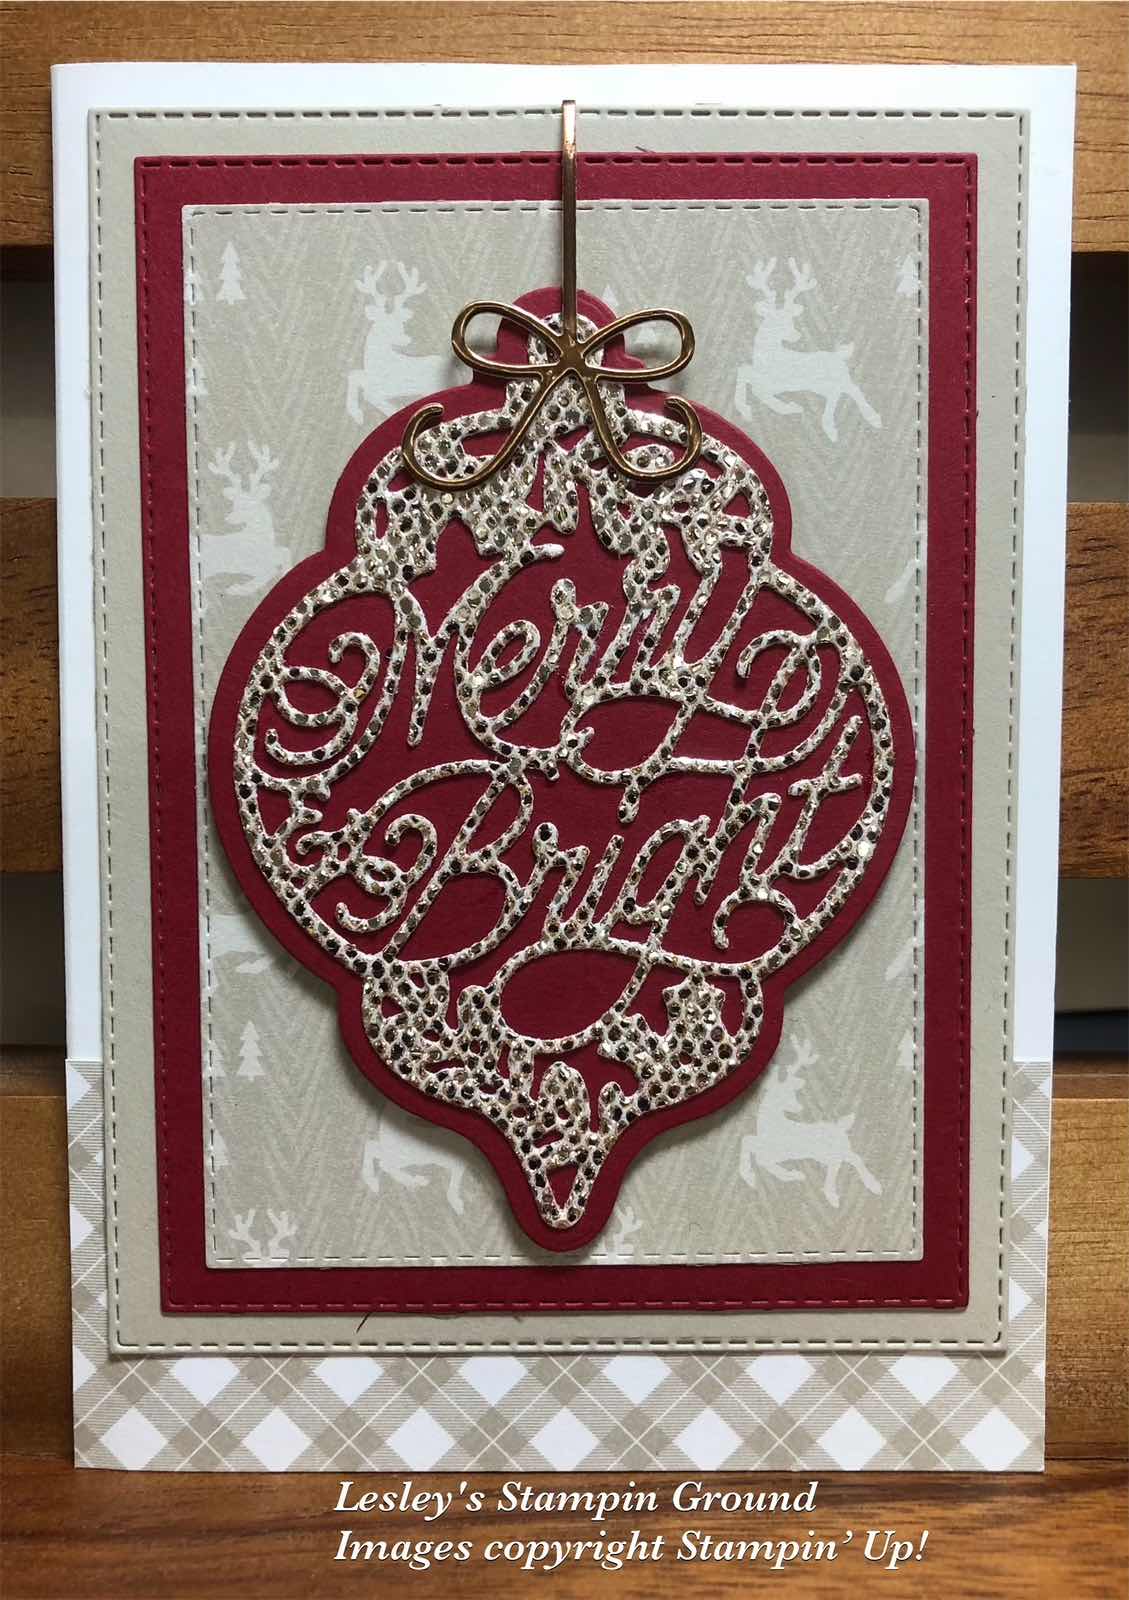
I attached a piece of the Peaceful Prints 12”x12” Designer Series Paper (#156628) to the Basic White base card (#159228). The next 3 layers were cut with the Stitched Rectangles Dies (#151820). These layers are Sahara Sand card (#121695), Cherry Cobbler card (#121681) and Peaceful Prints DSP.

I cut the baubles using the Delicate Baubles Dies (#156383) from Cherry Cobbler card and Be Dazzling Specialty DSP which was backed with Adhesive Sheet (#152334) for ease of attachment. The bow from the same die set was cut from Brushed Metallic 12”x12” cardstock (#153524) and attached with a Mini Glue Dot (#103683) and the “string” was folded over the top of the card front and attached on the back.

The Peaceful Prints Designer Series Paper is also a Sale-a-bration product. This and the Be Dazzling Specialty Paper are free products with each $90 order.


“Love what you do and share what you love.”


Stay safe and keep crafting!!